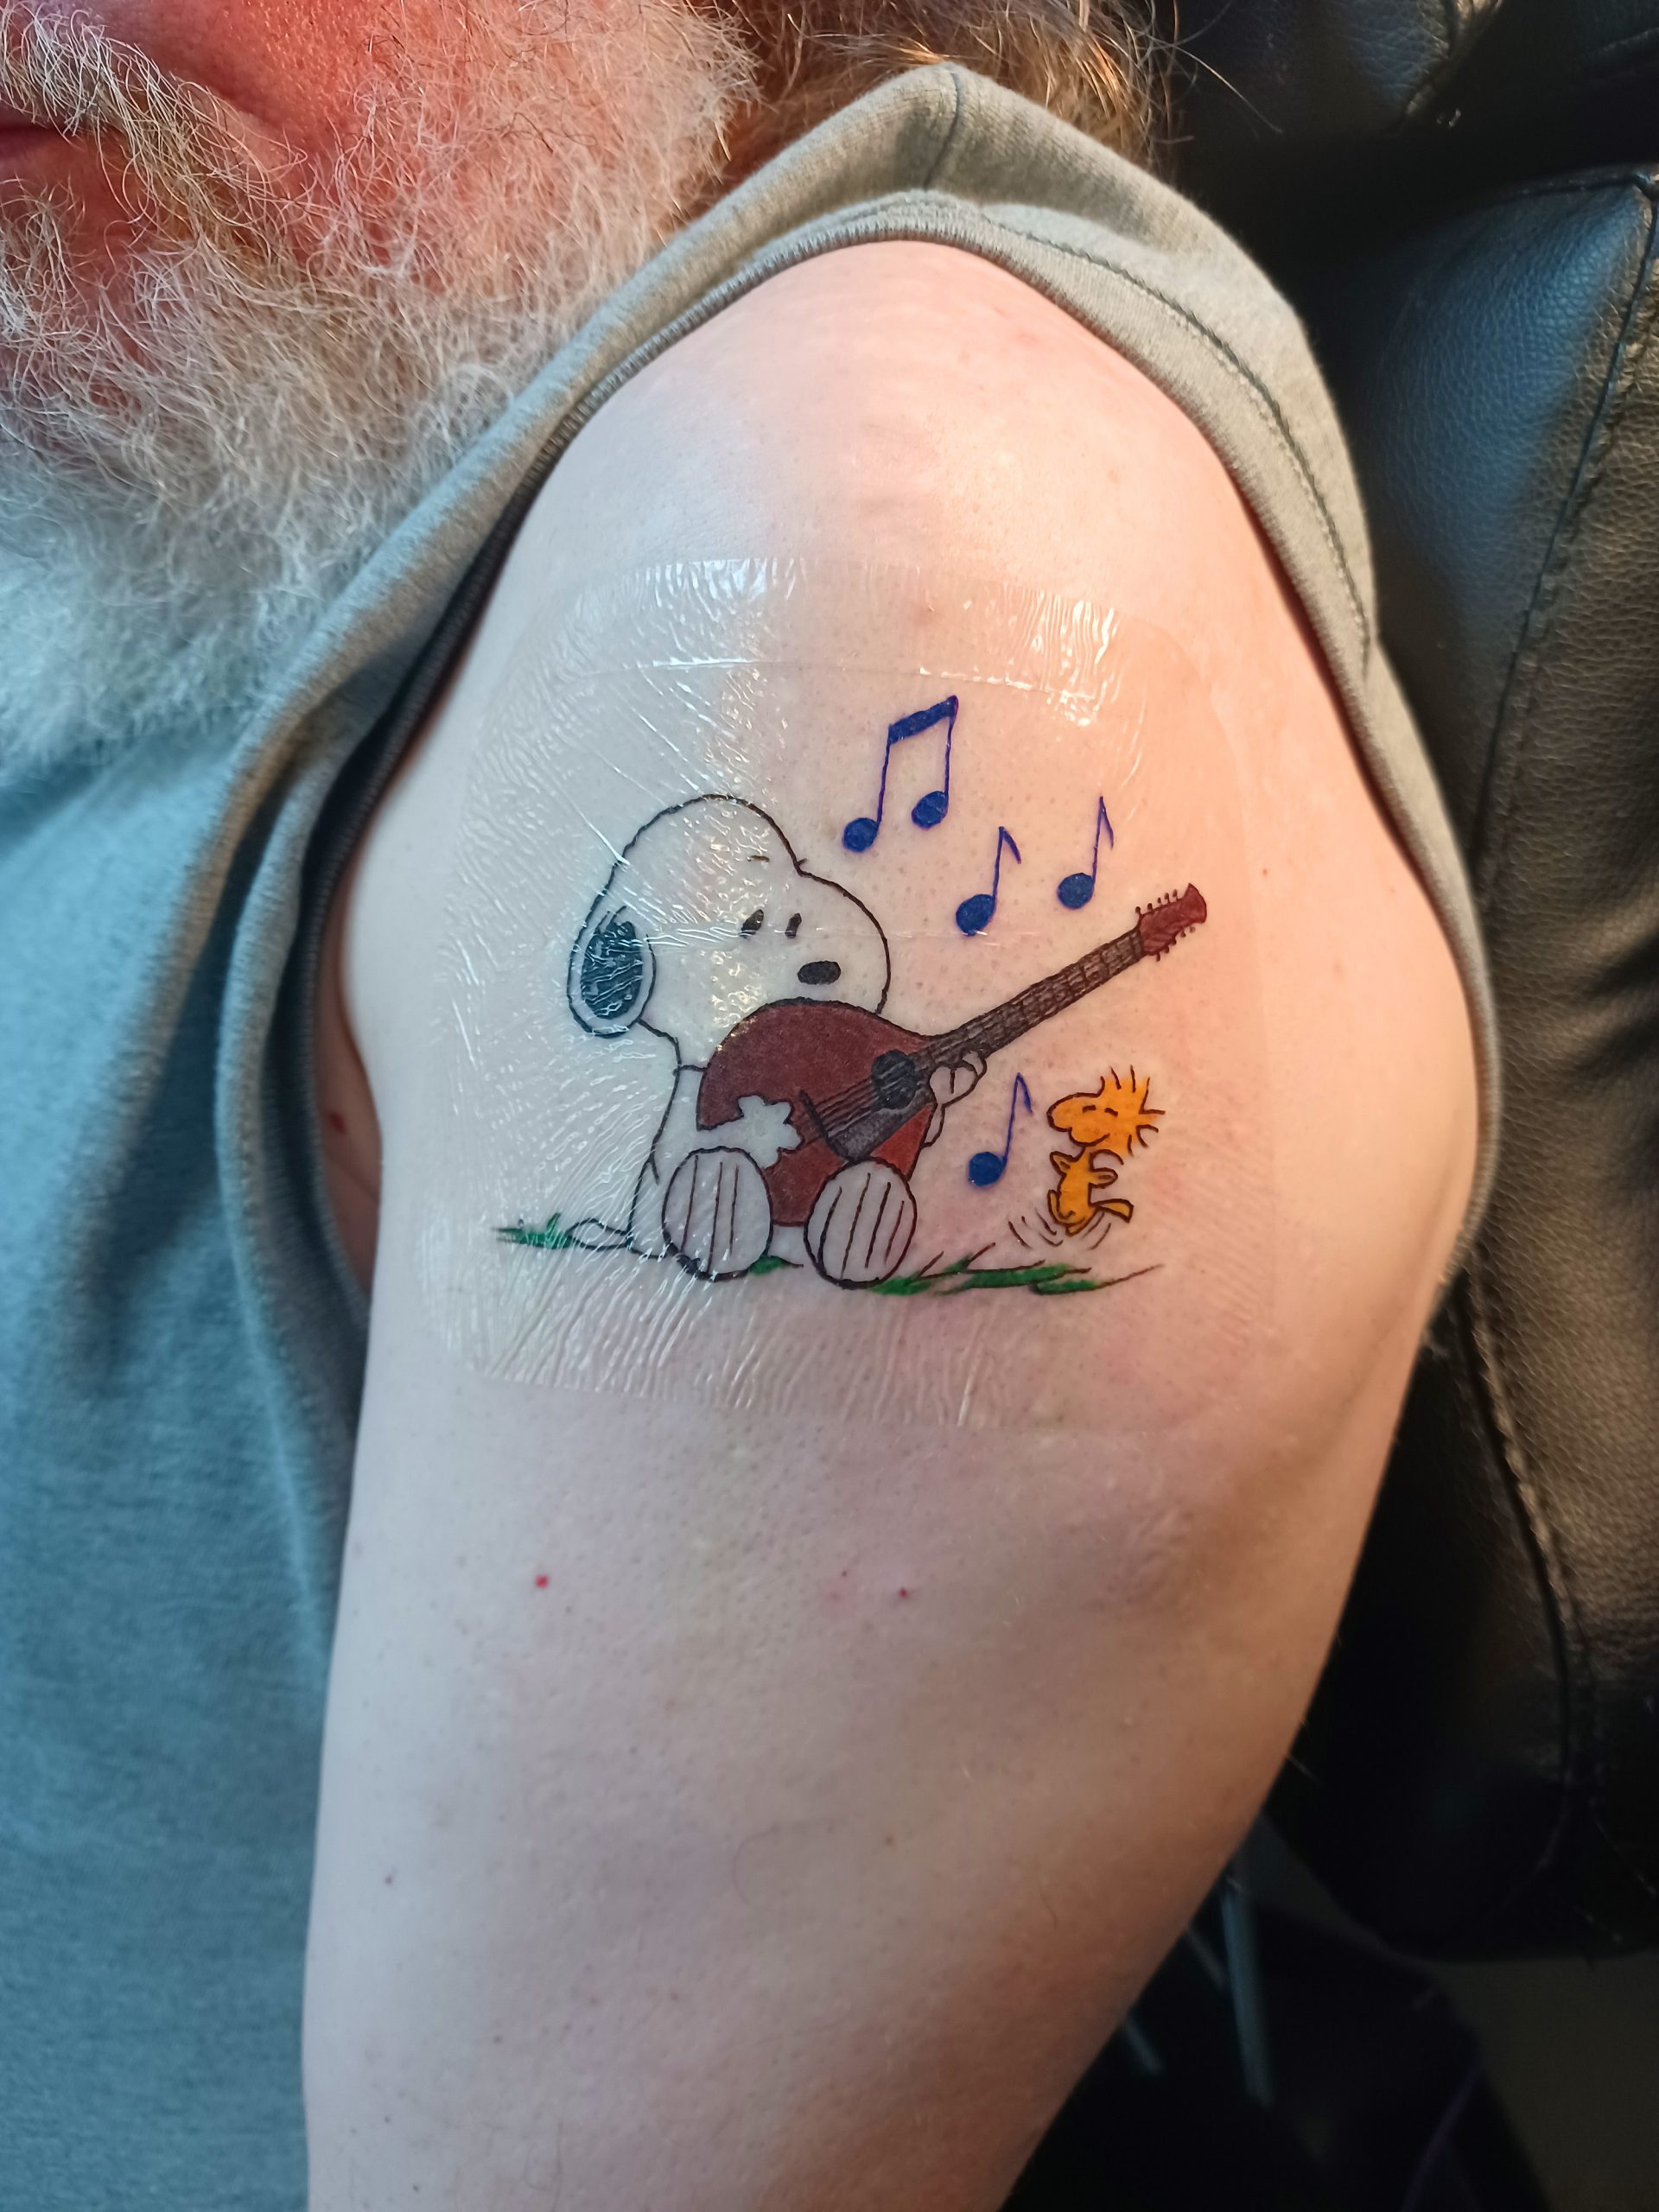
Snoopy cittern tatoo
Message from Bill Barfield
Bill bought his cittern from me in the distant past, he tells me it was 36 years ago. Today I received the following message from him:
Hi, Stefan,
I thought I’d share a picture with you. At age 64 I decided to get a tattoo. Yes, it is dumb. But I decided to do it anyway.
They say that when you get a tattoo it needs to be something important to you that will not change in the future. My cittern is one of those things. Also, I’ve always been a fan of the Peanuts comic strip and Snoopy in particular. So I put them together for a tattoo that is really me. See the attached picture.
Anyway, Thanks for all the years of joy it has given me. Have a great Christmas season.
Regards,
Bill Barfield
Charlotte, NC
It’s a while since I’ve seen it, but I also loved the Peanuts comic strip. This is a great tattoo.

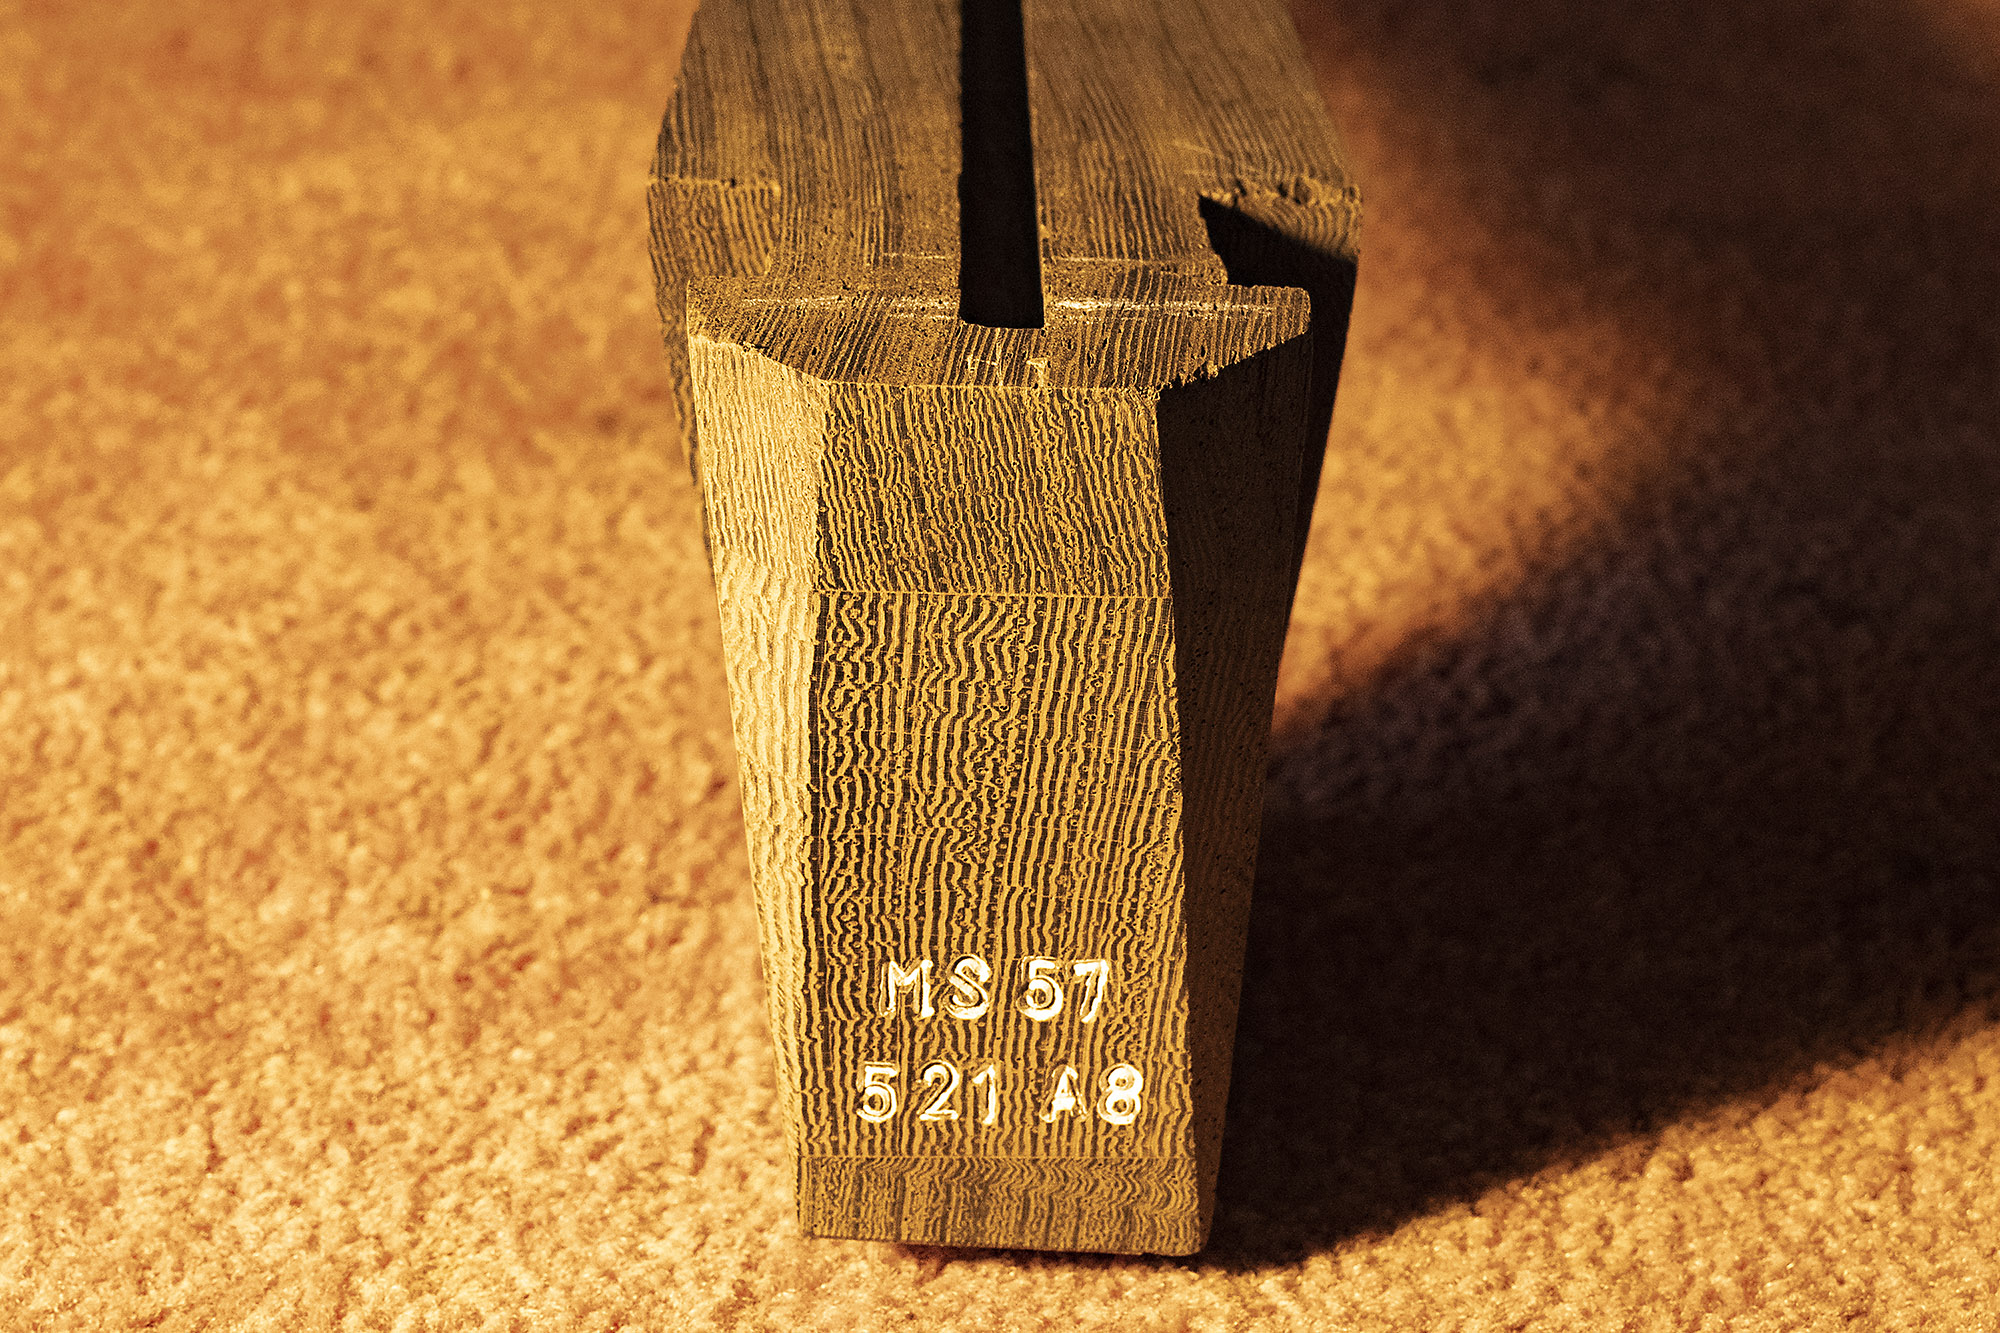 Heel block stamped 57th MS model, serial no 521, Anniversary Model 8
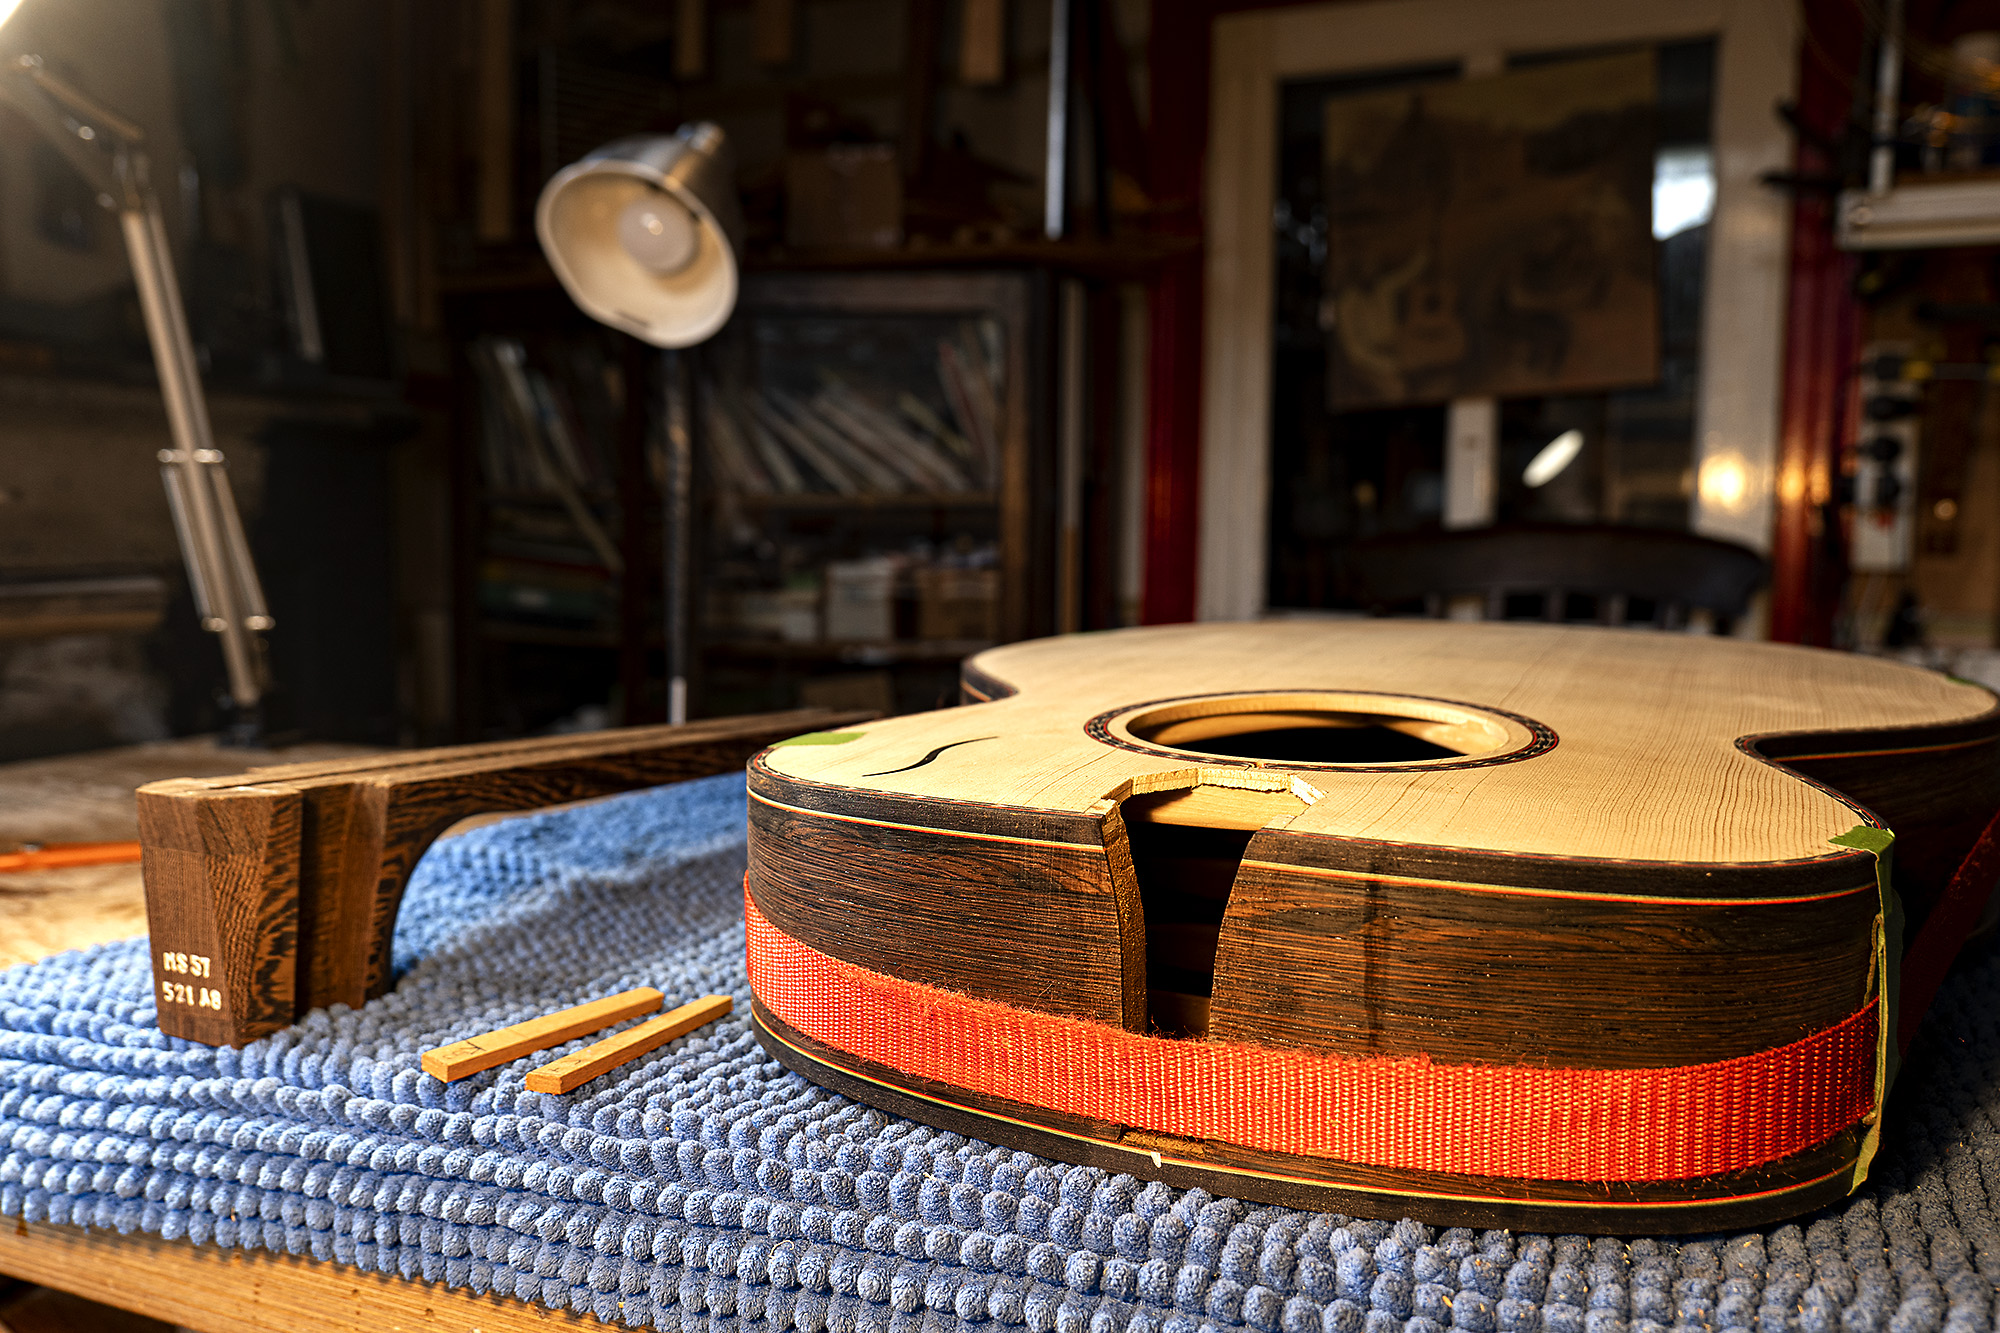 Neck, body and wedges ready for assembly
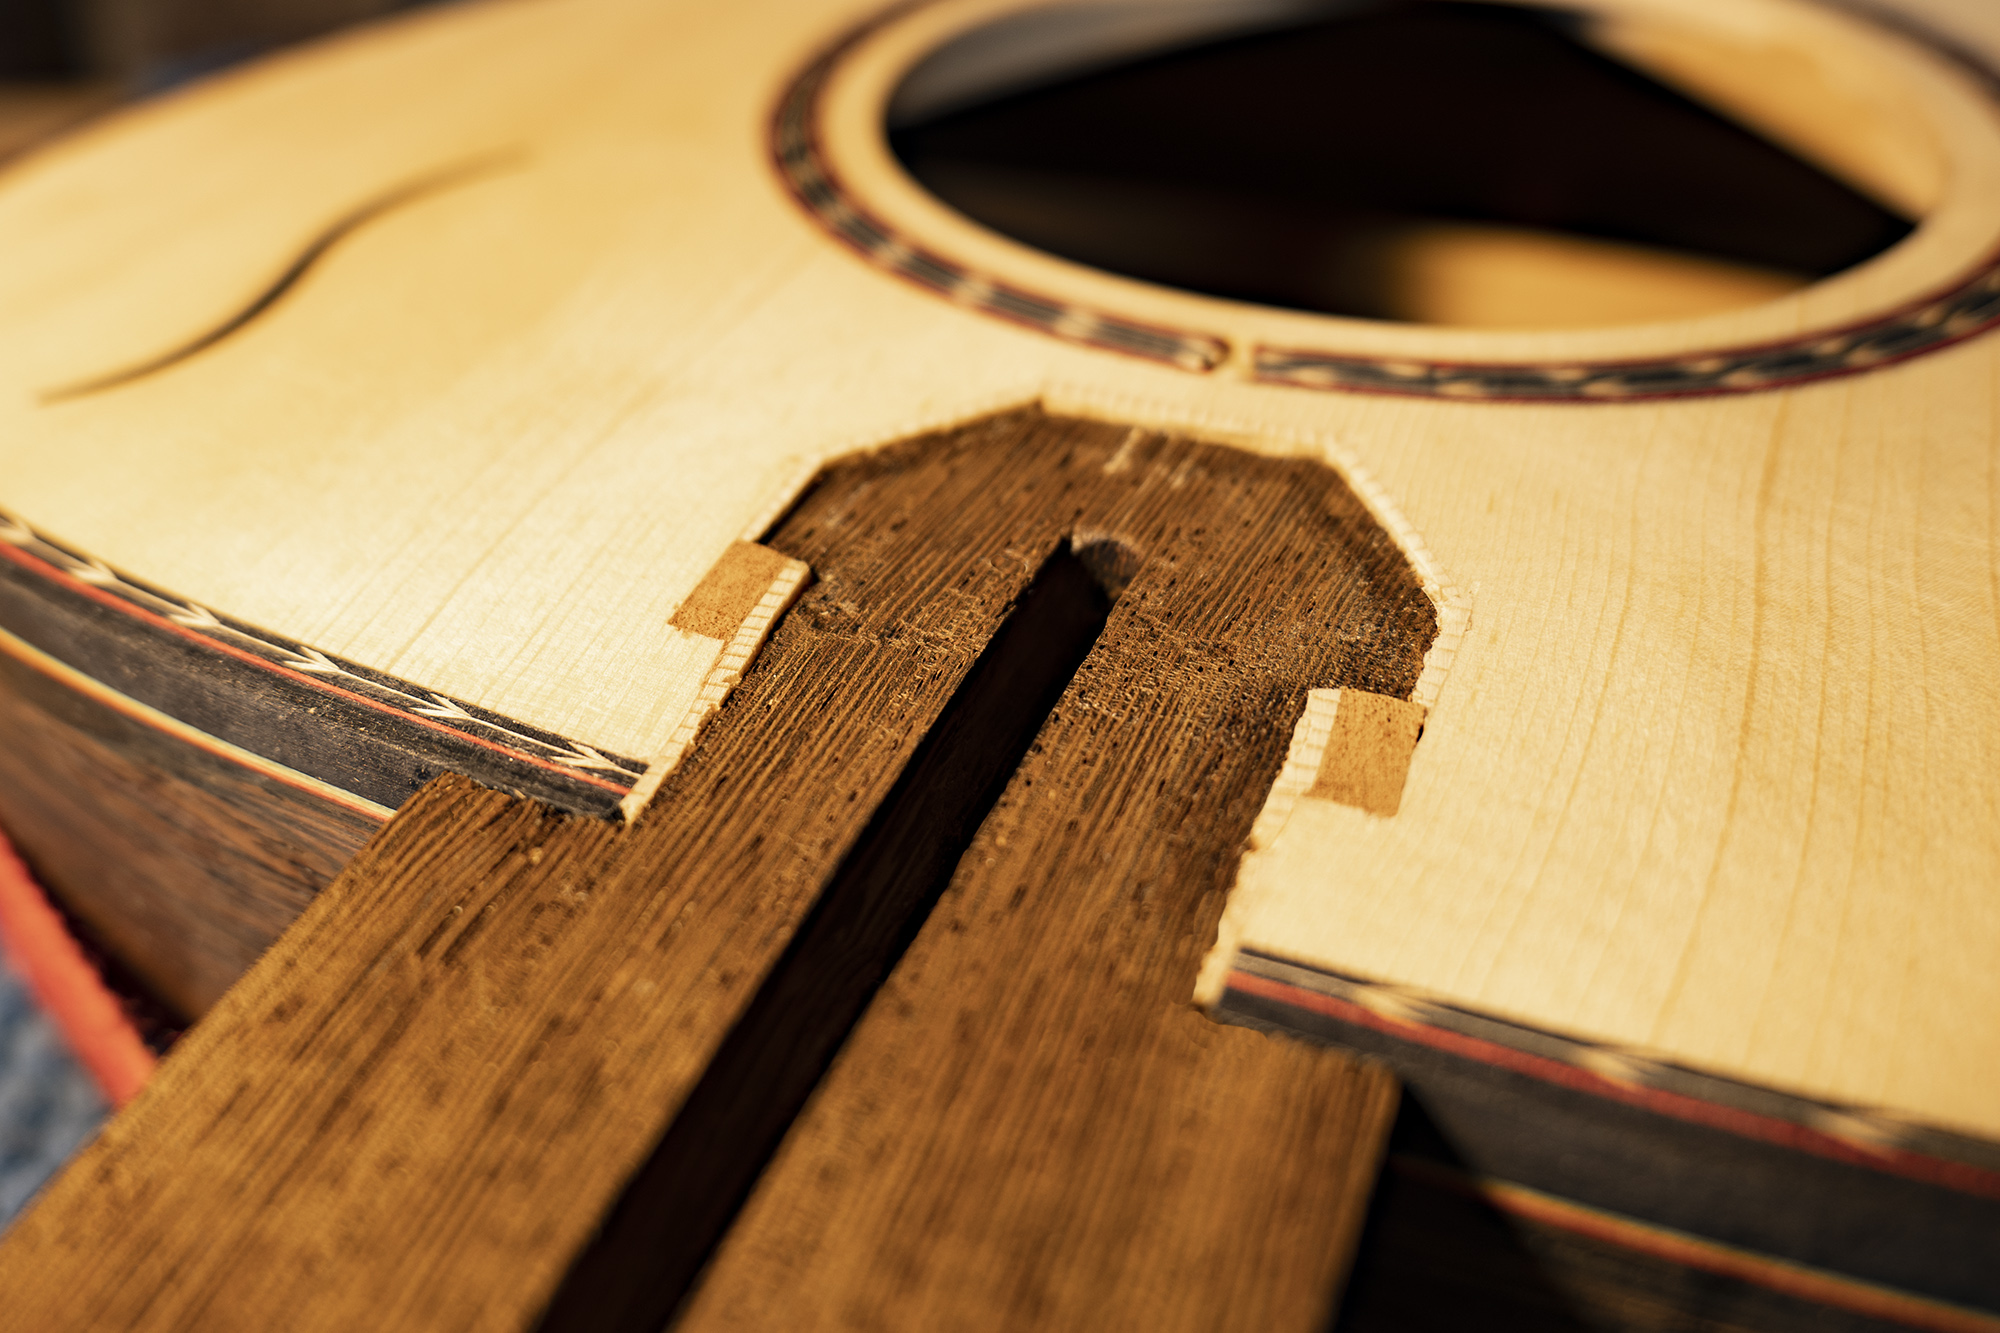 Neck in place, mahogany wedges driven in and neck locked against the soundboard with little spruce wedges
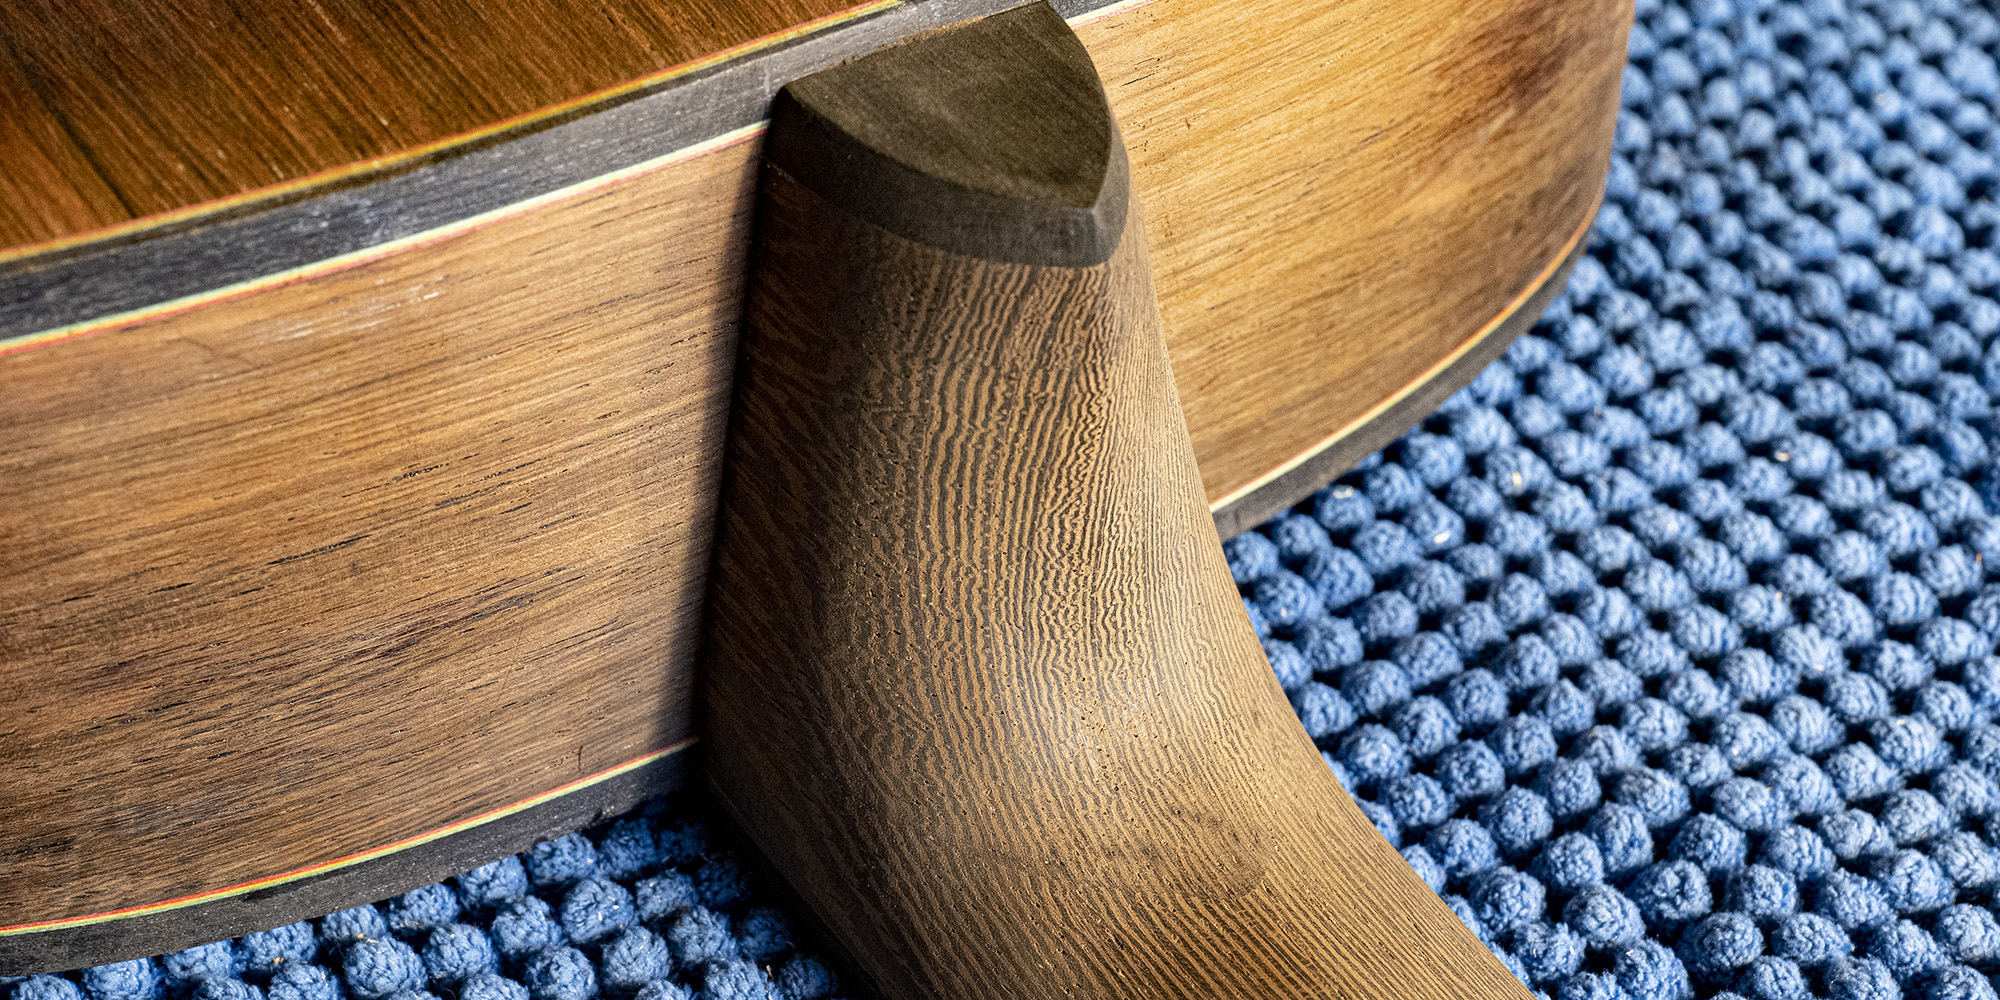
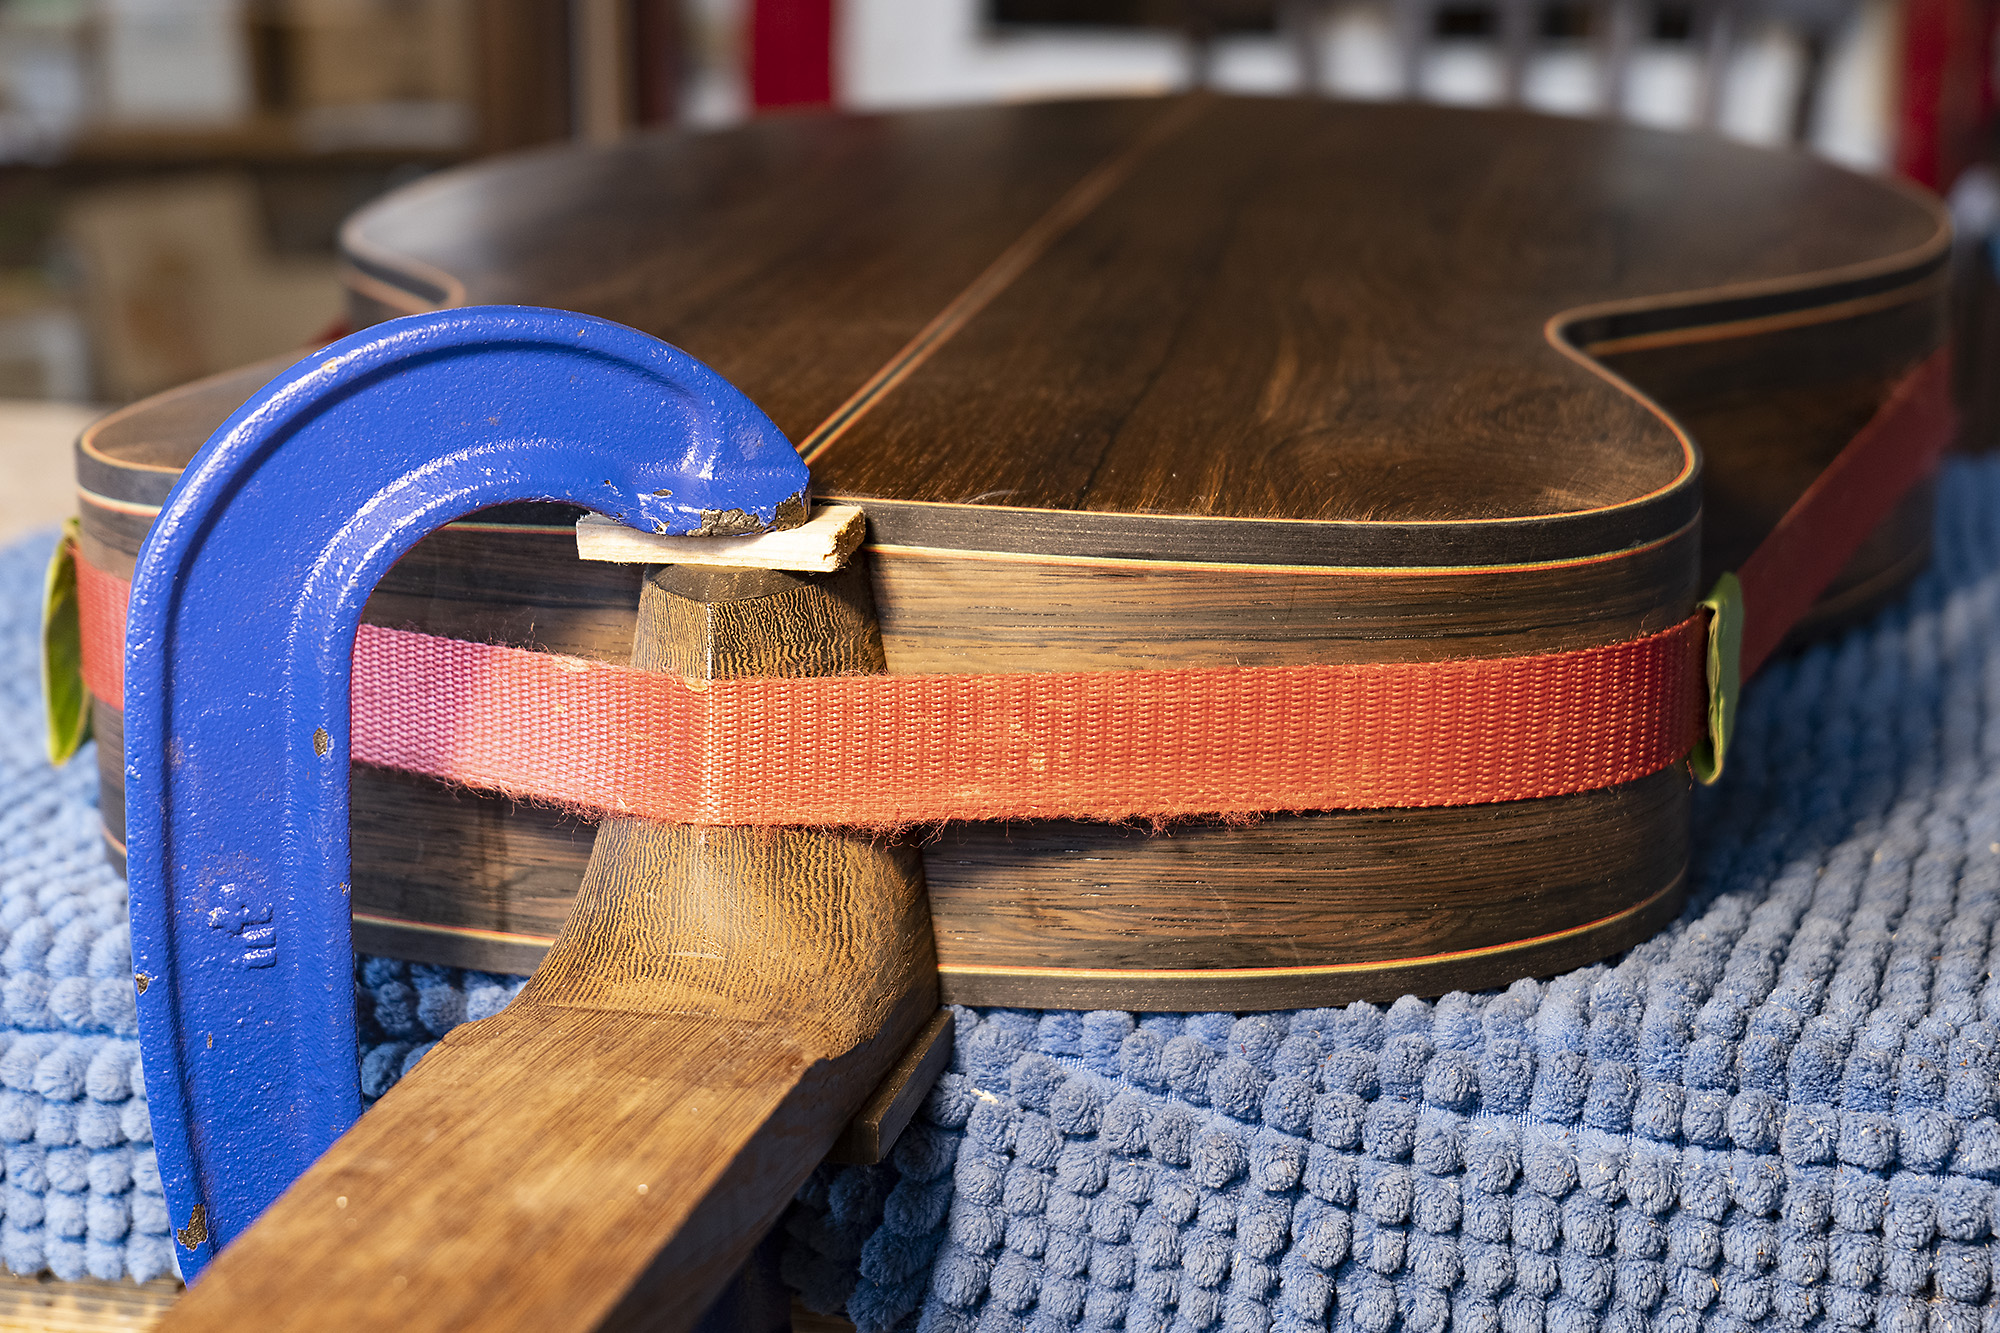 The last process: gluing on the ebony heel cap. Now it stands overnight before I begin fitting the fingerboard
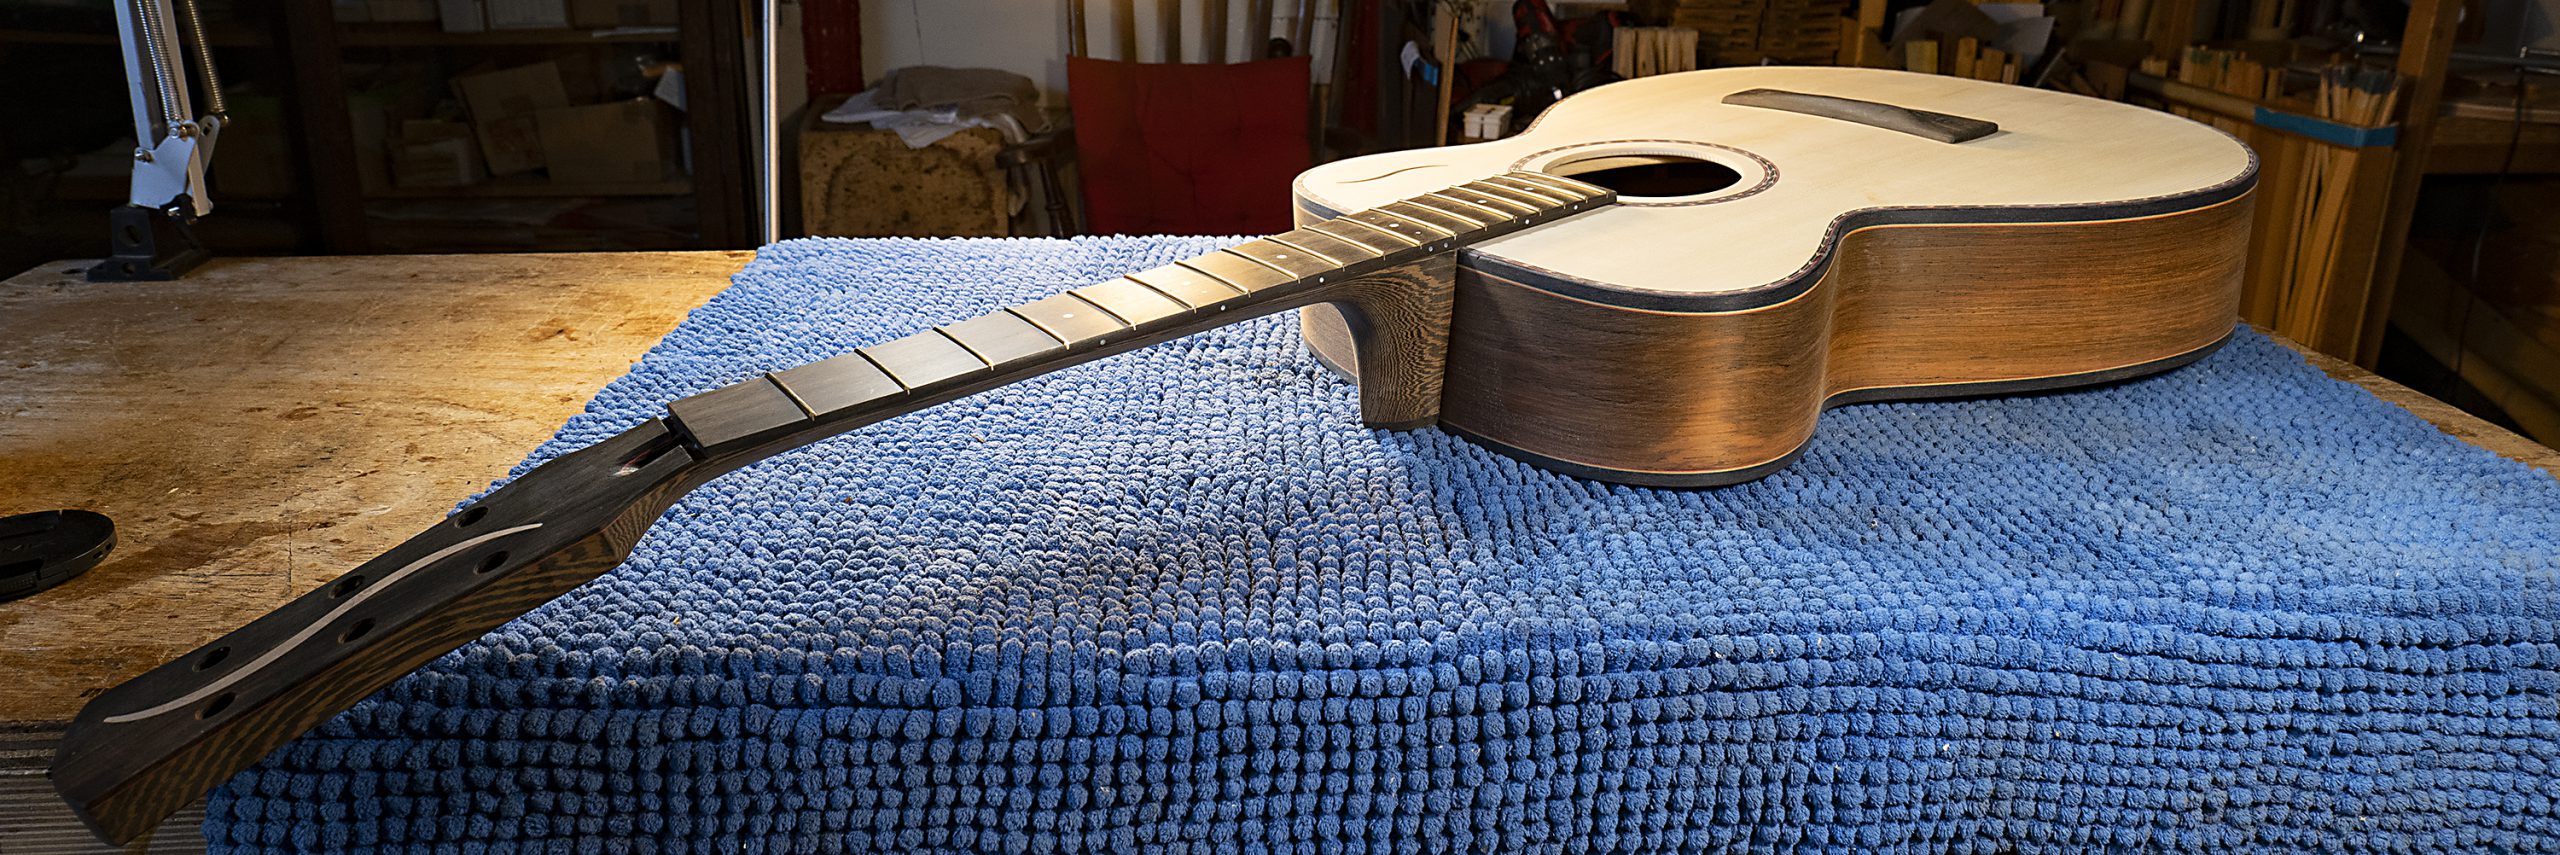
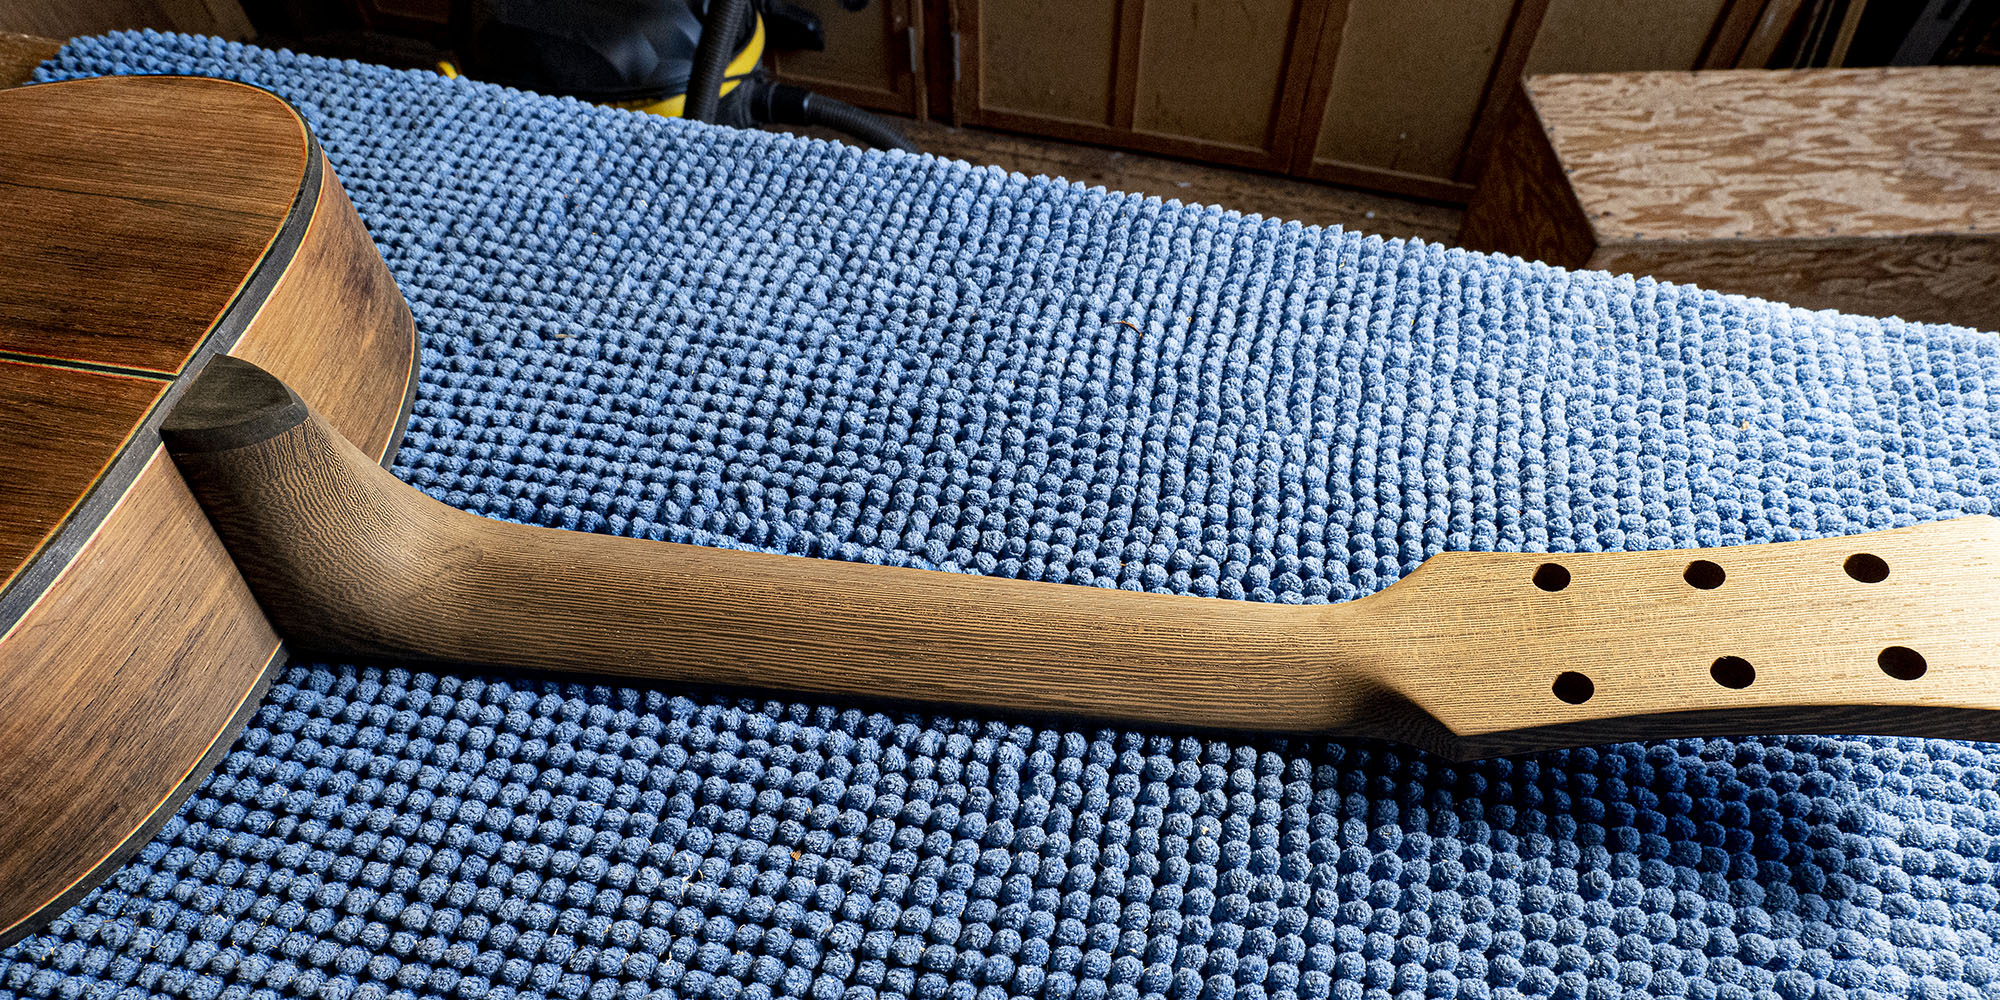
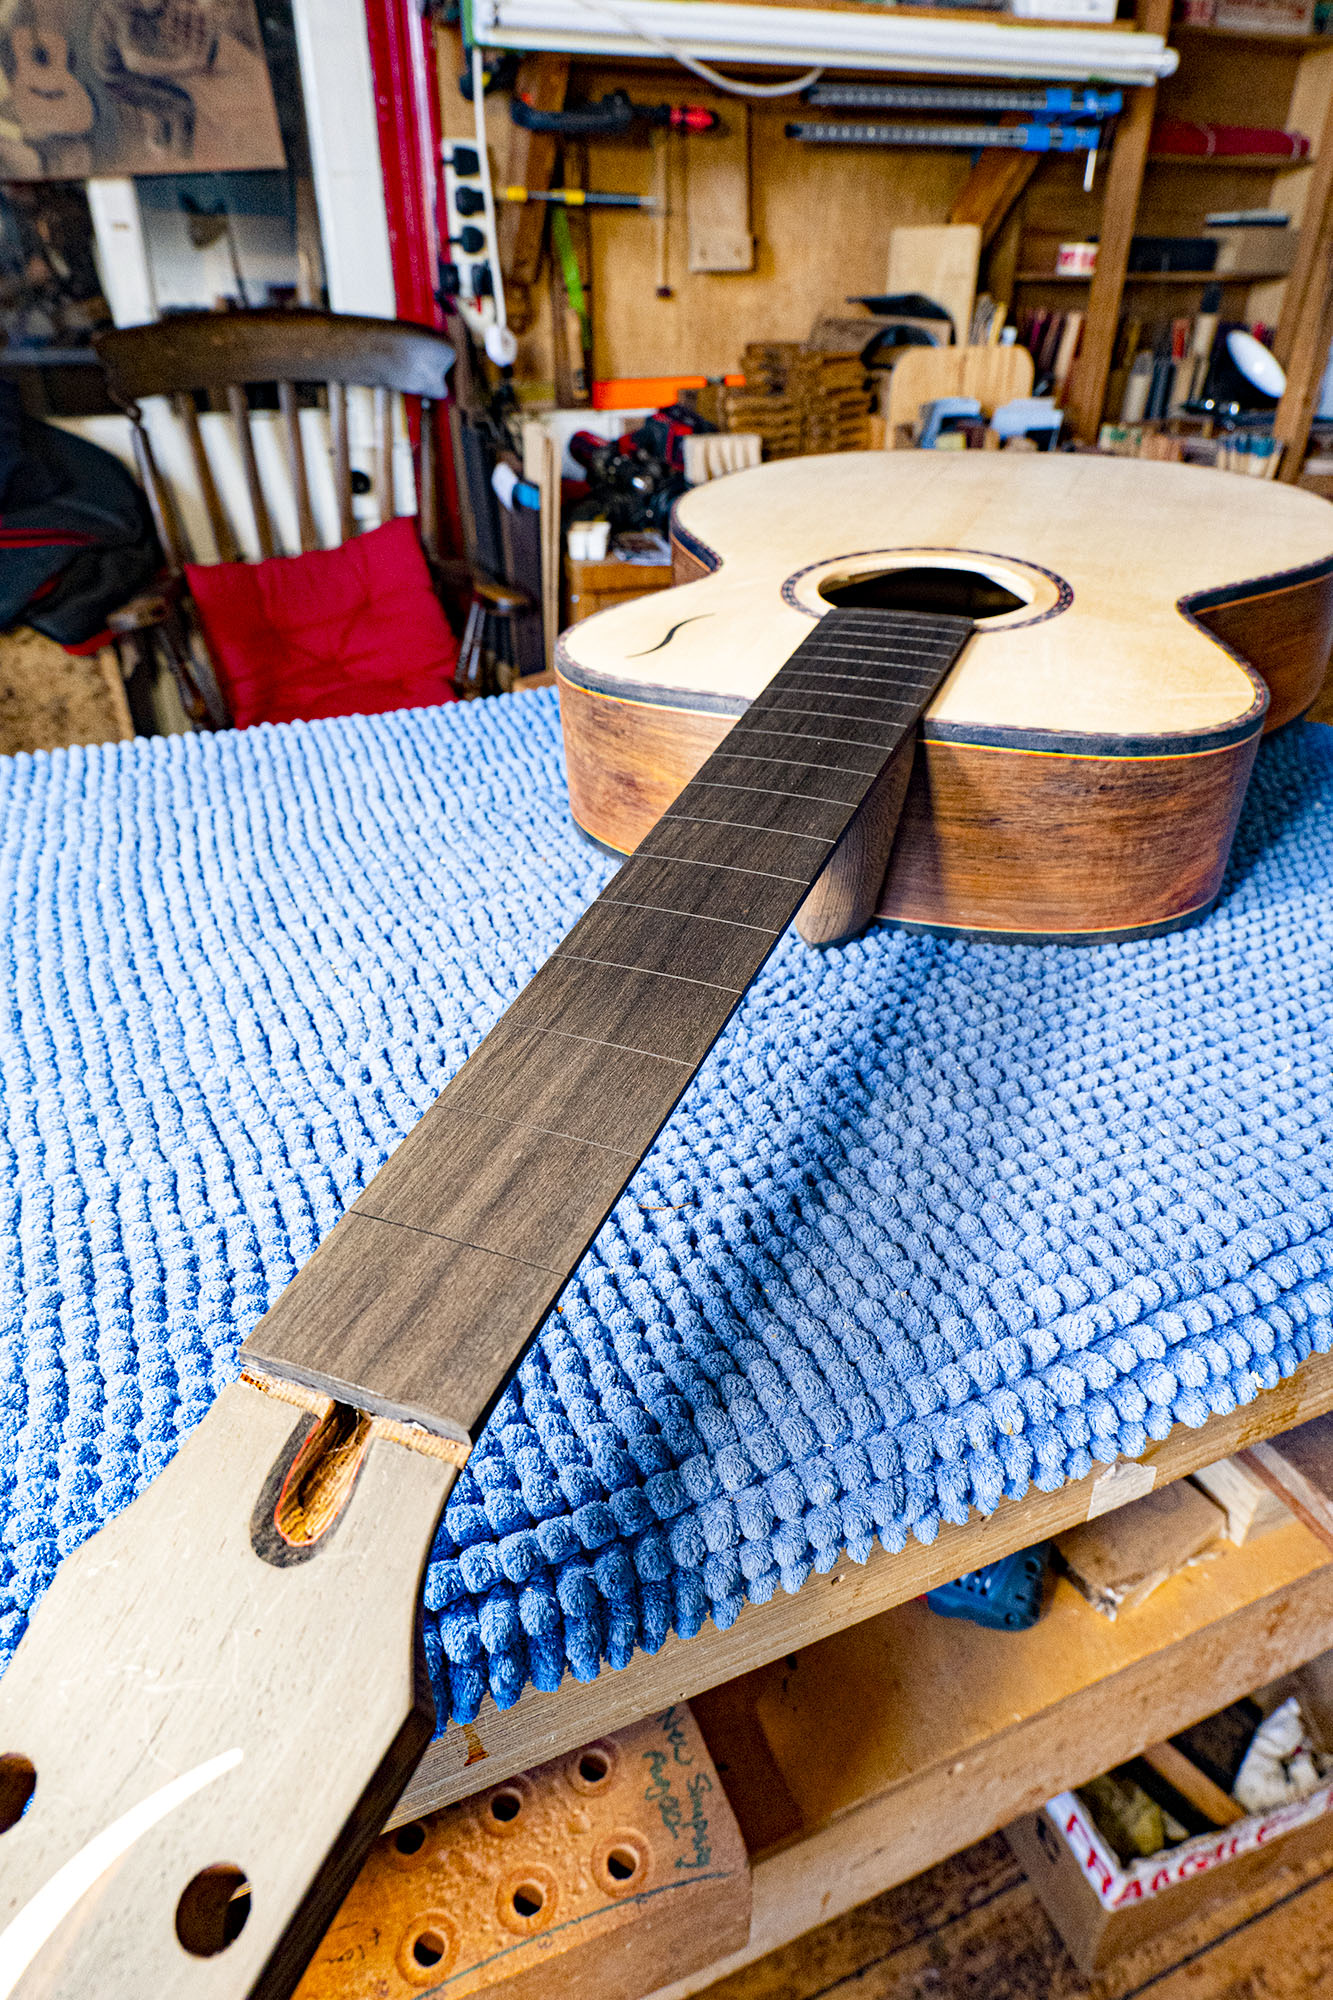
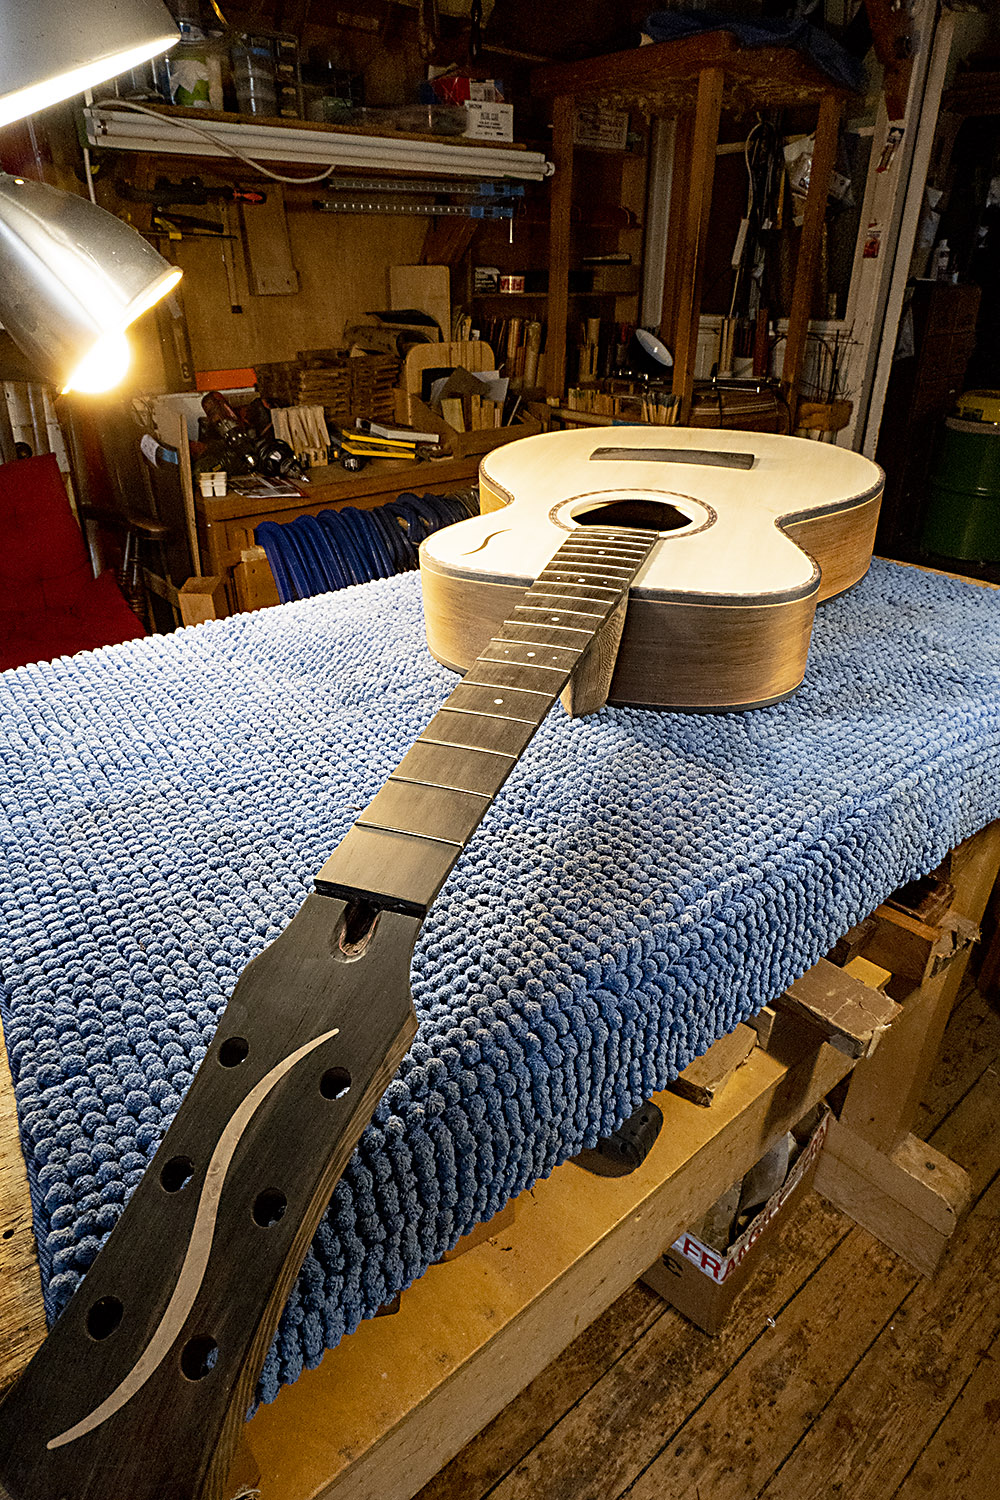
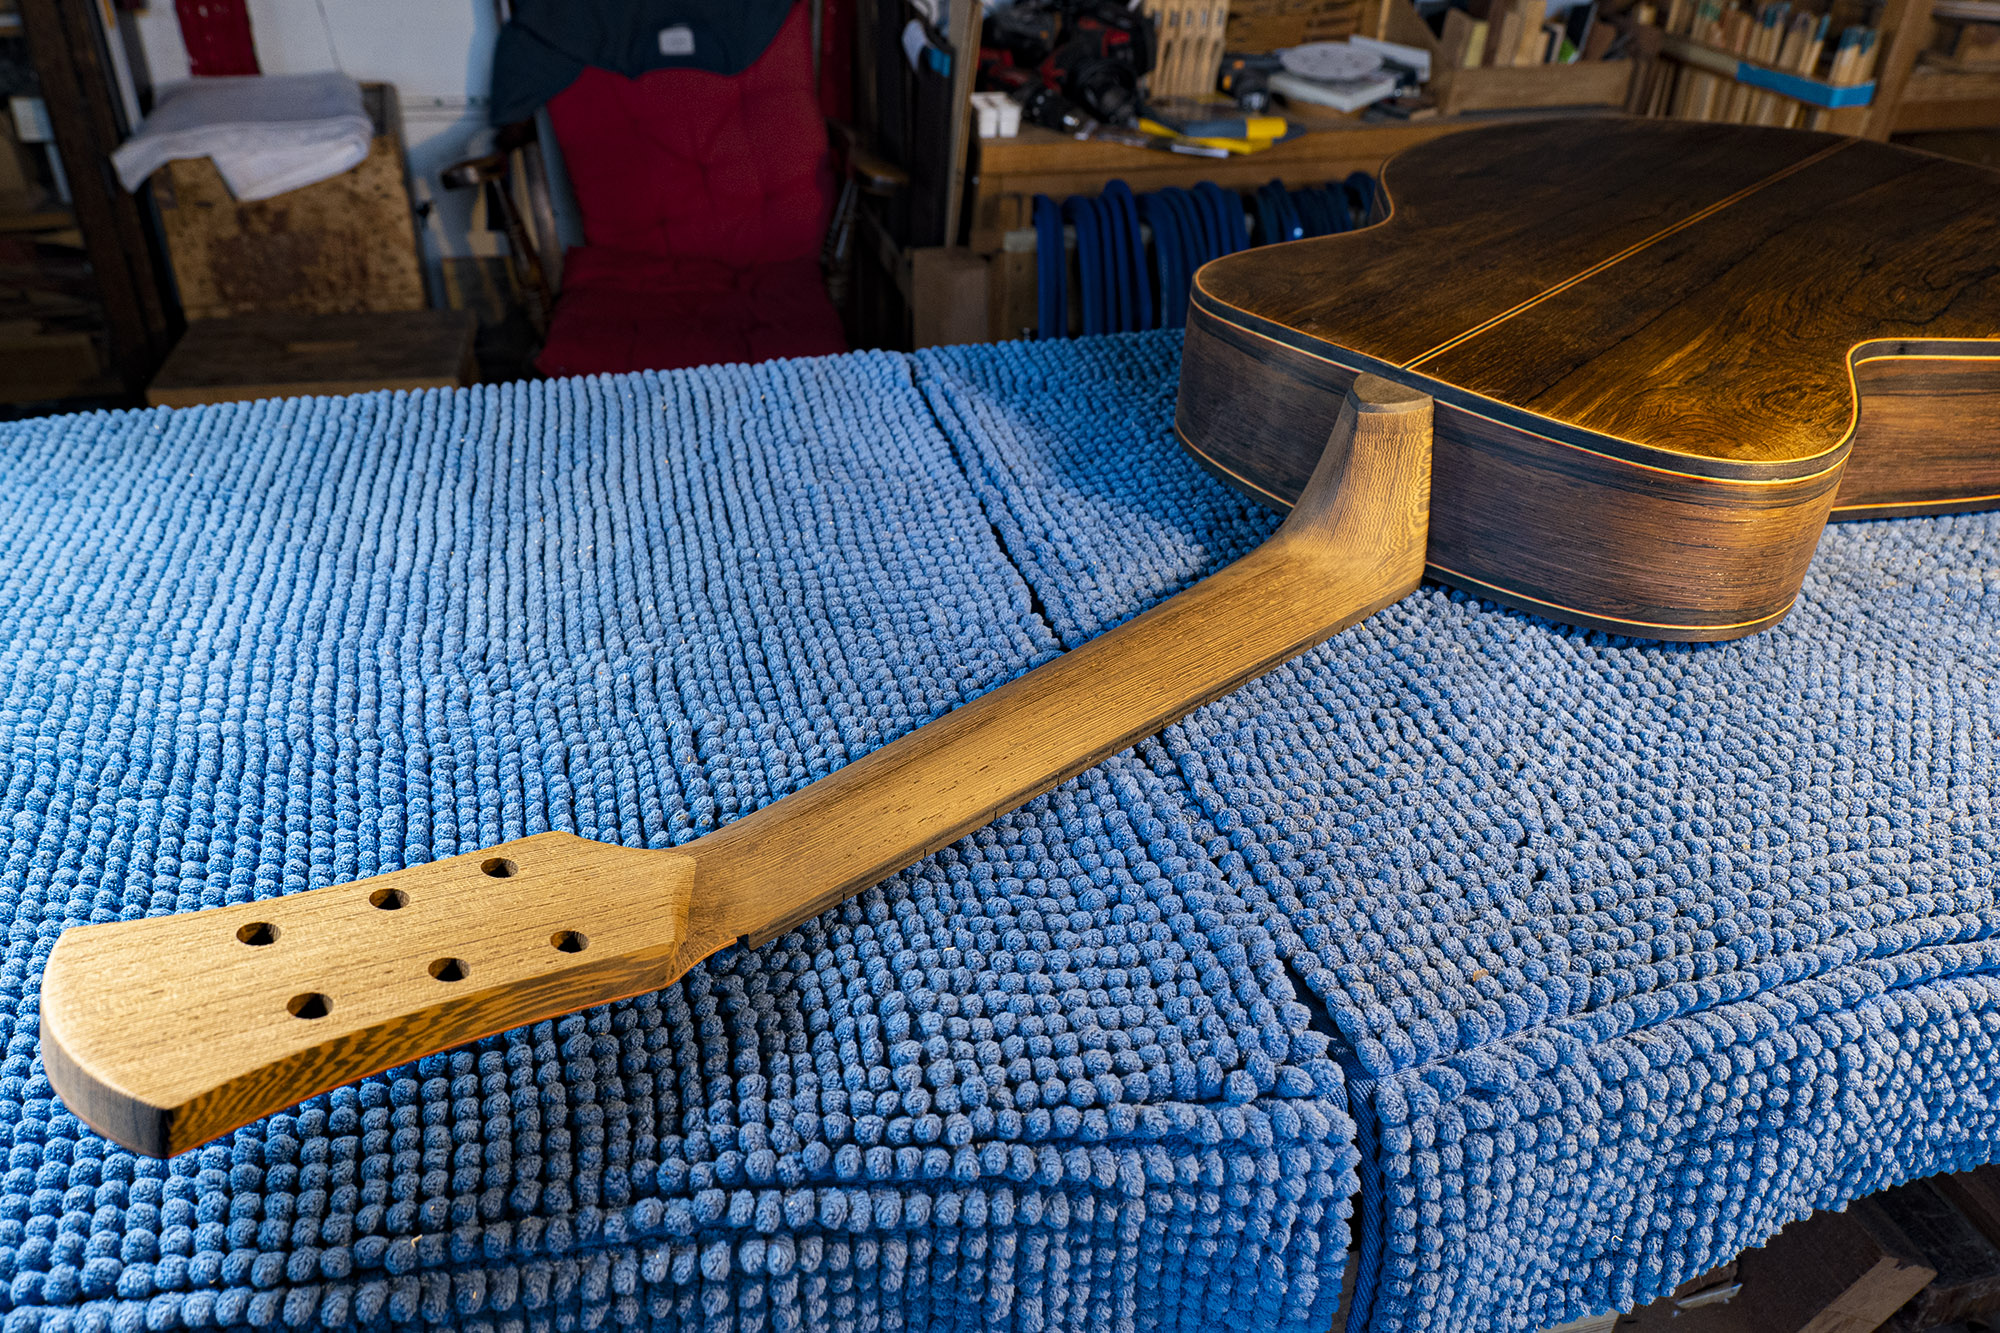 Fingerboard fitted and (some time later) Wengé neck shaped. Wengé is tricky to work. The grain runs both ways, when planing or chiseling, there is always grain against you so the blade wants to dig in. It’s abrasive, so quickly blunts tools used on it, and the dust is not good. If you get a splinter it should be taken out soon; left in, the flesh around it will fester.
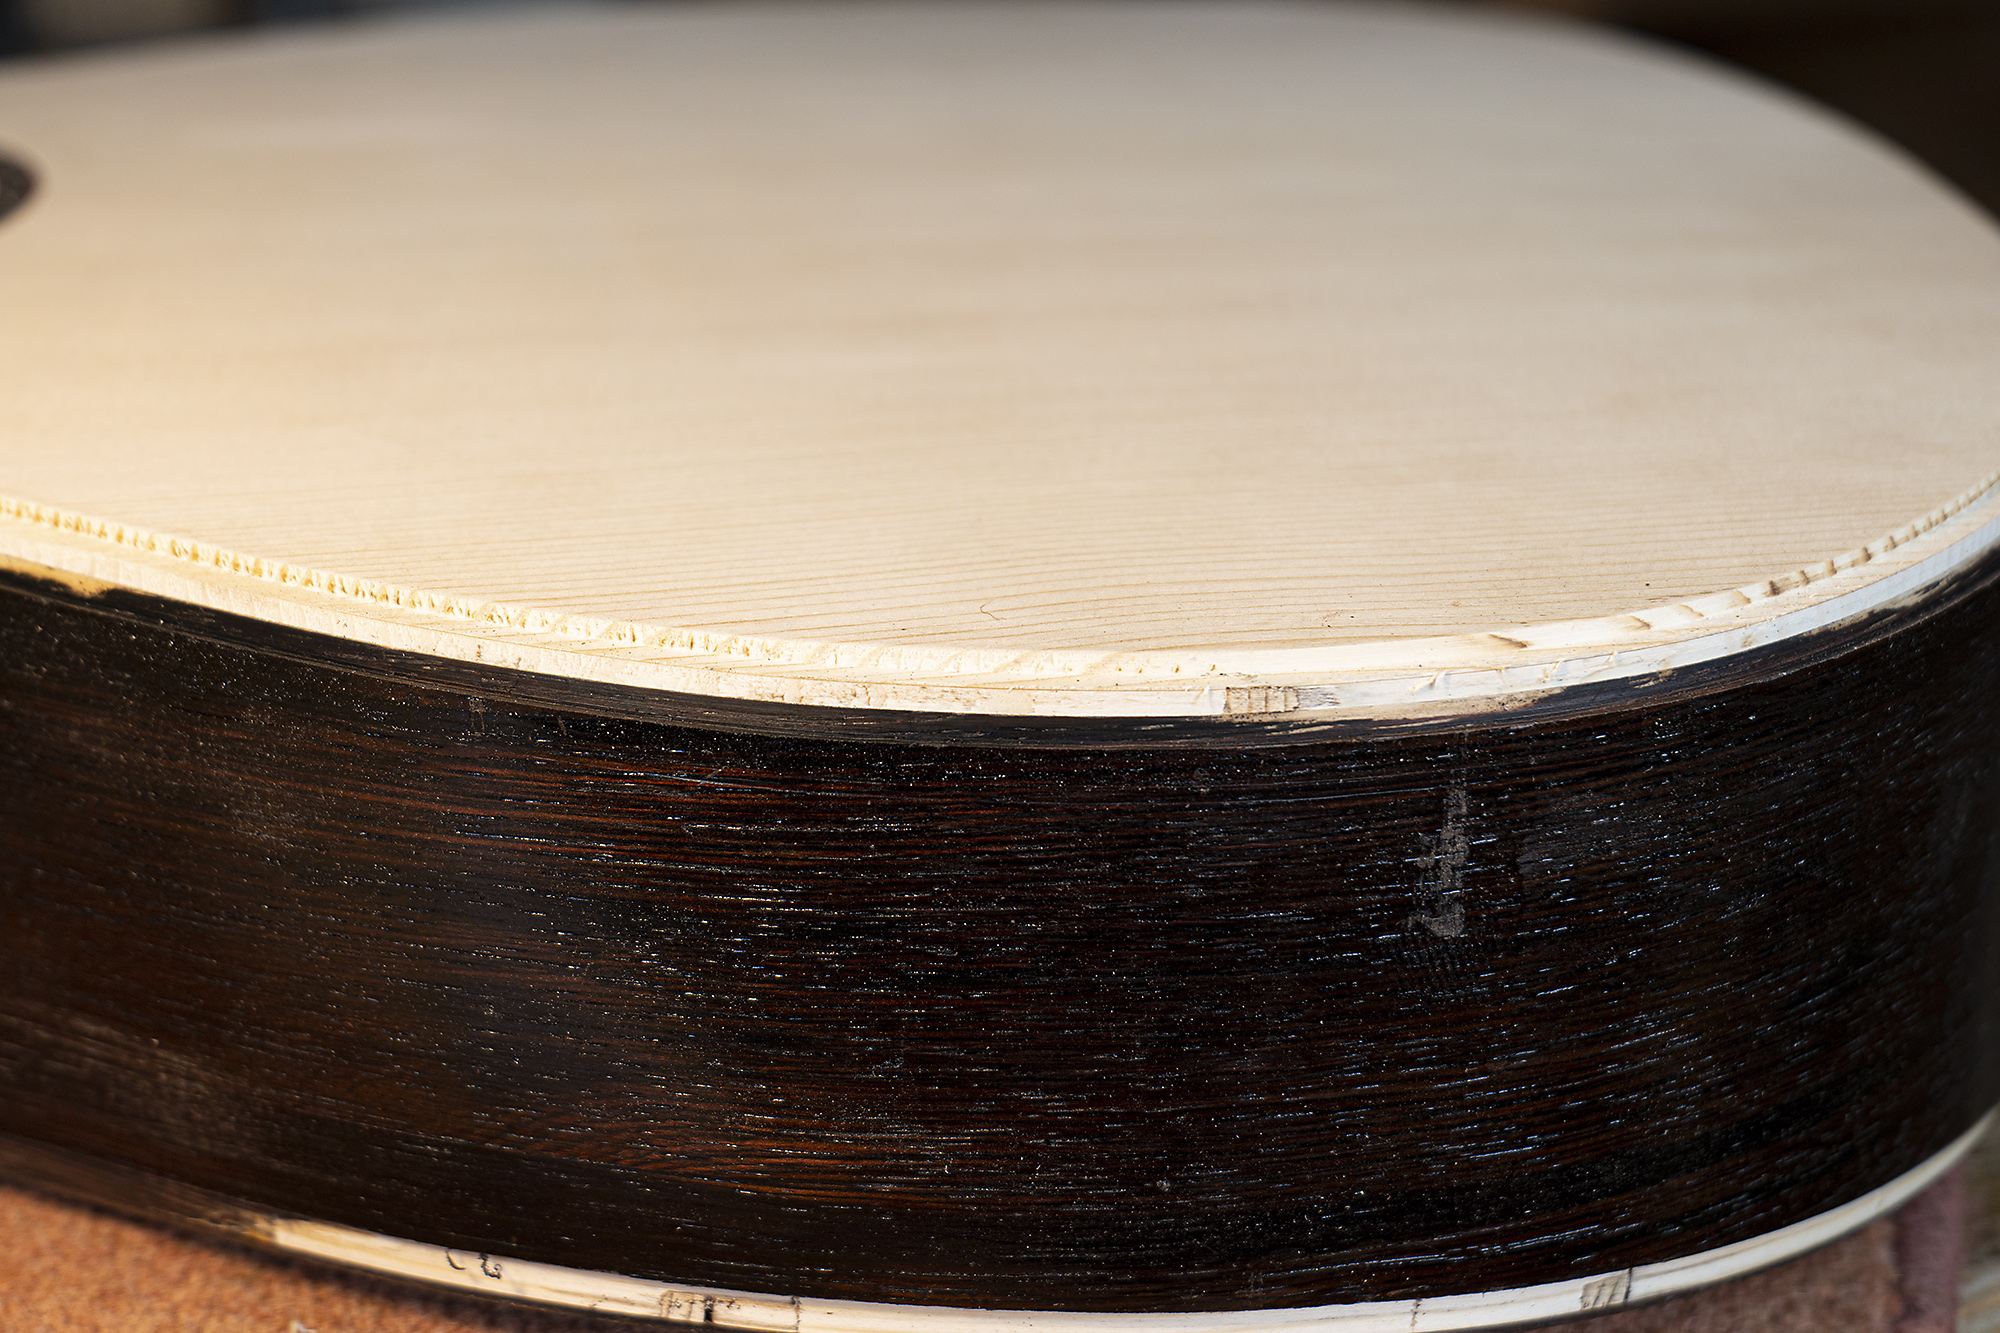 Top stepped ledge for binding and arrowhead trim plus red pinstripe
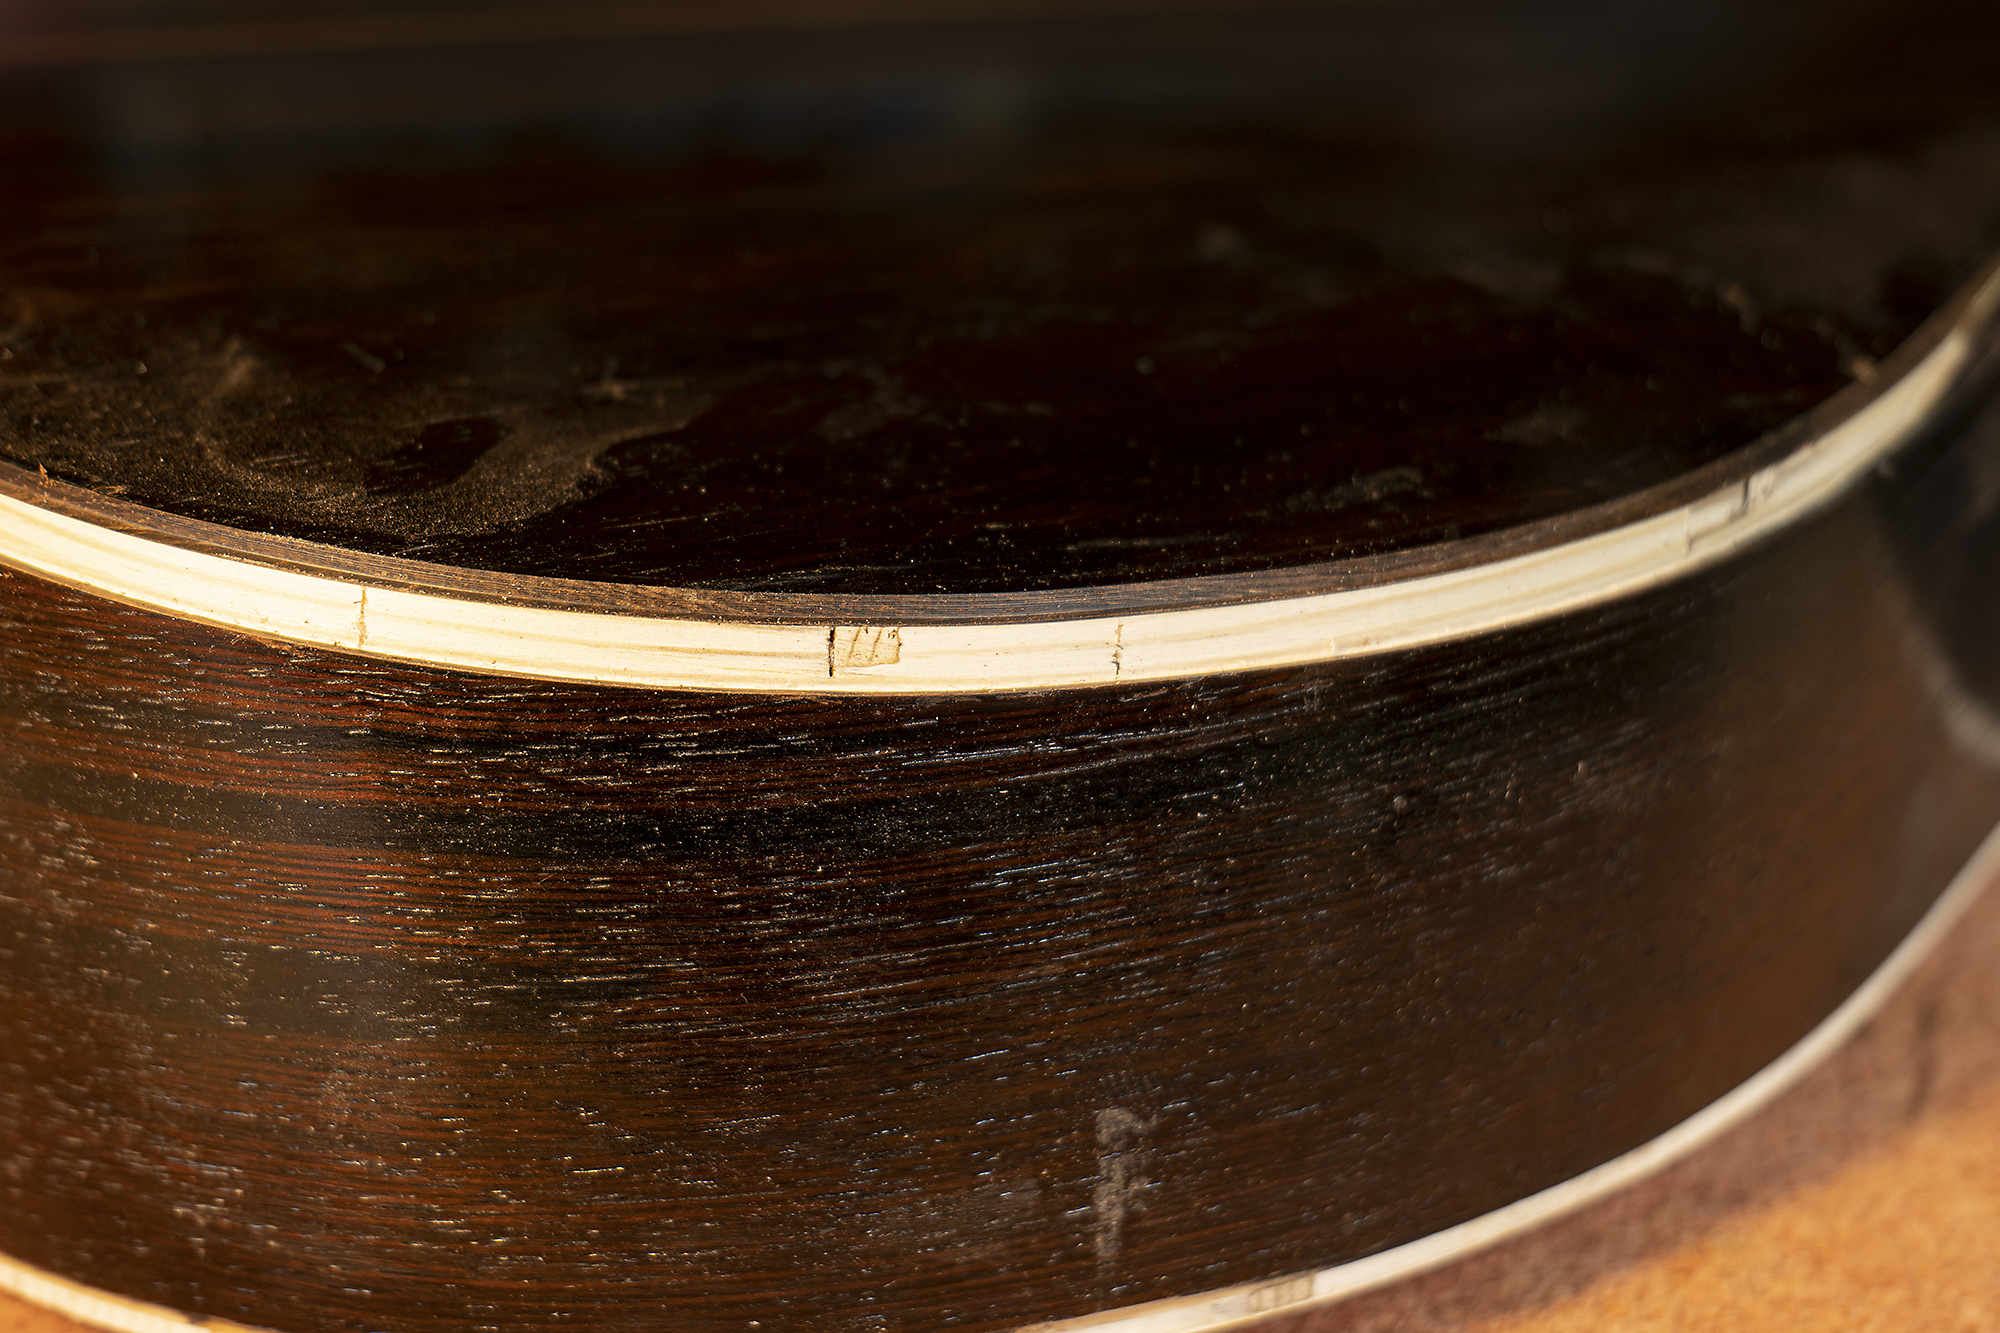 Bottom stepped ledge for binding and three colour trim
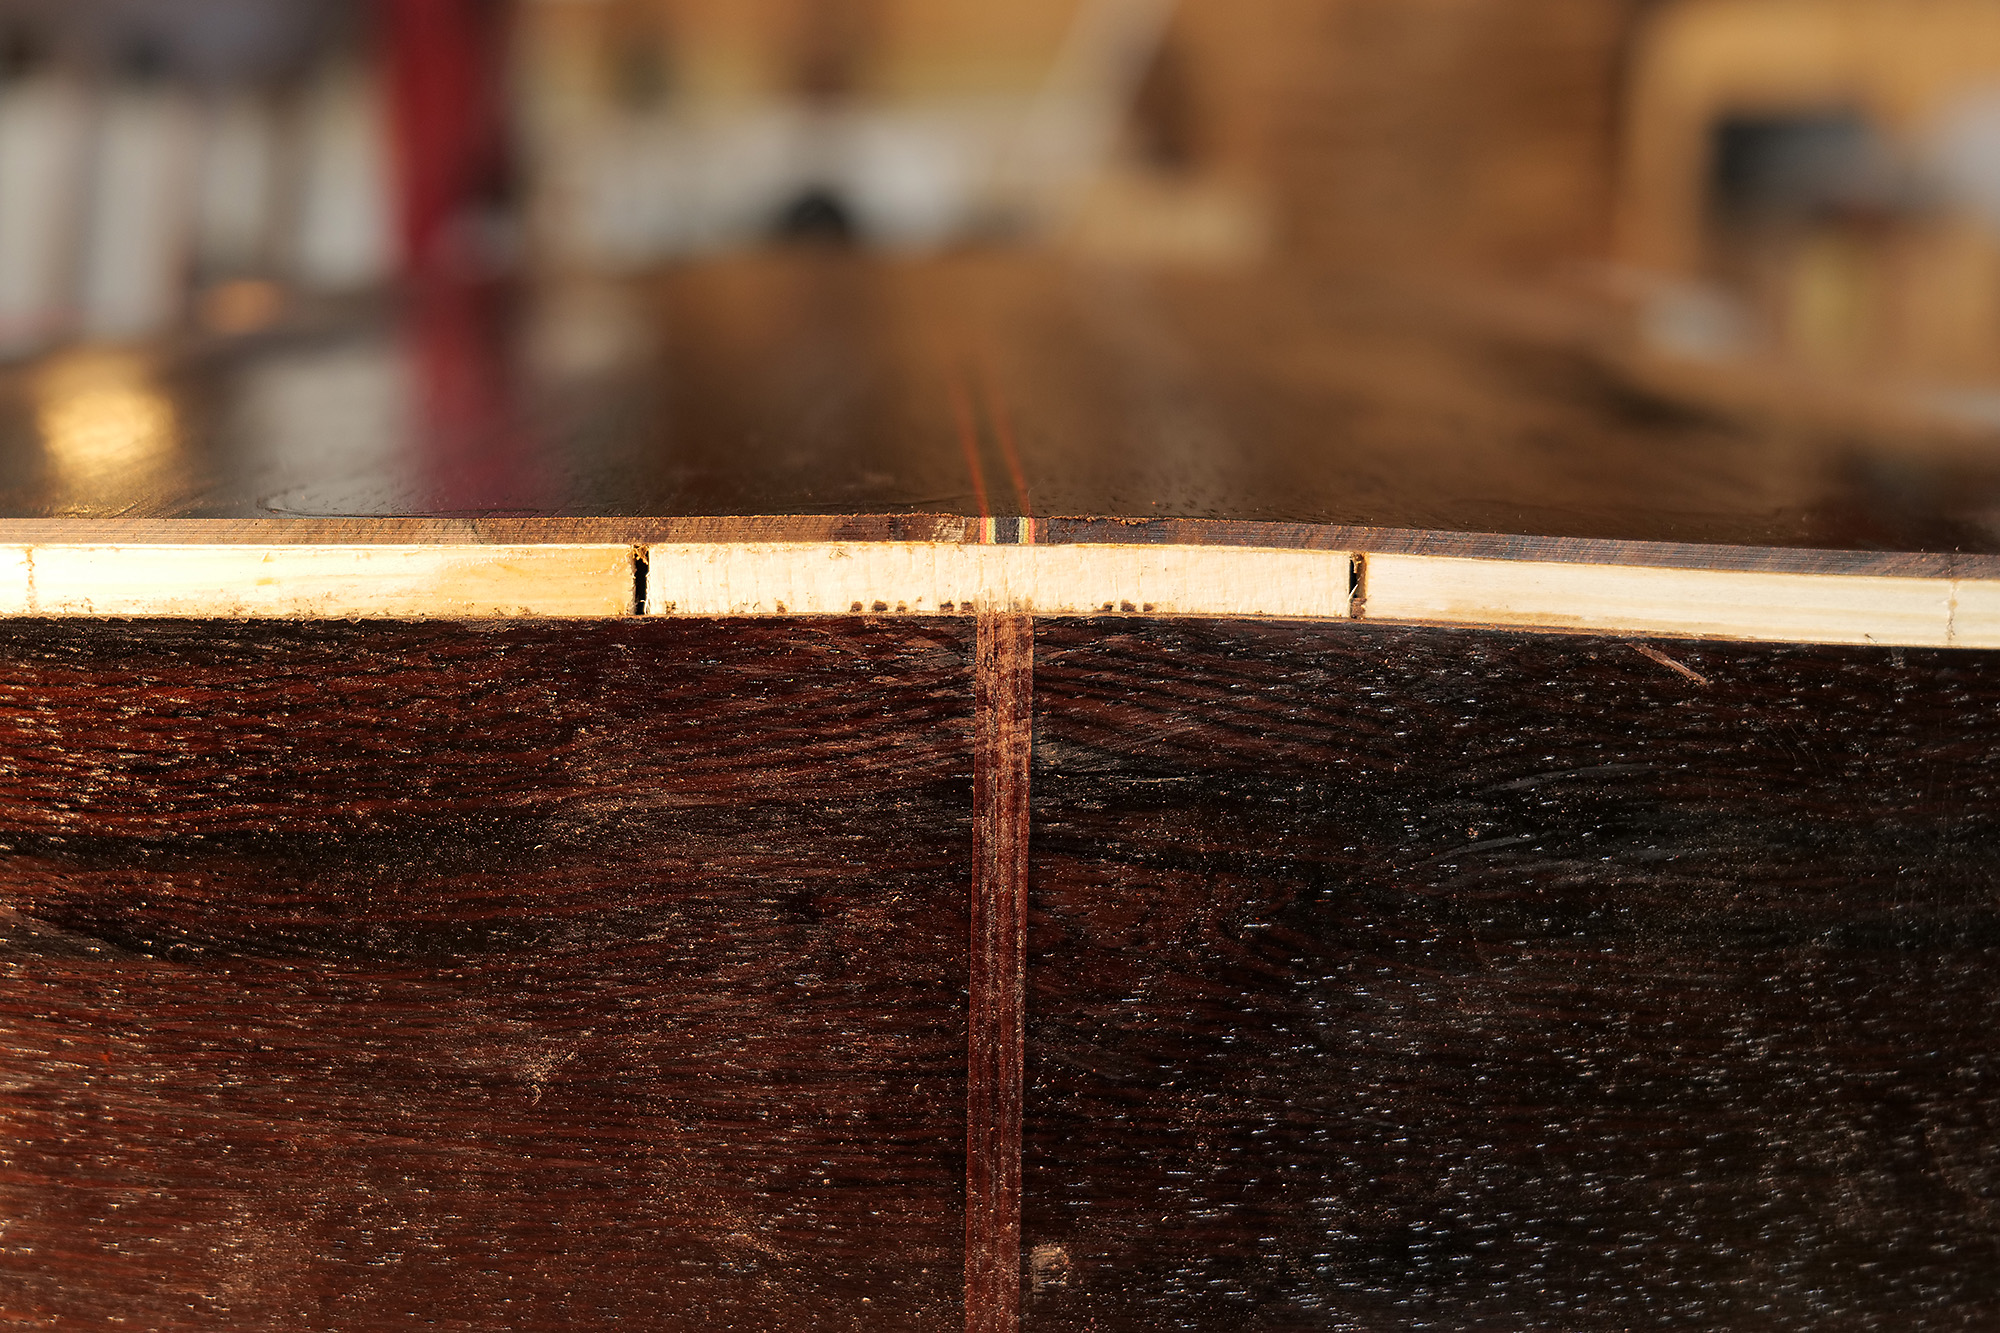 Sacrificial wood in place
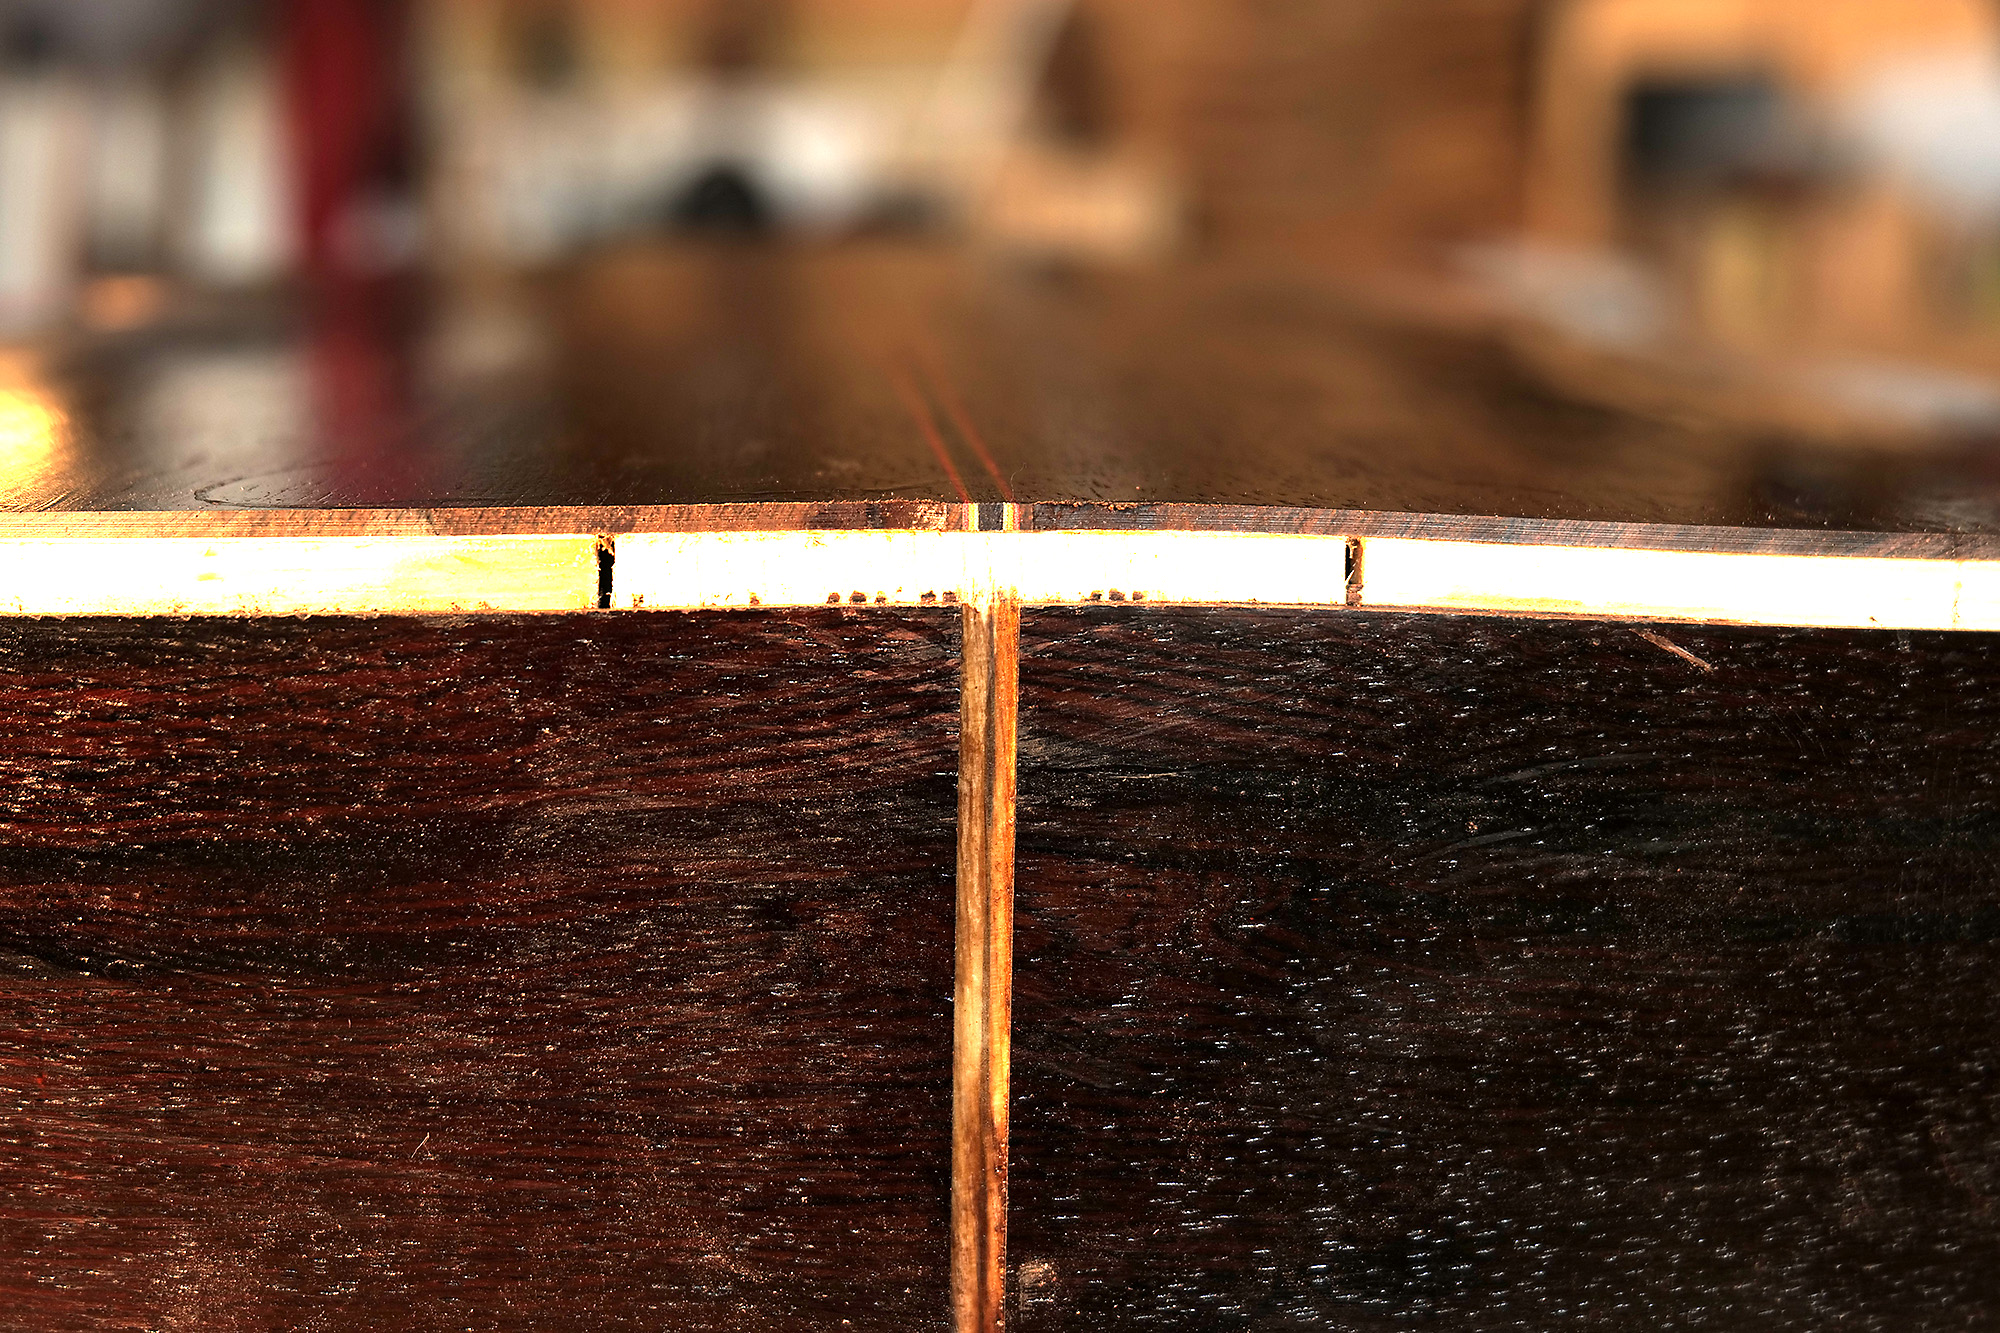 Sacrificial wood removed
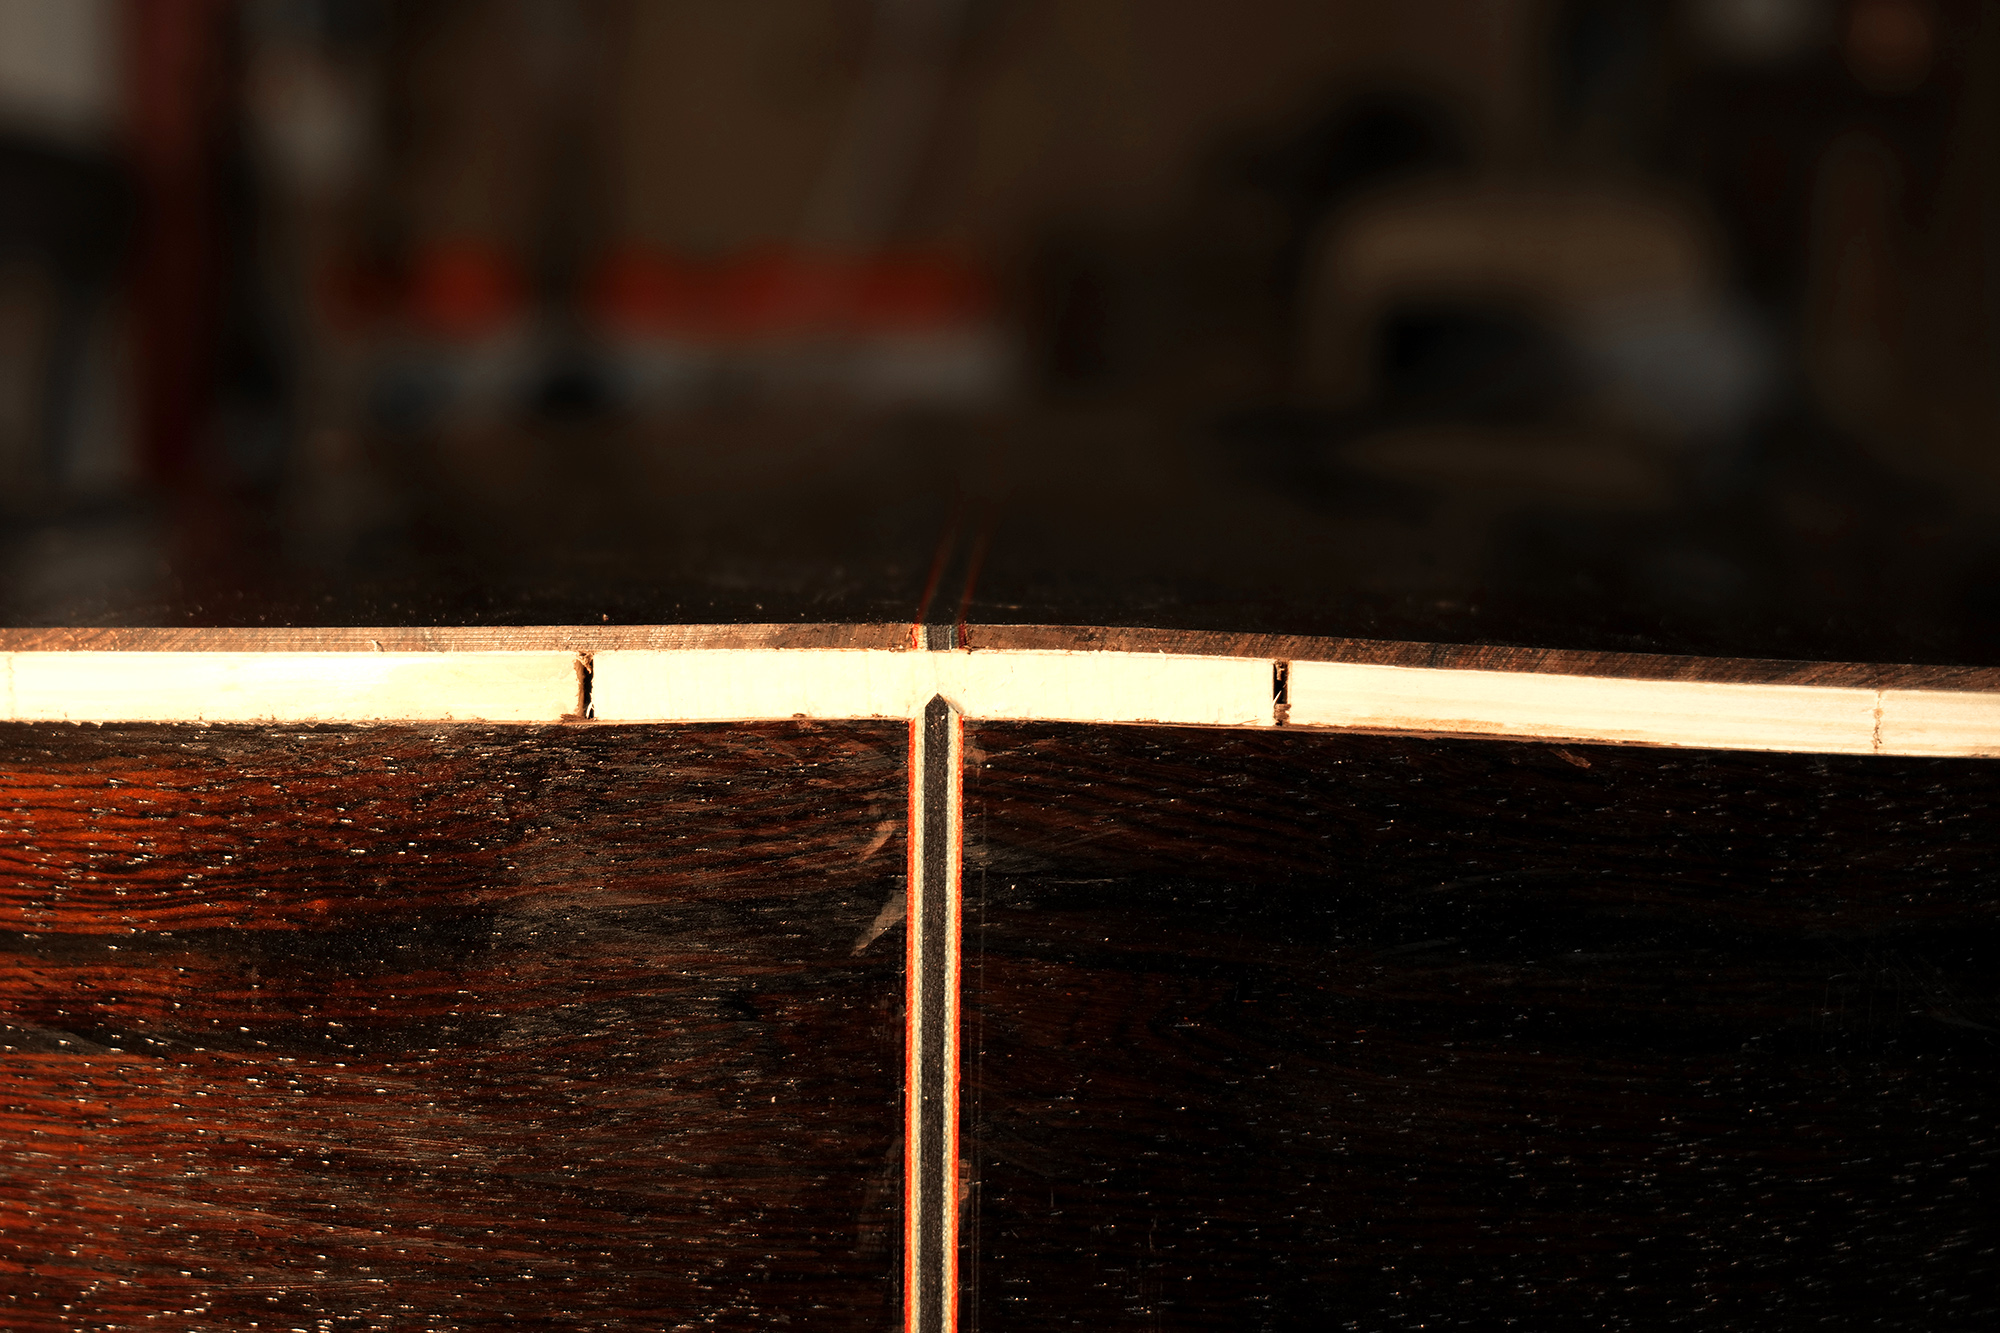 Final trim in place and mitred
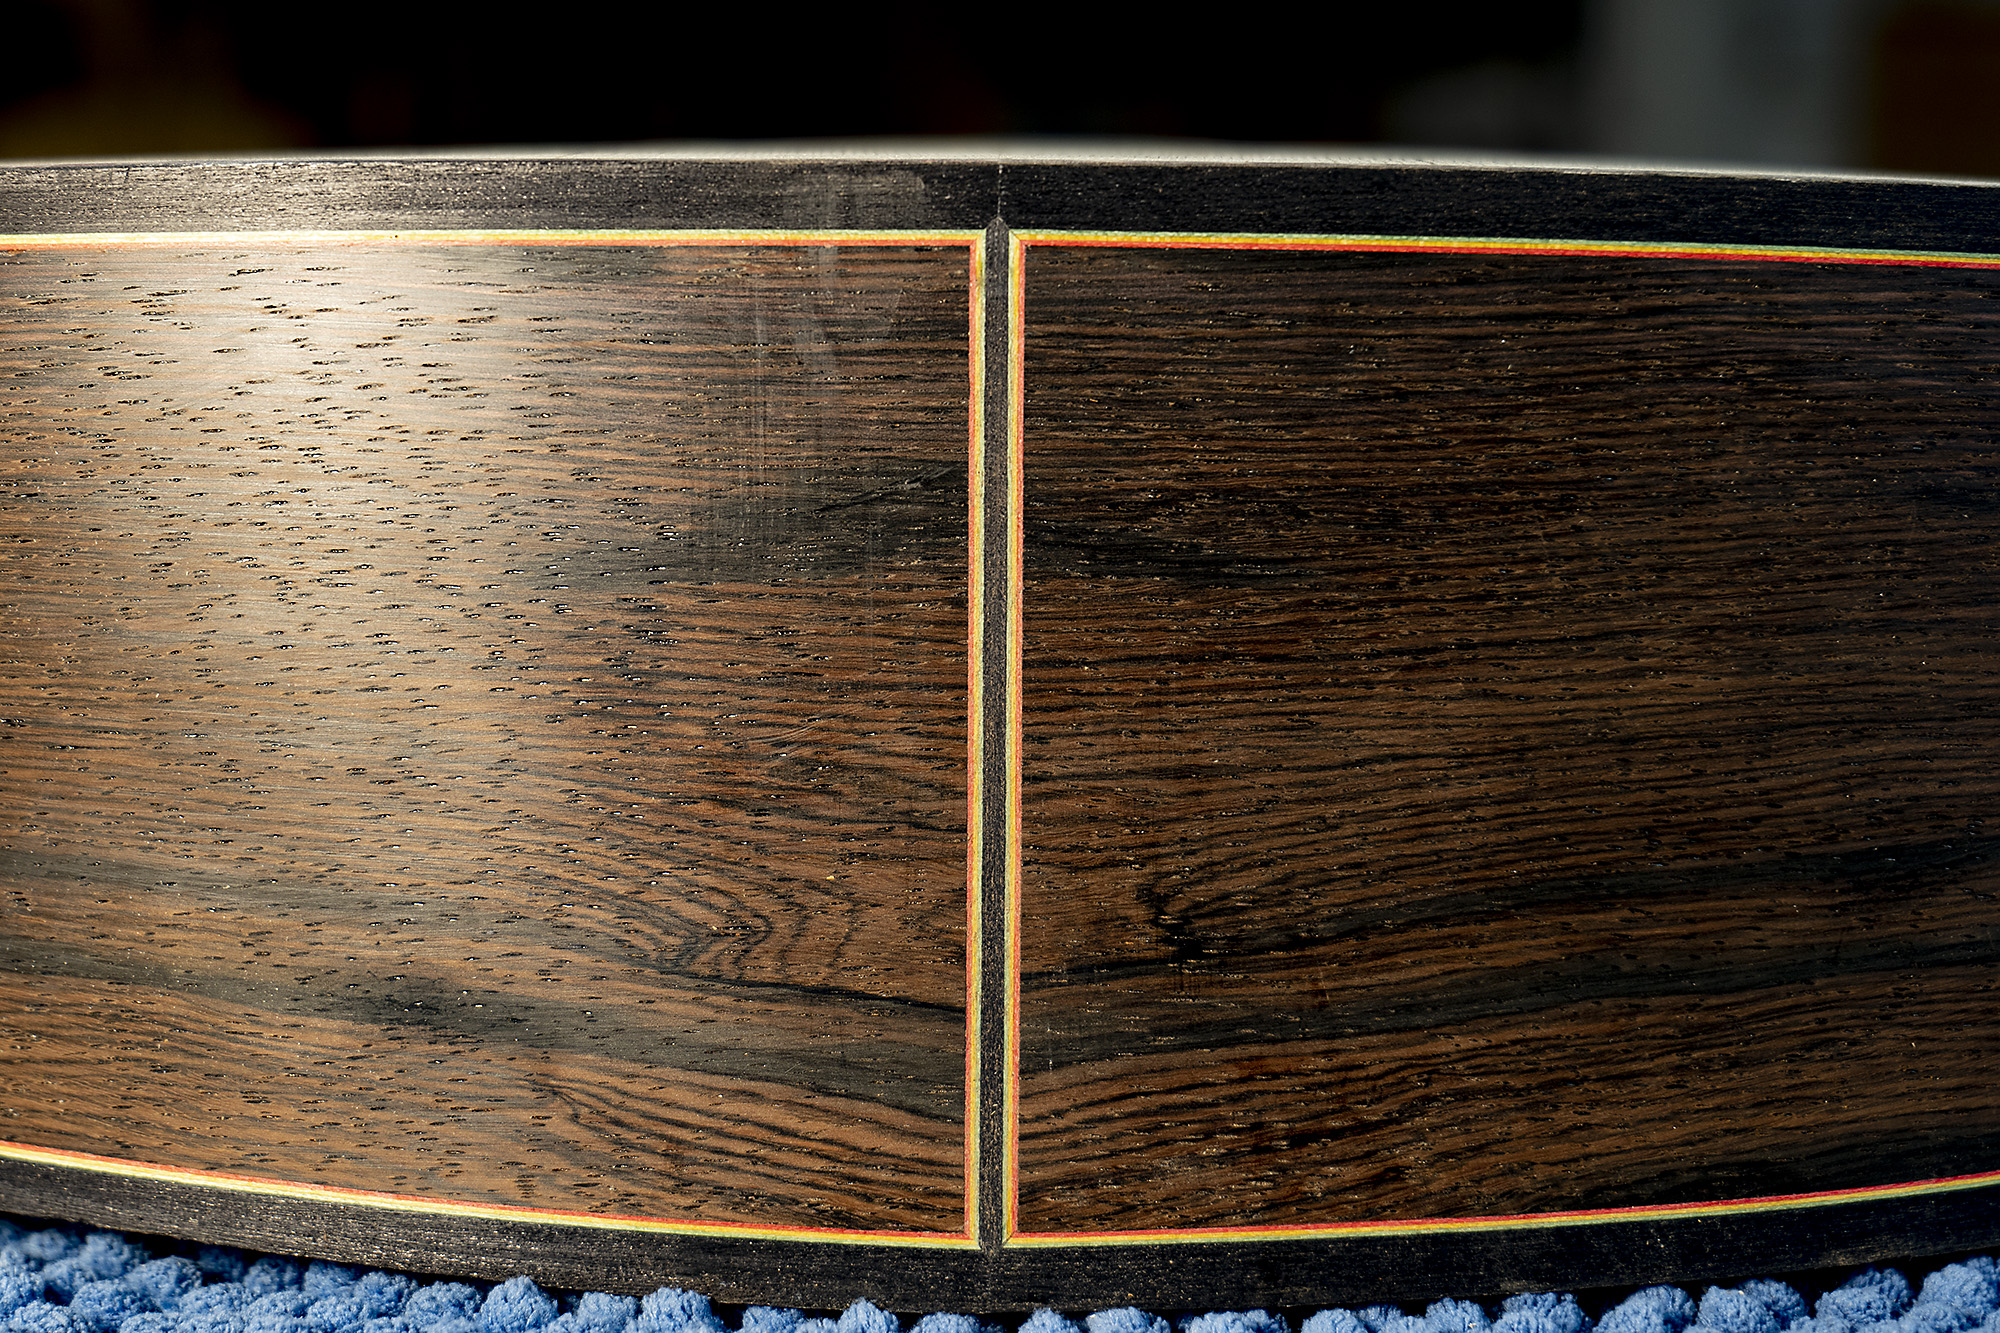 Tail trim mitred into the binding
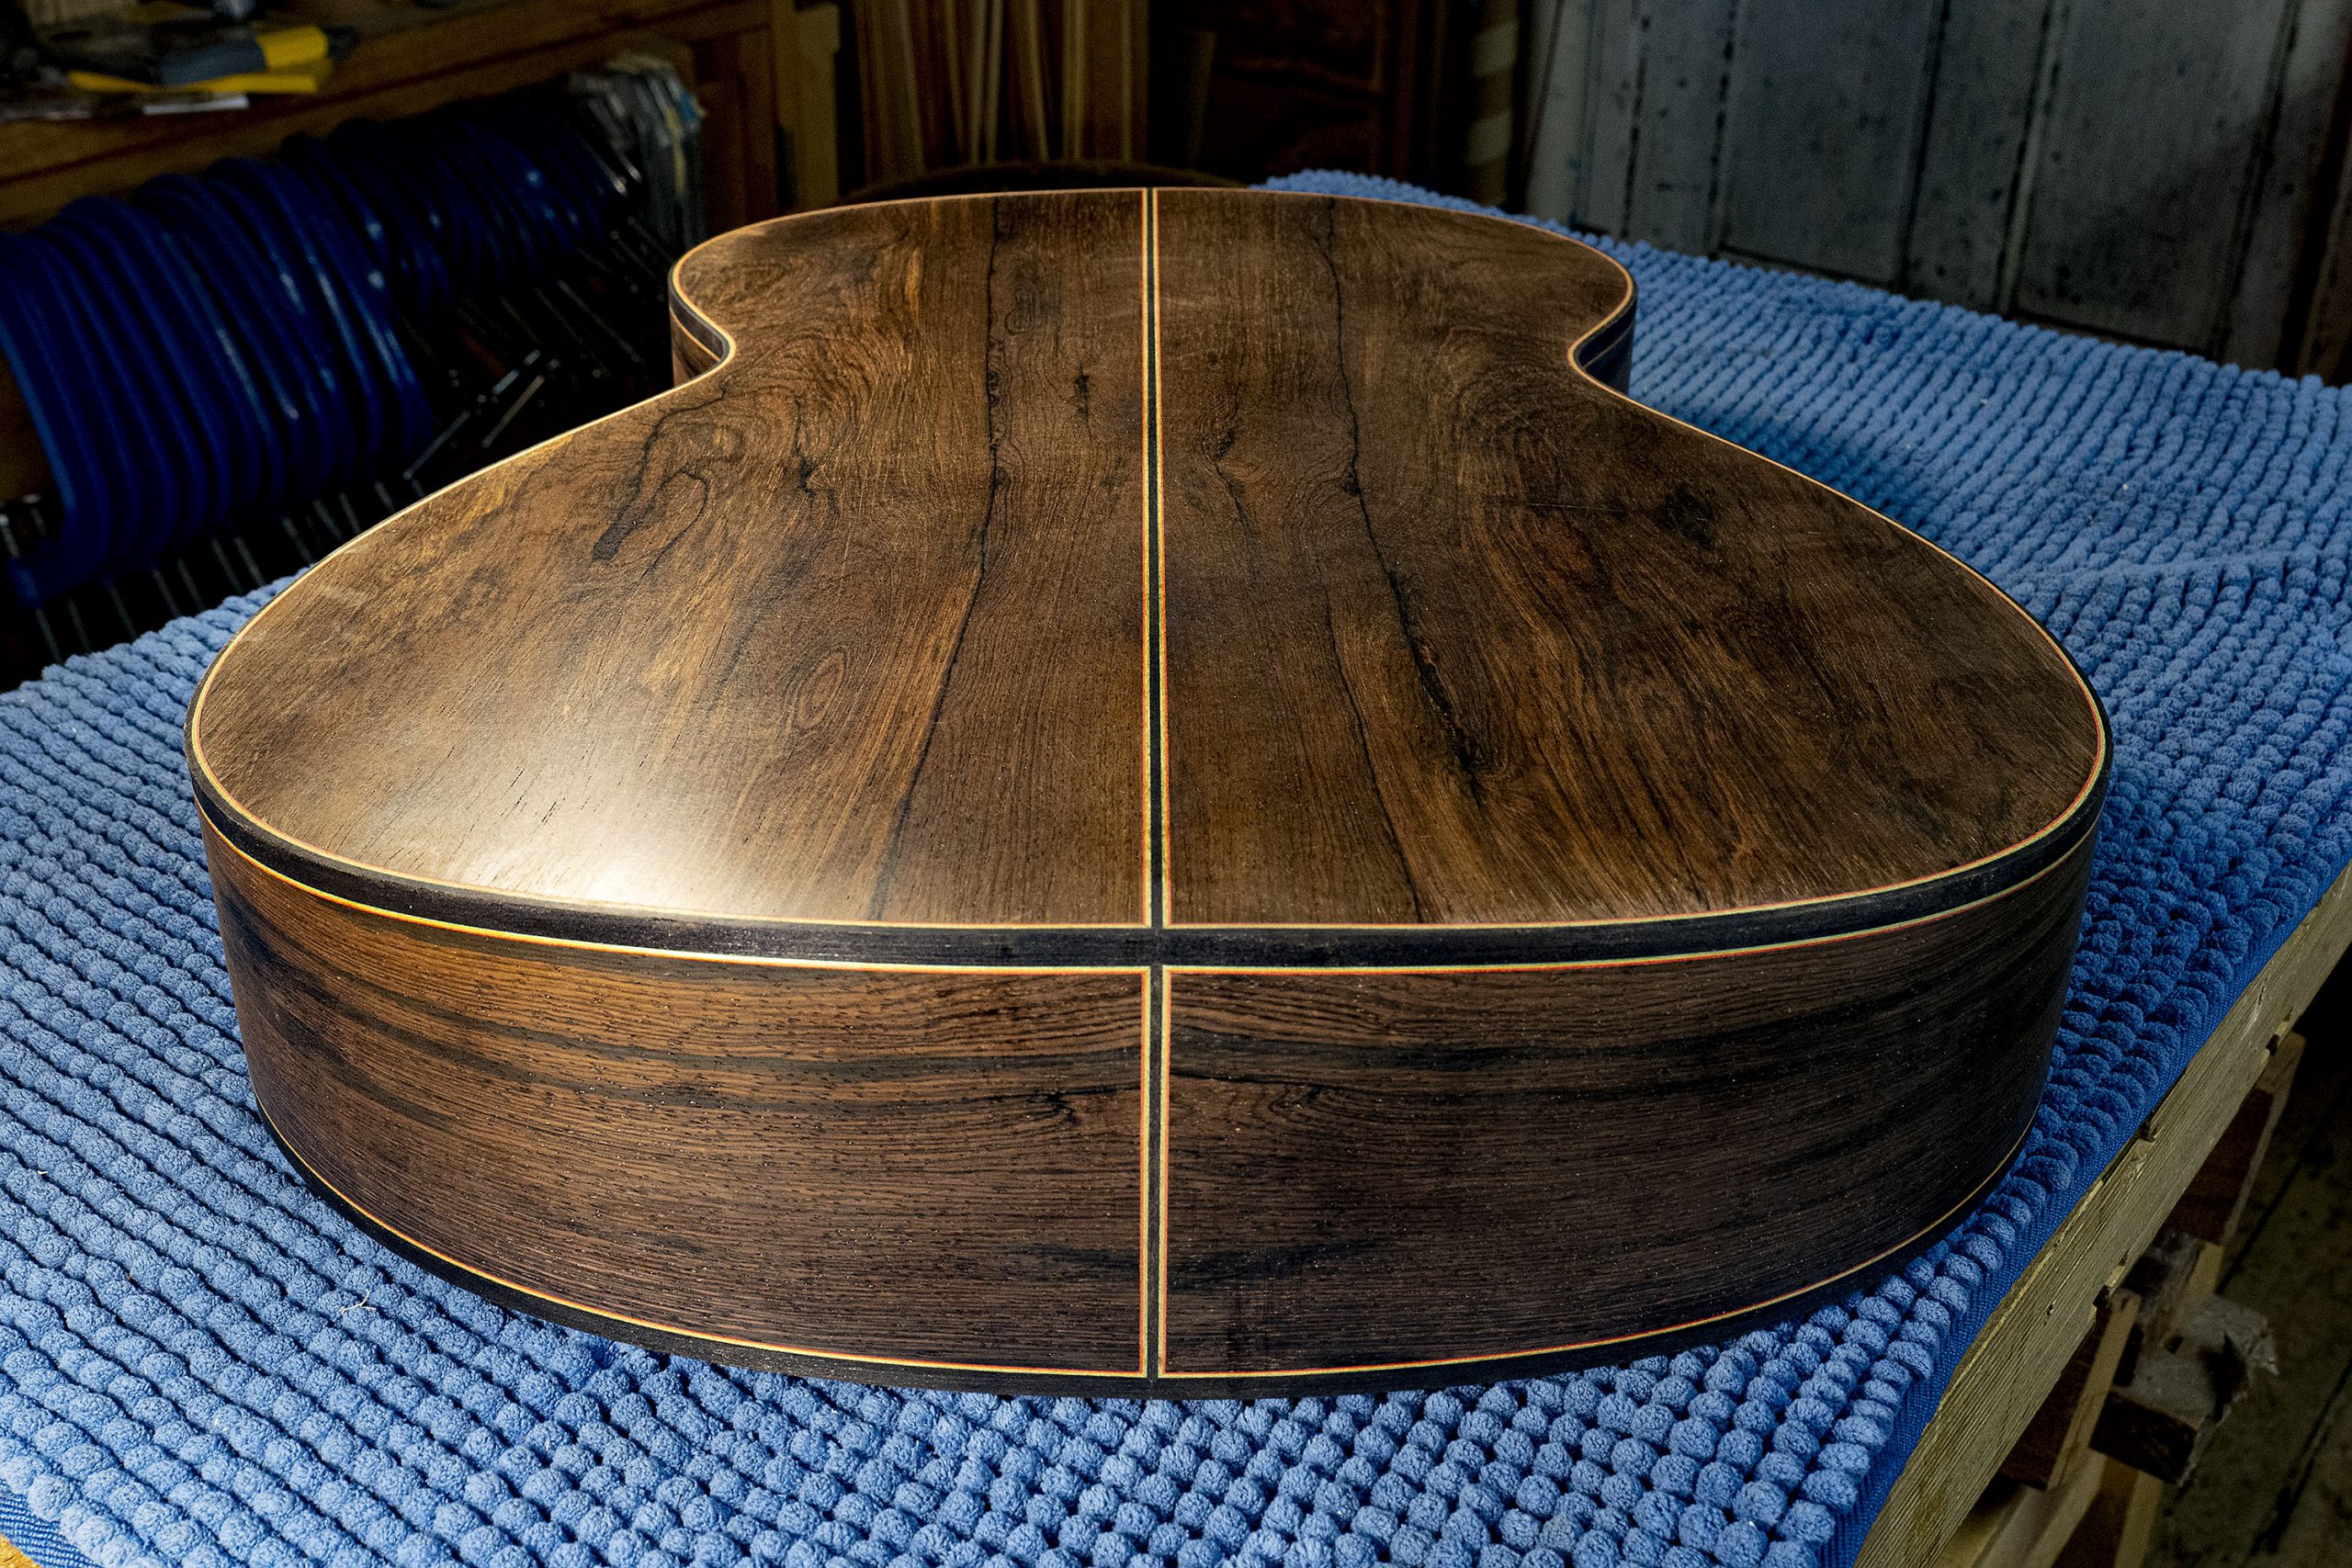
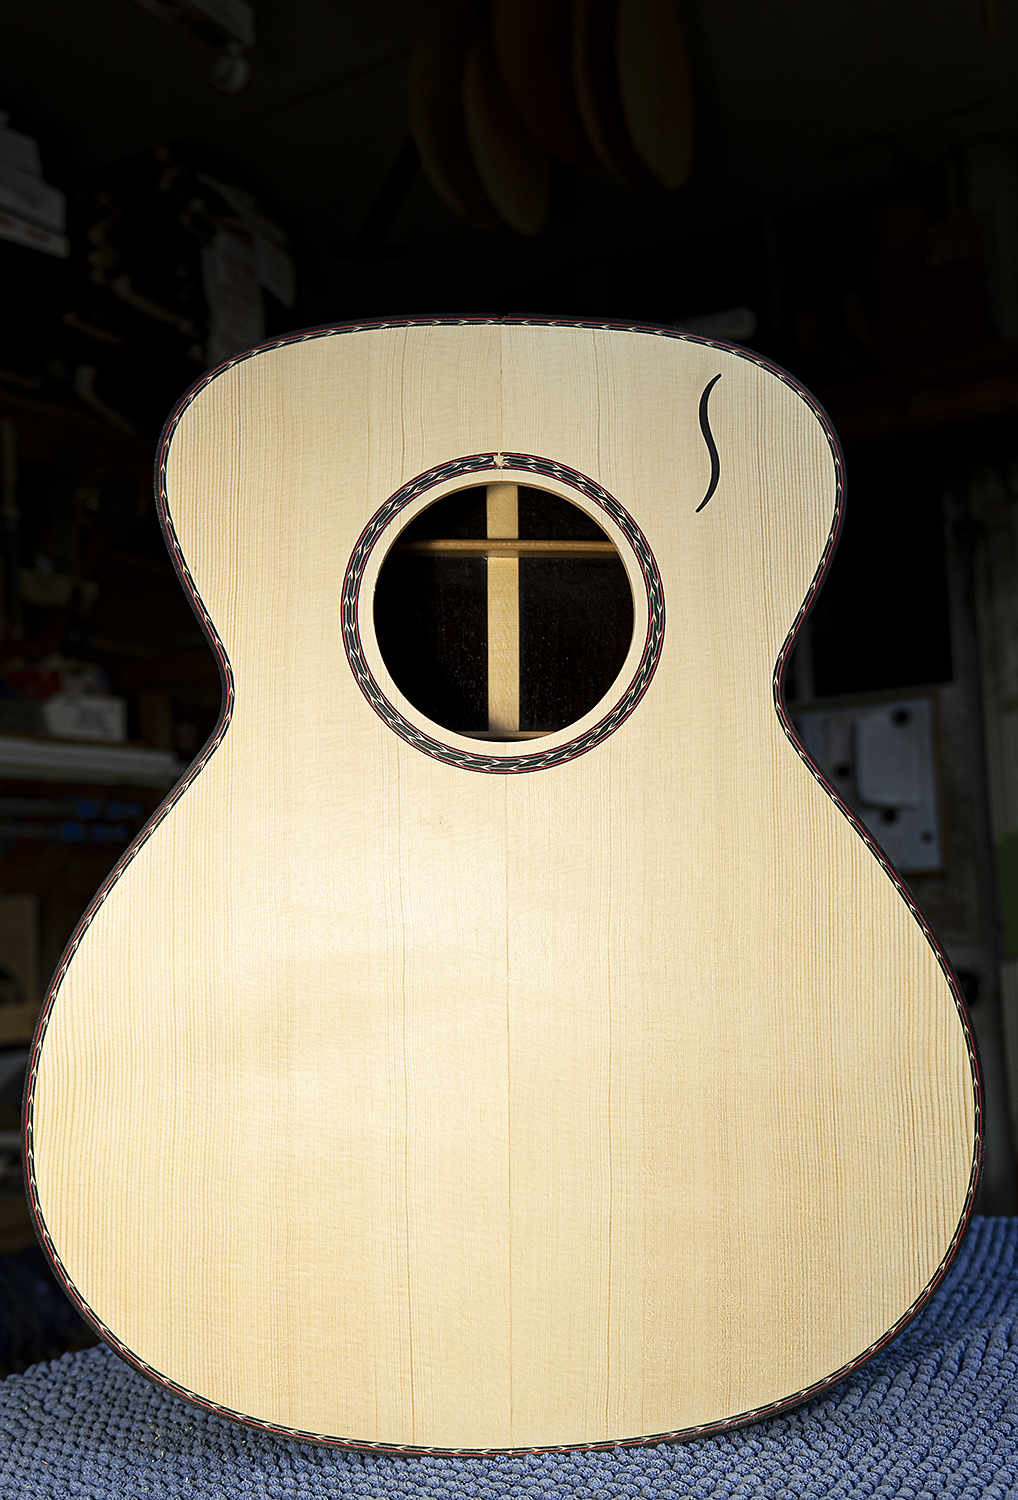
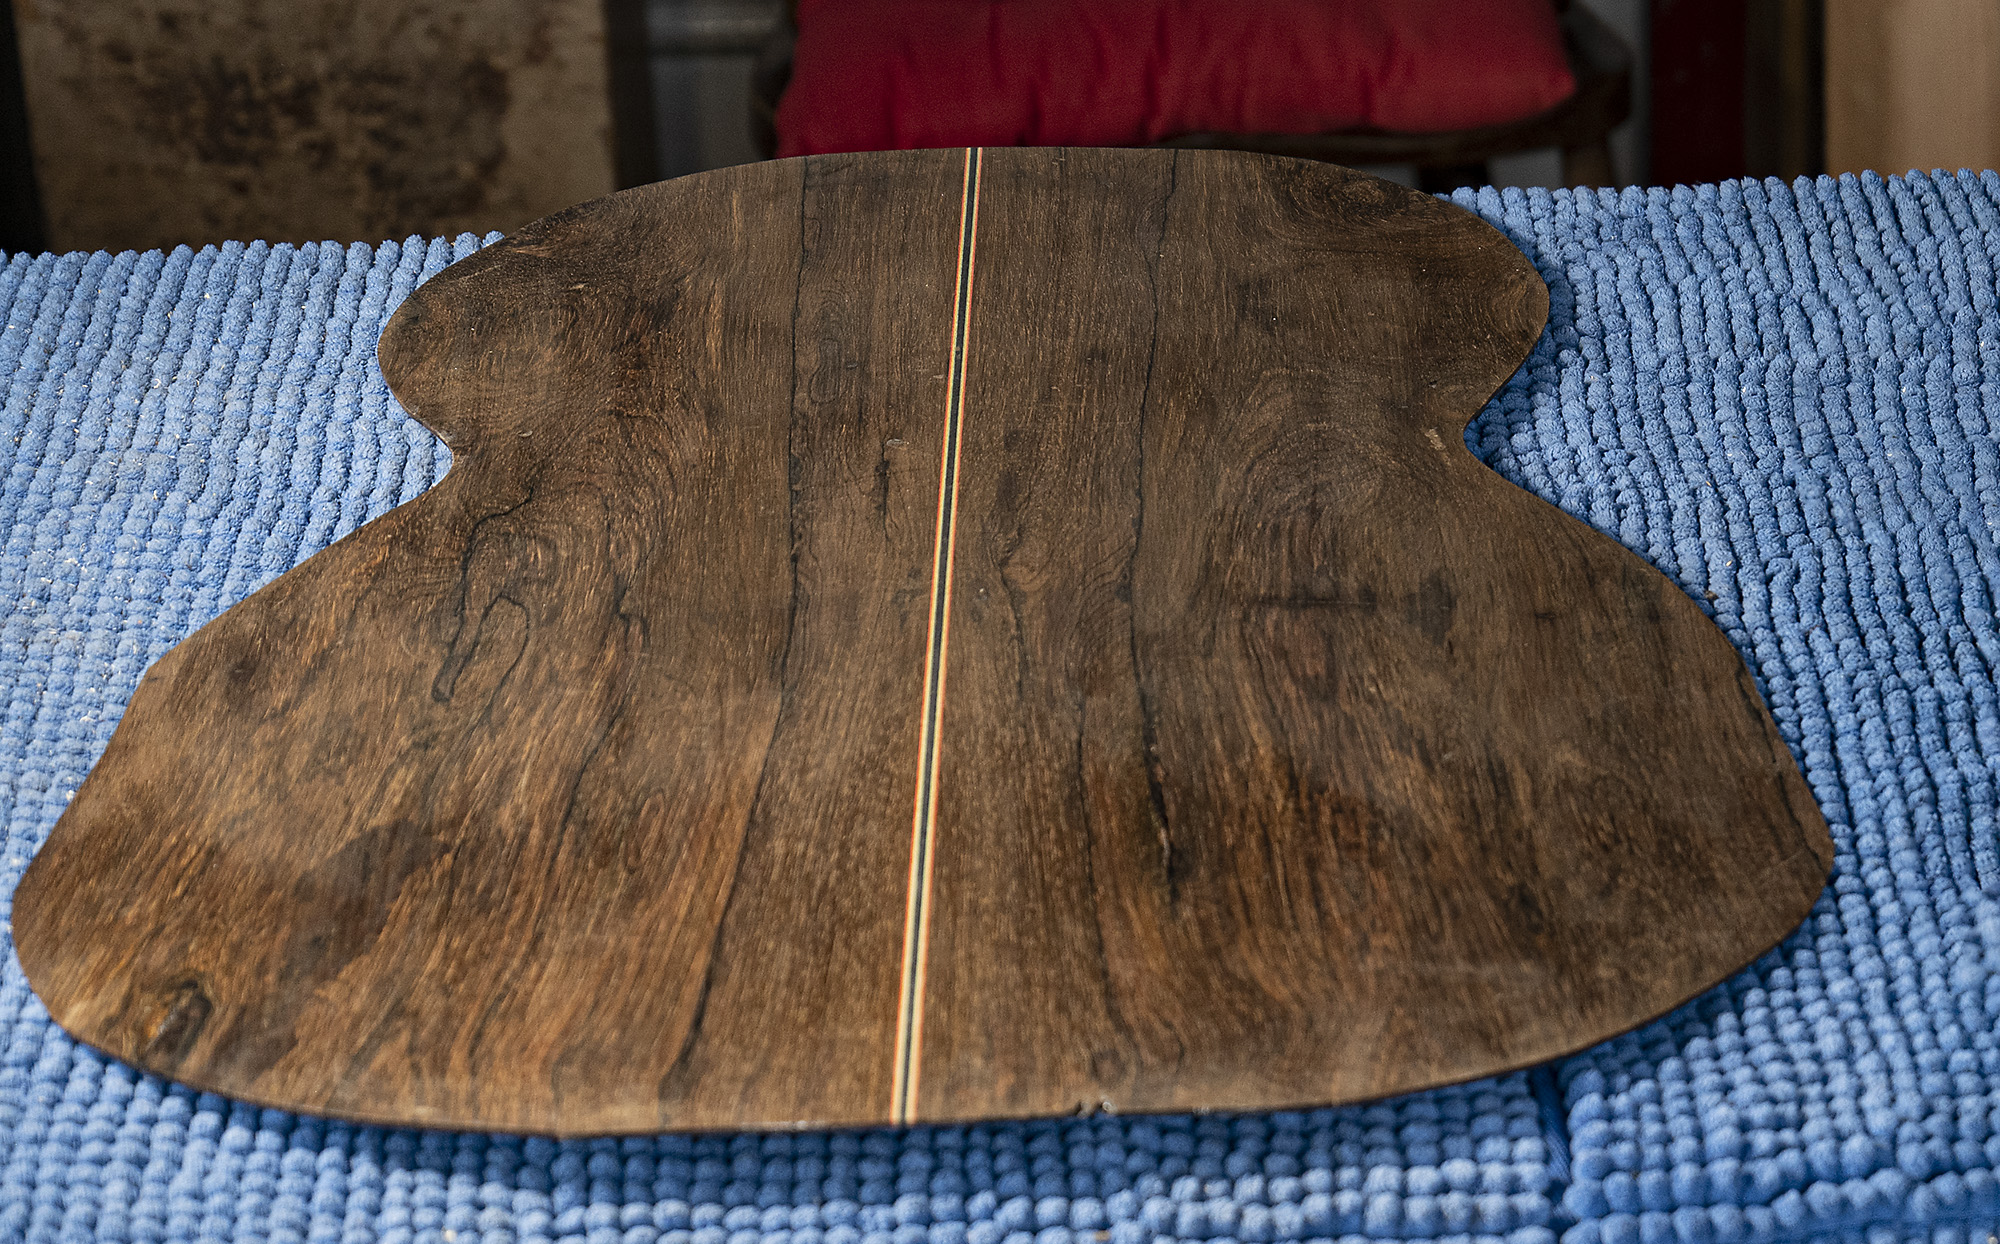
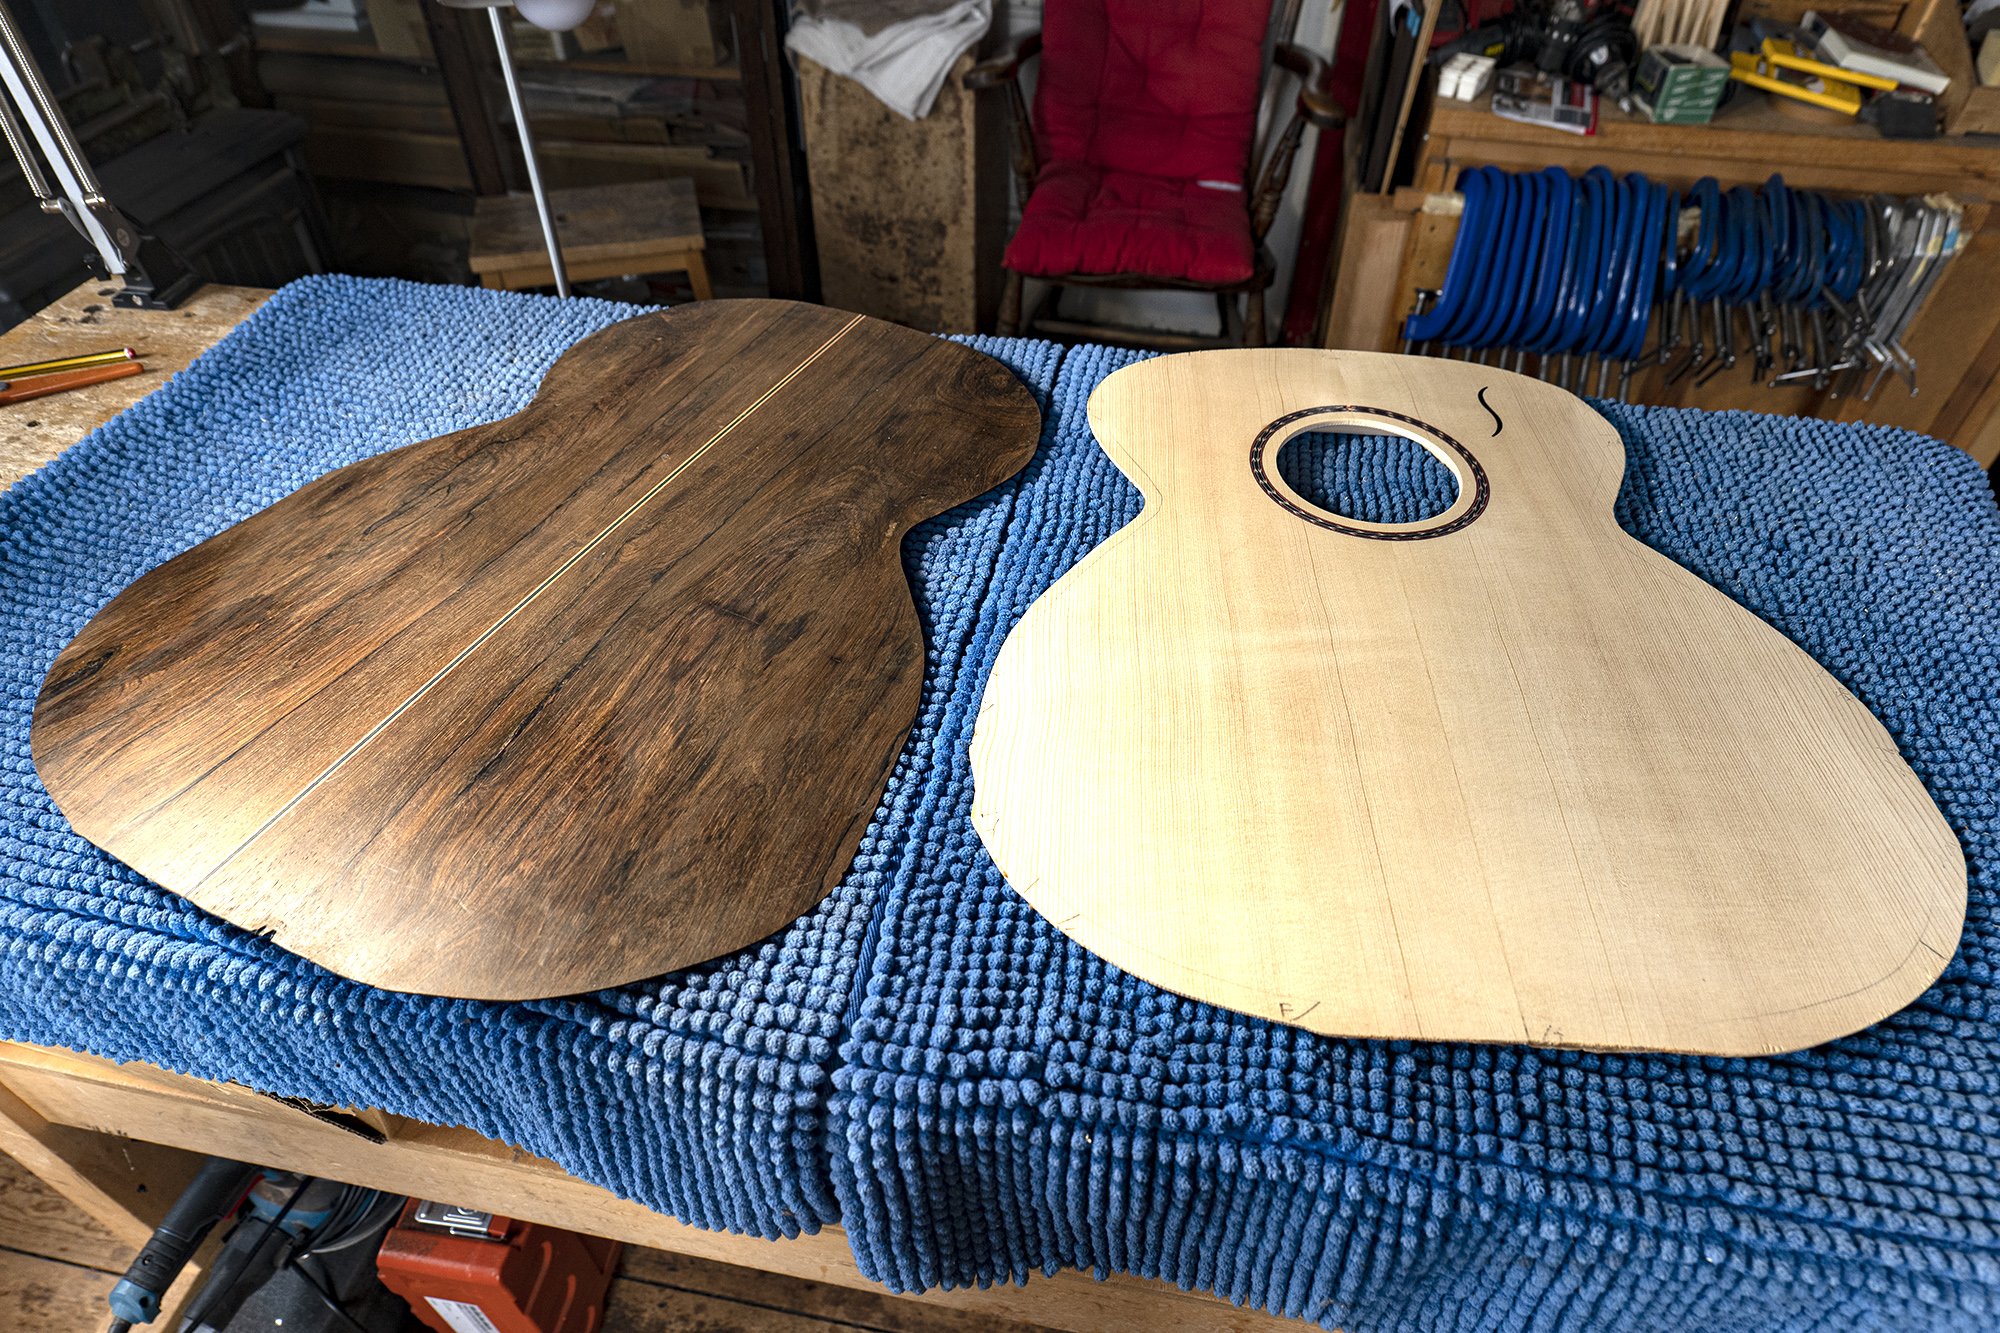 Back and soundboard finished
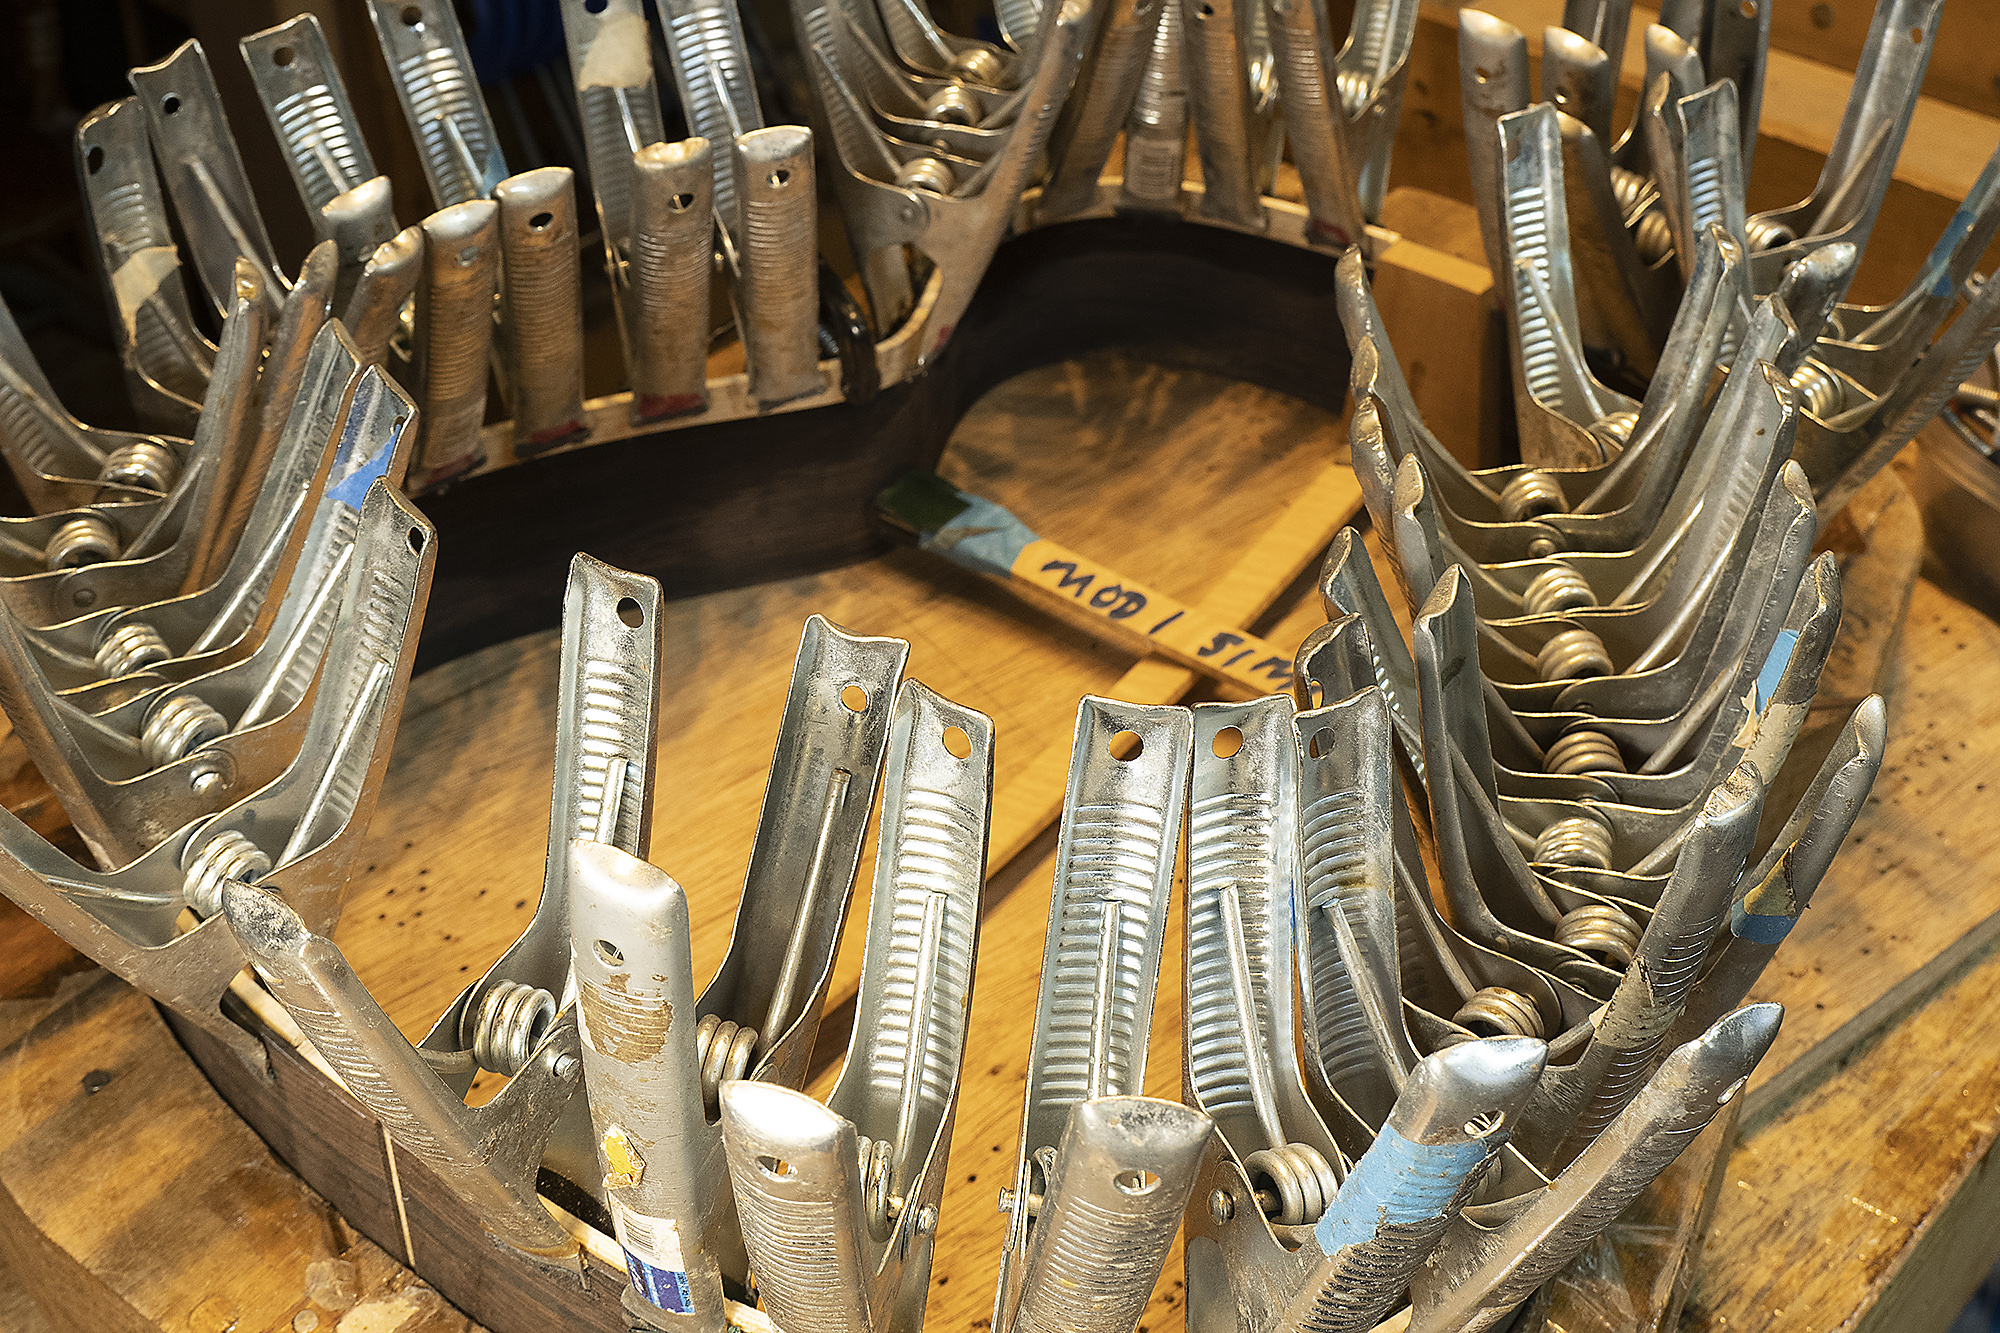 Lining clamped with strong spring clamps
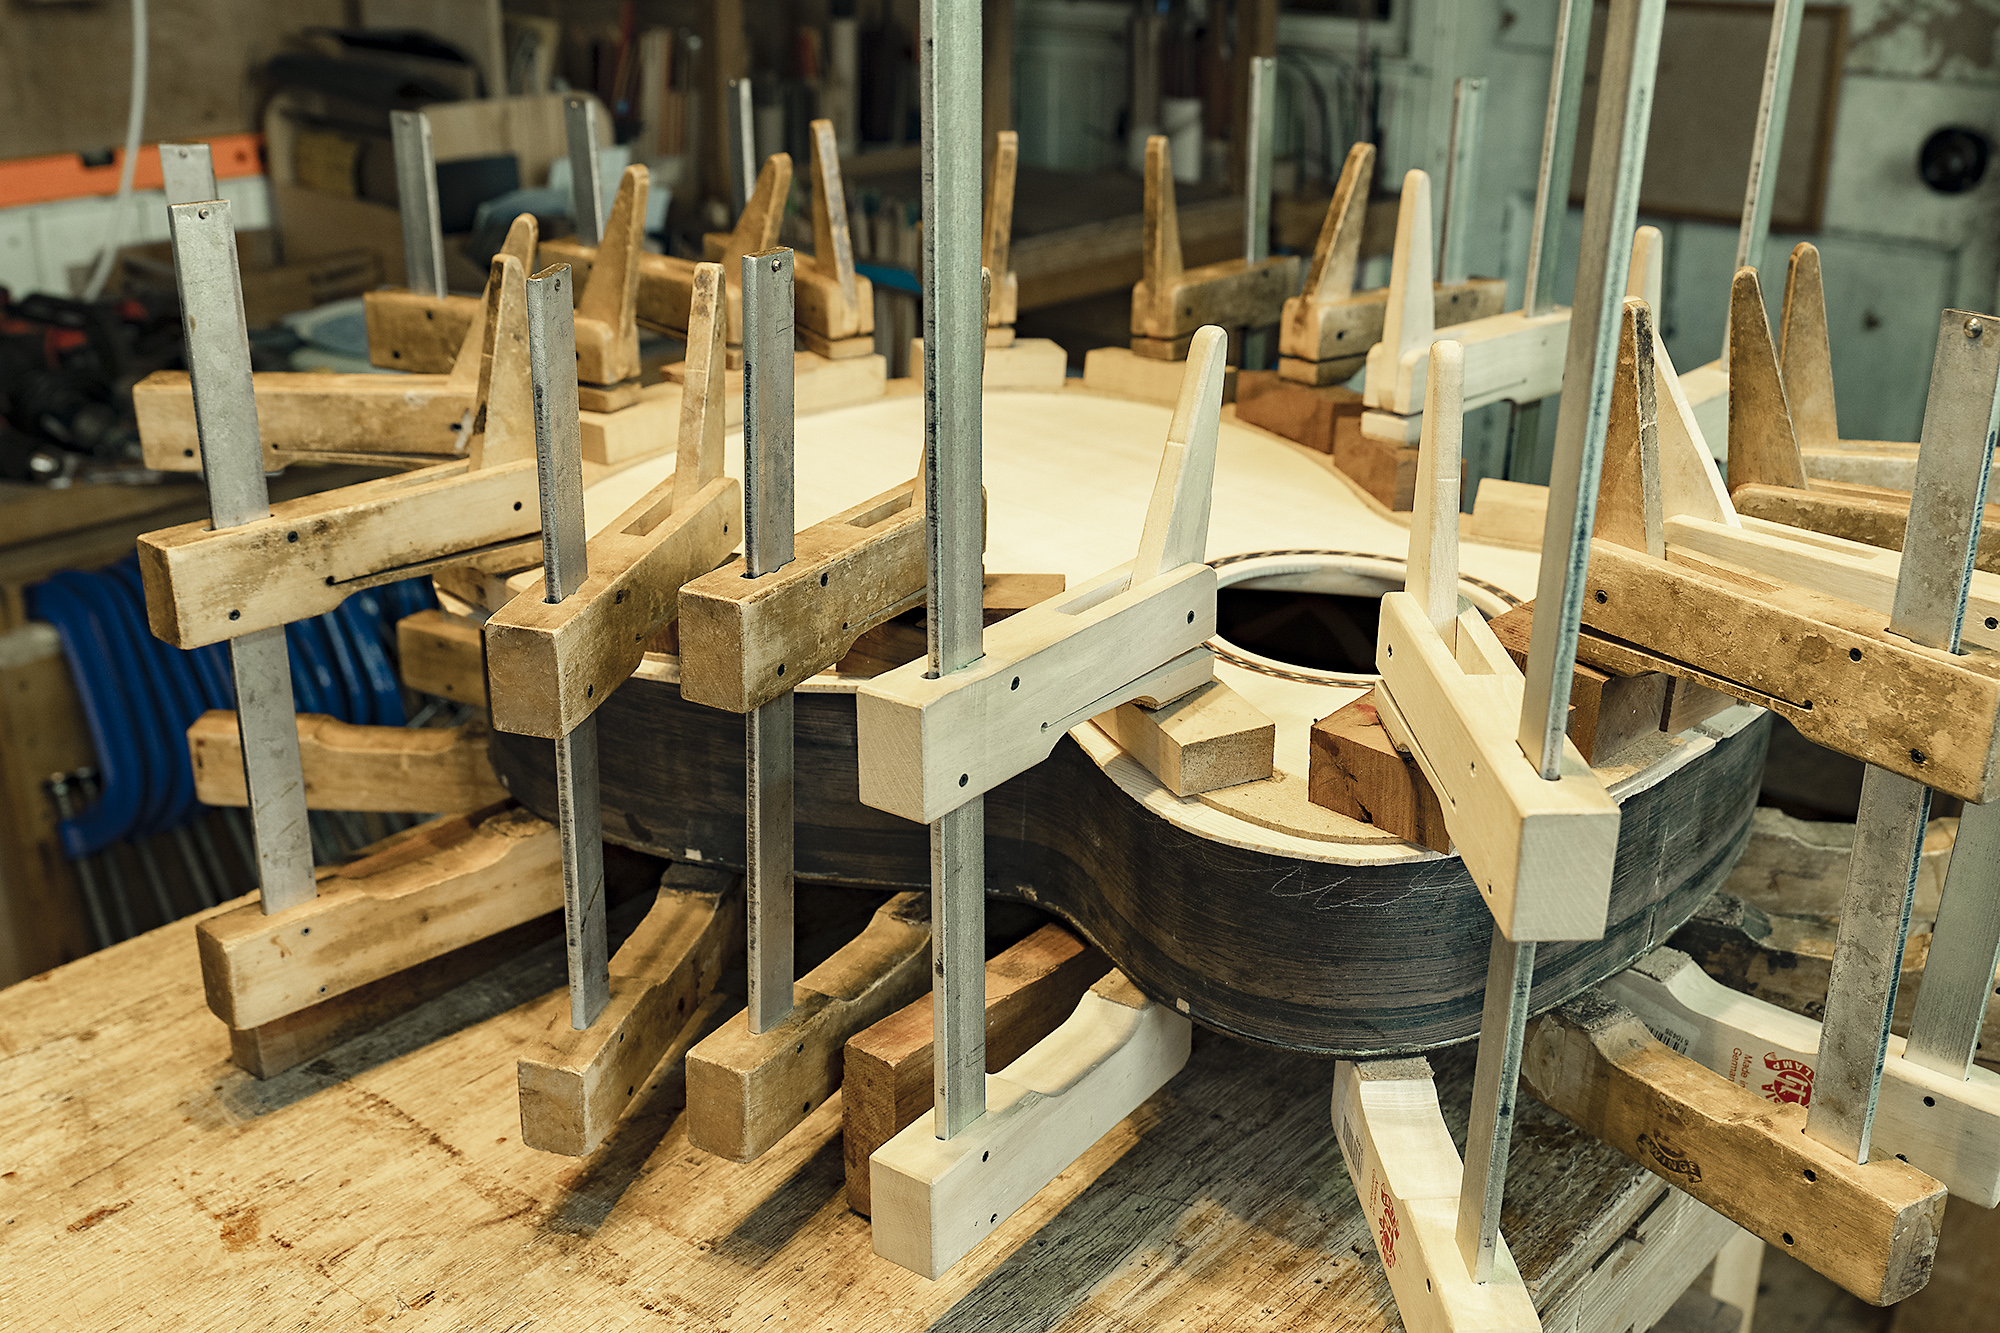 Soundboard clamped to sides with cam clamps
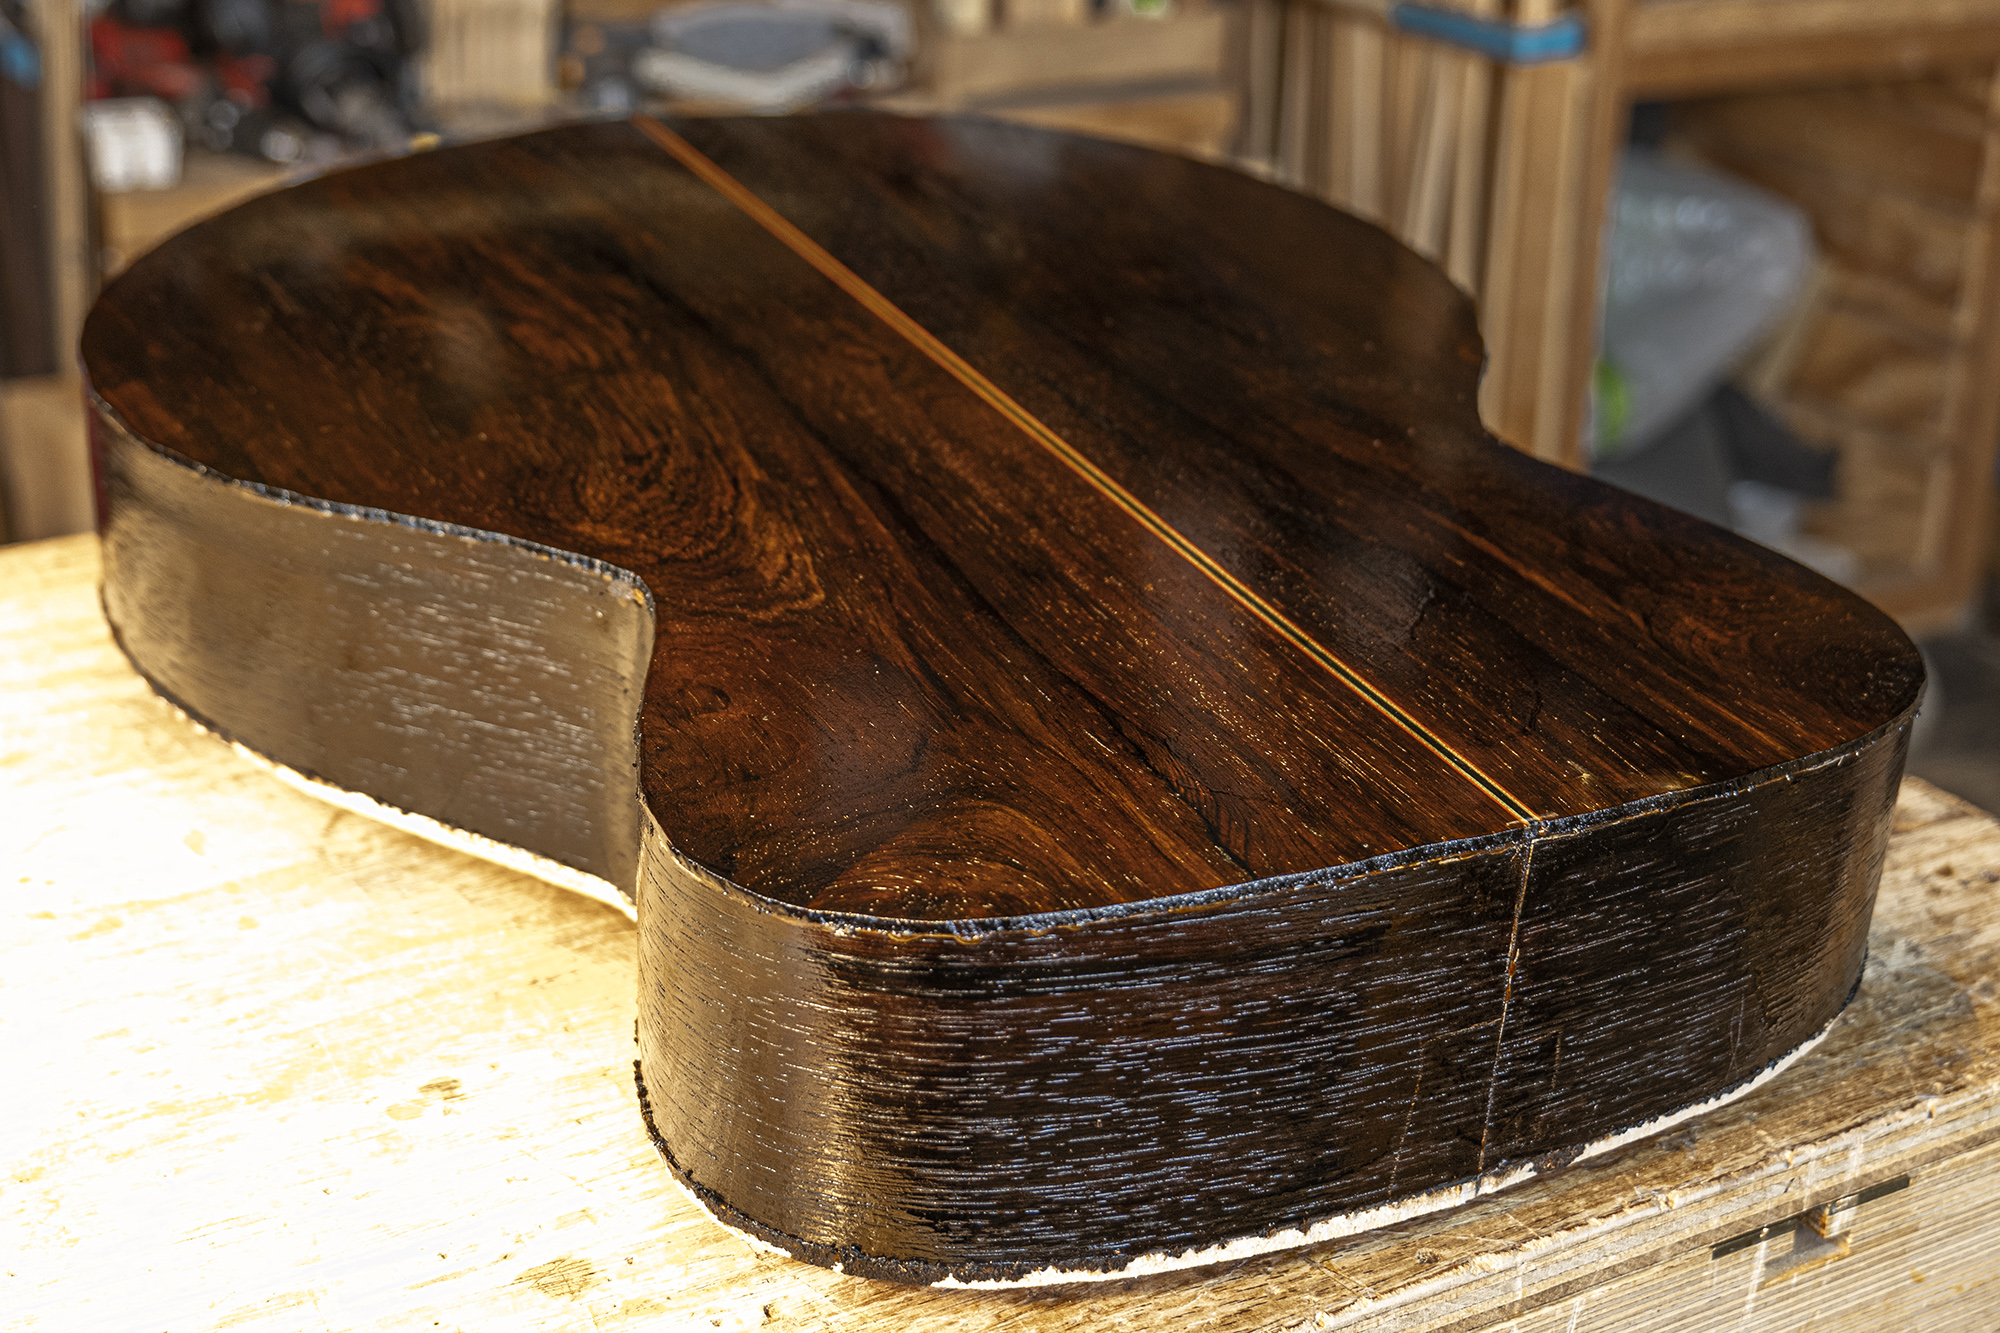 Back and sides with coat of shellac lacquer
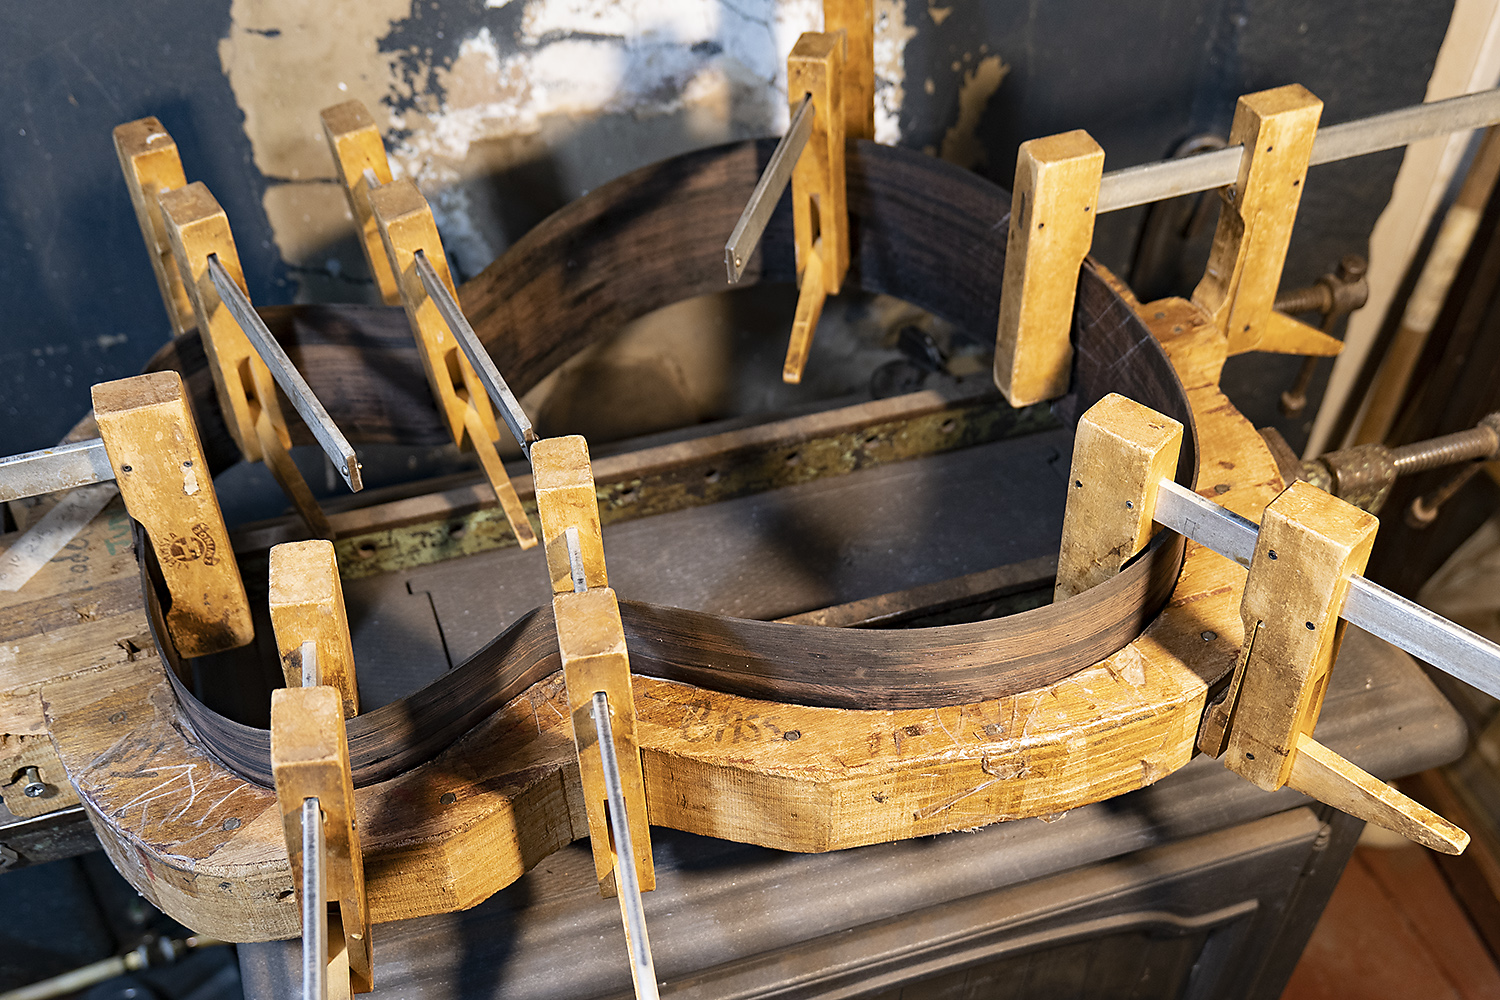 After hand bending, wetting the sides and leaving them in gentle overnight heat fixes the shape
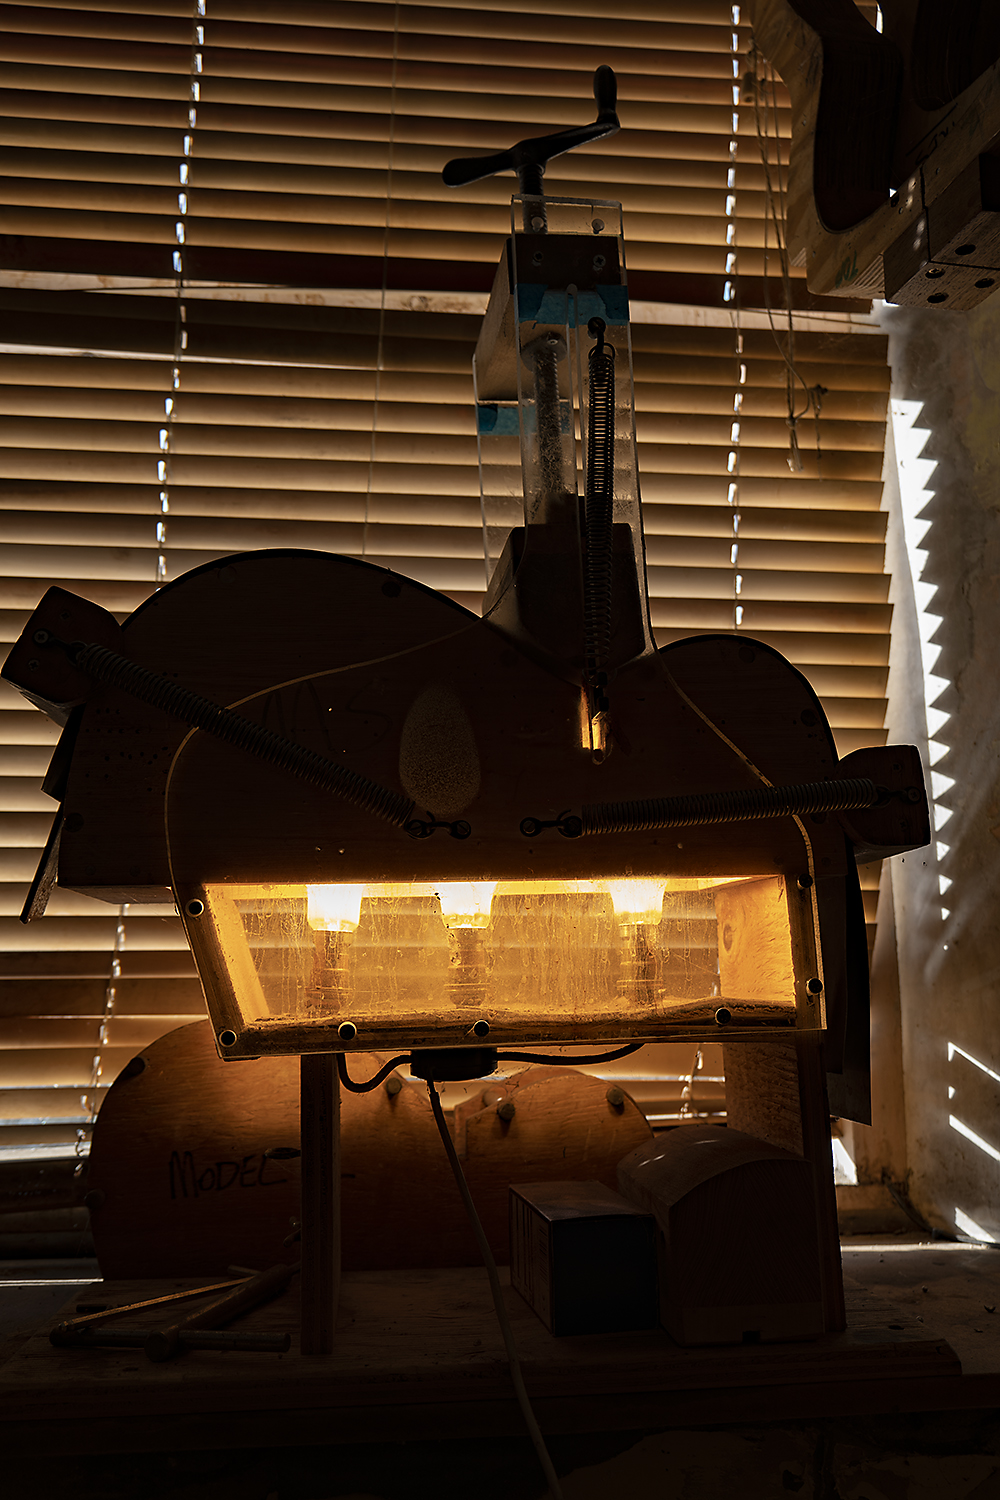 The ancient Fox bender heated by bulbs
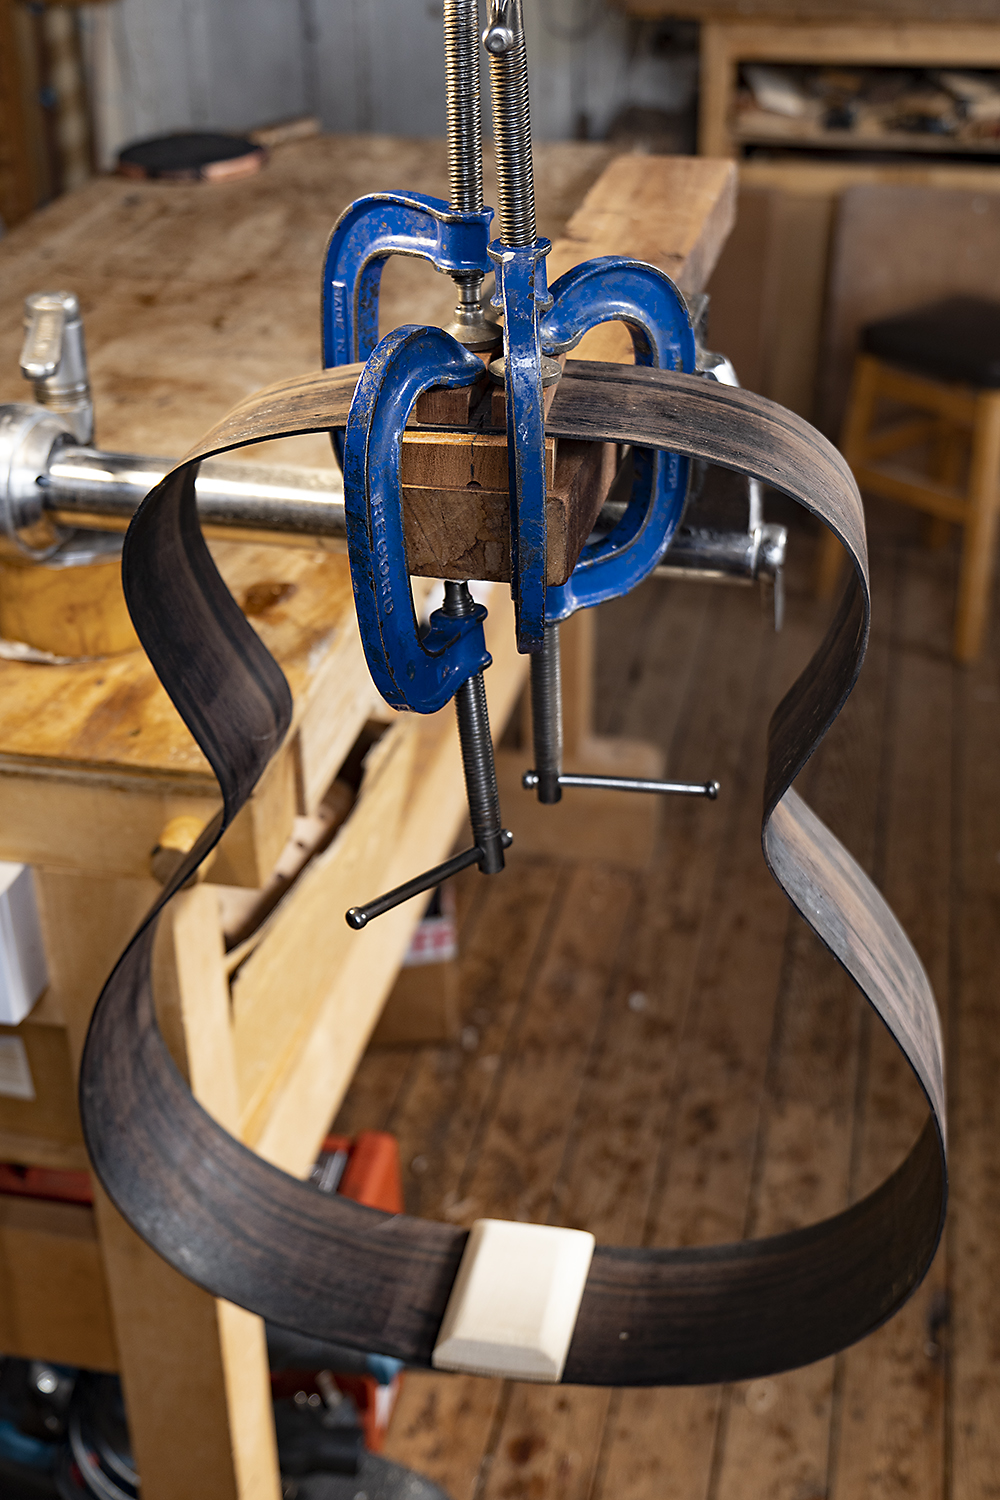 Laminated spruce tail block fitted, mahogany heel block gluing
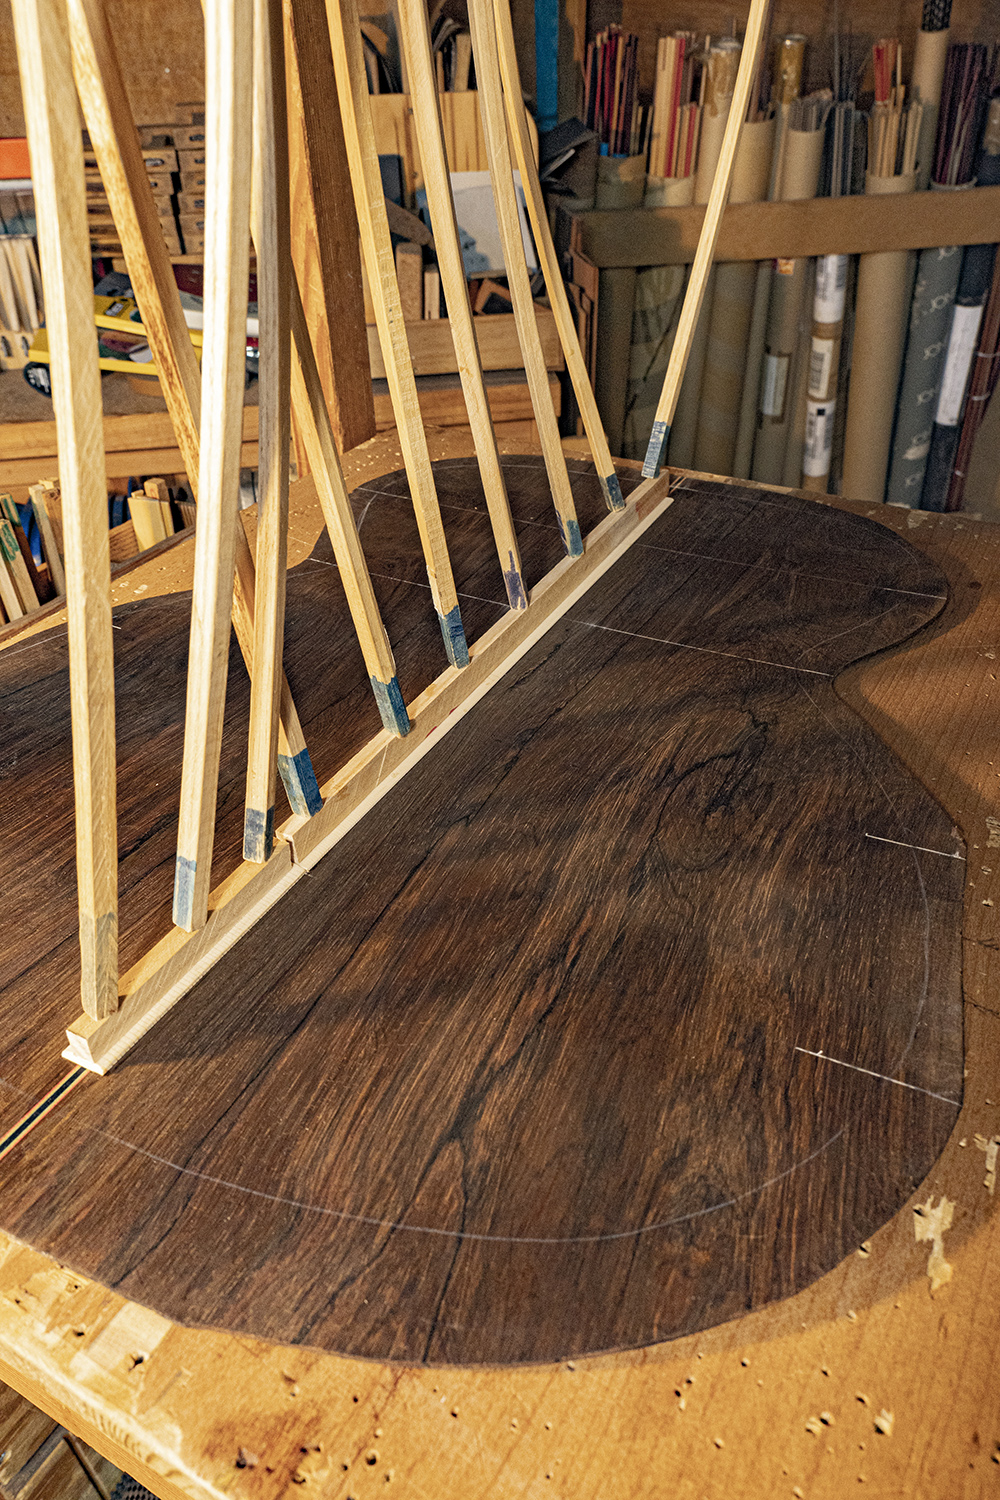
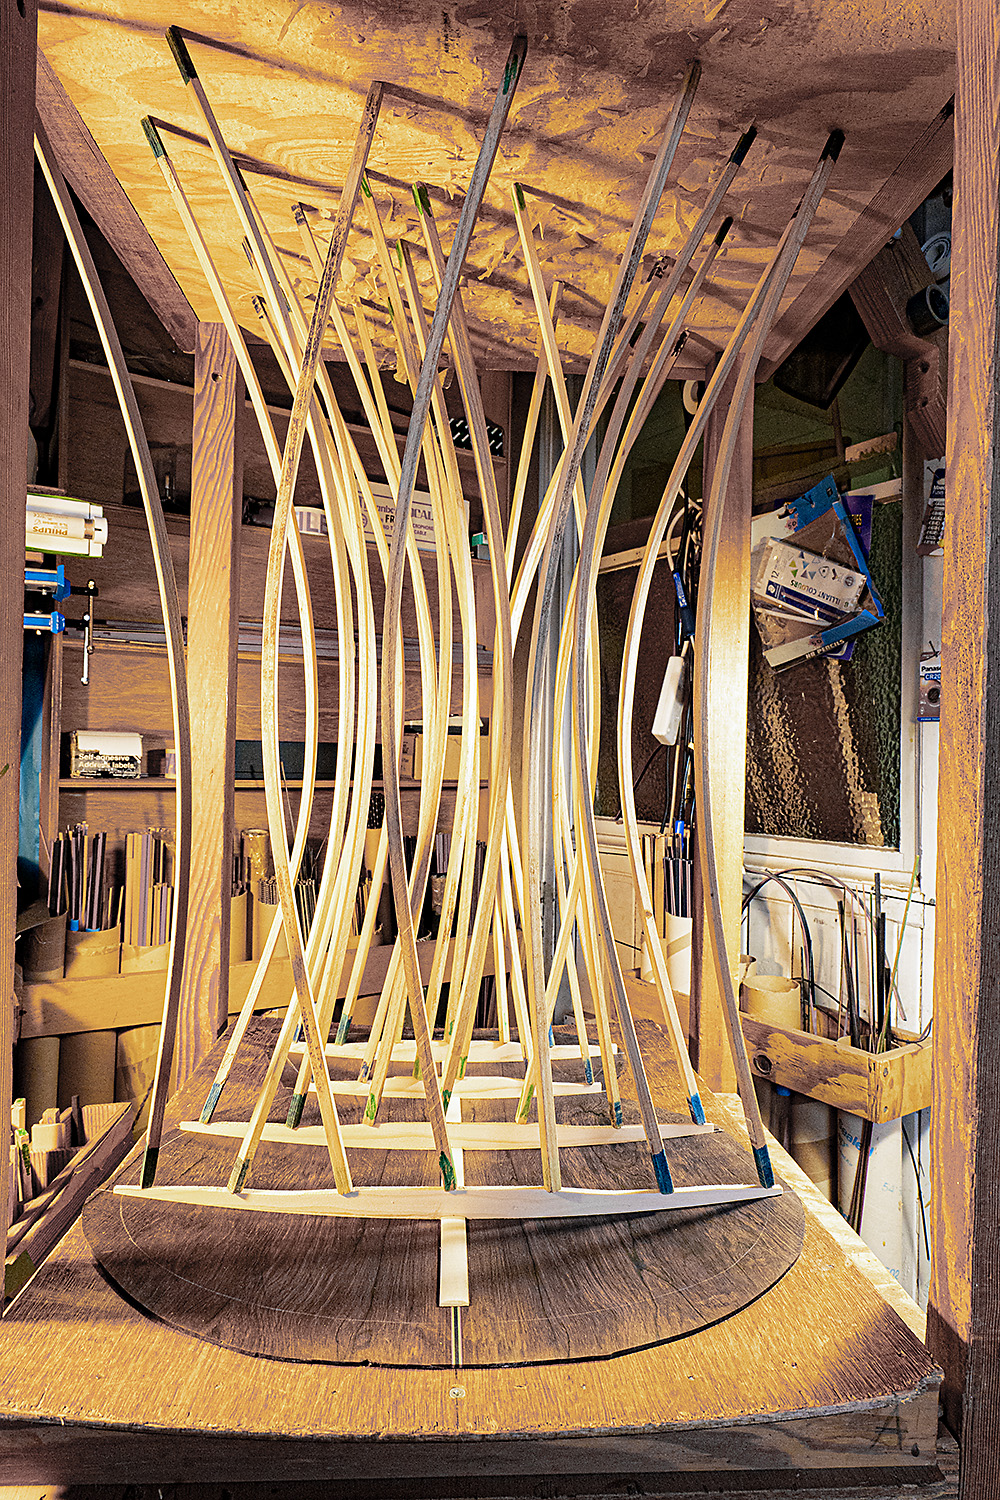 2. Braces gluing in go-bar jig
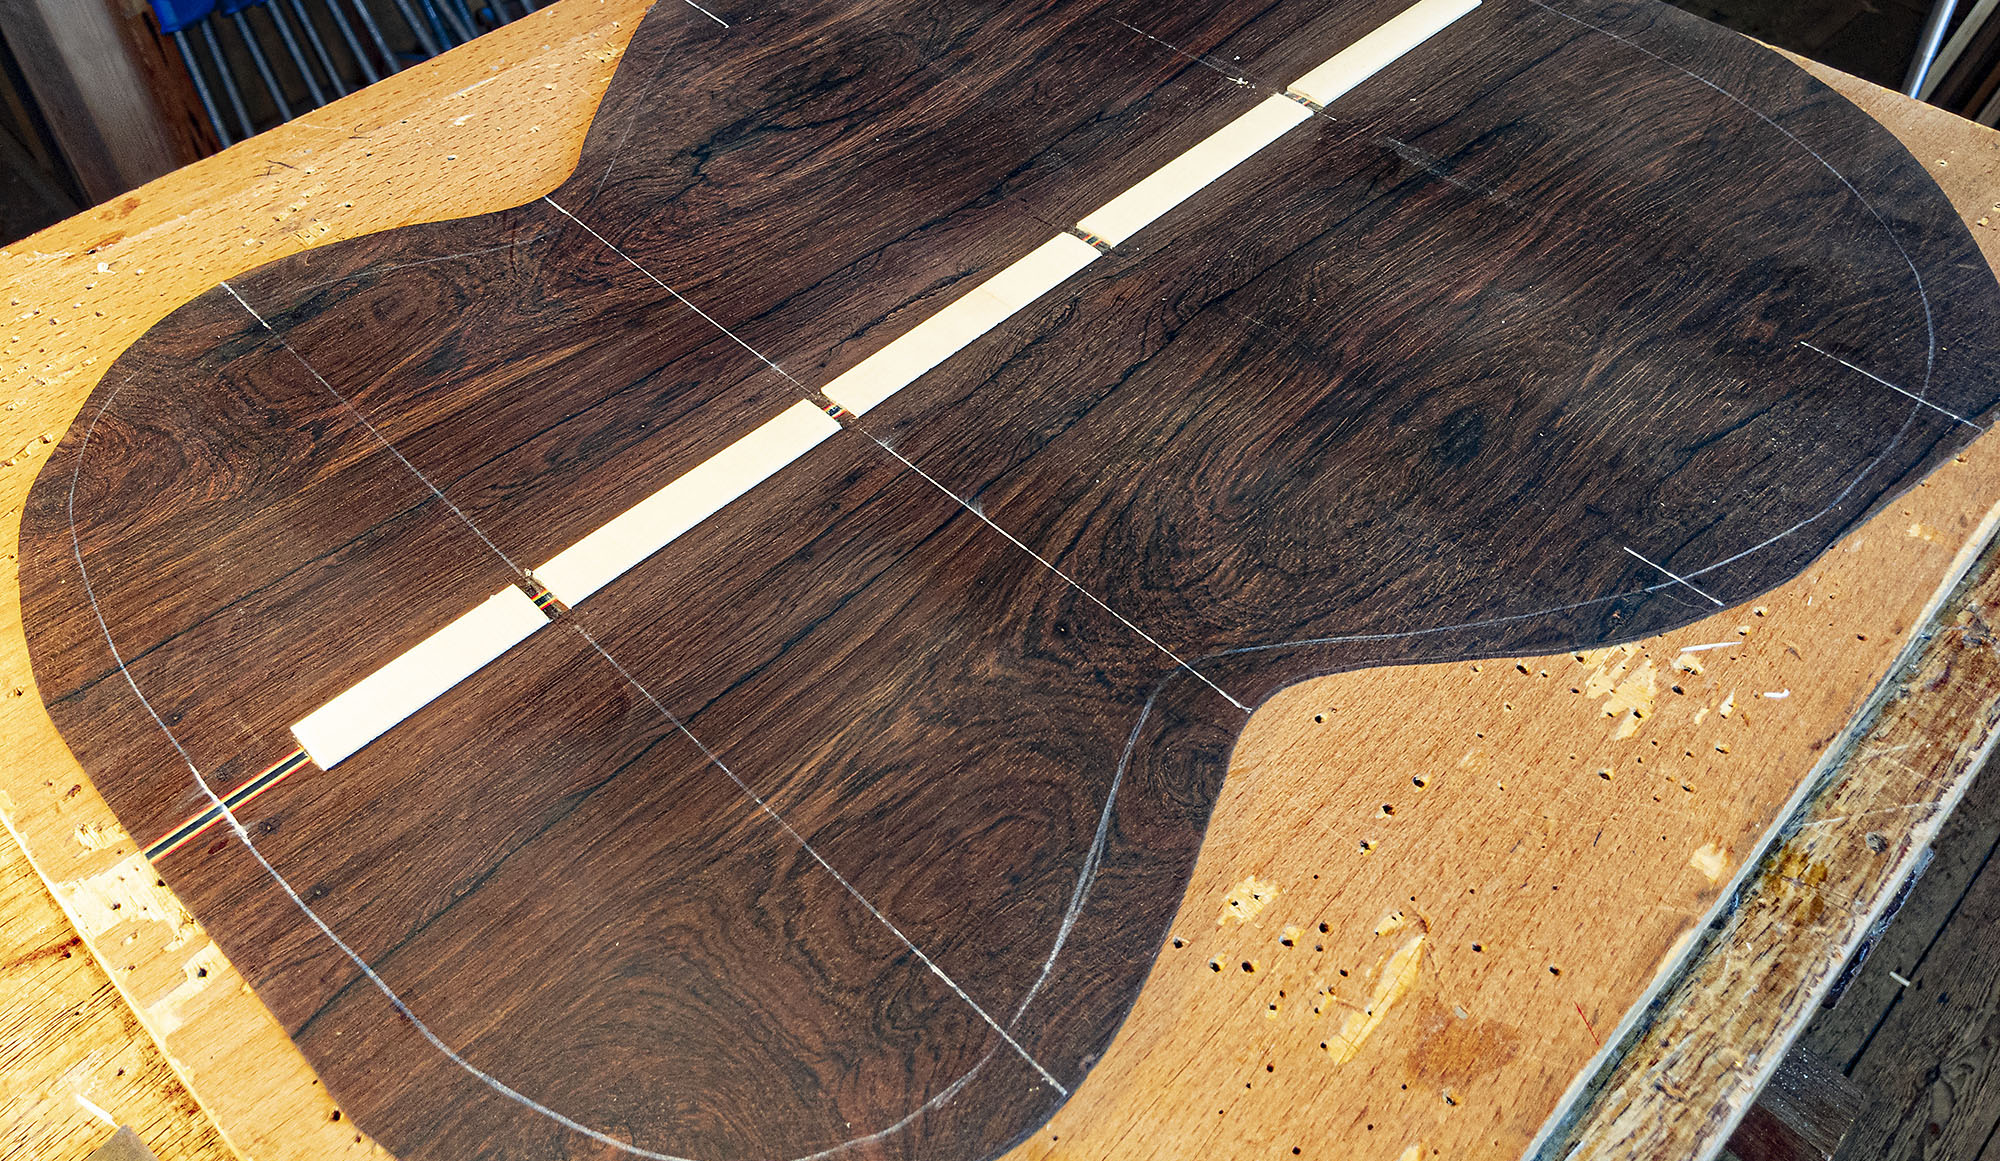
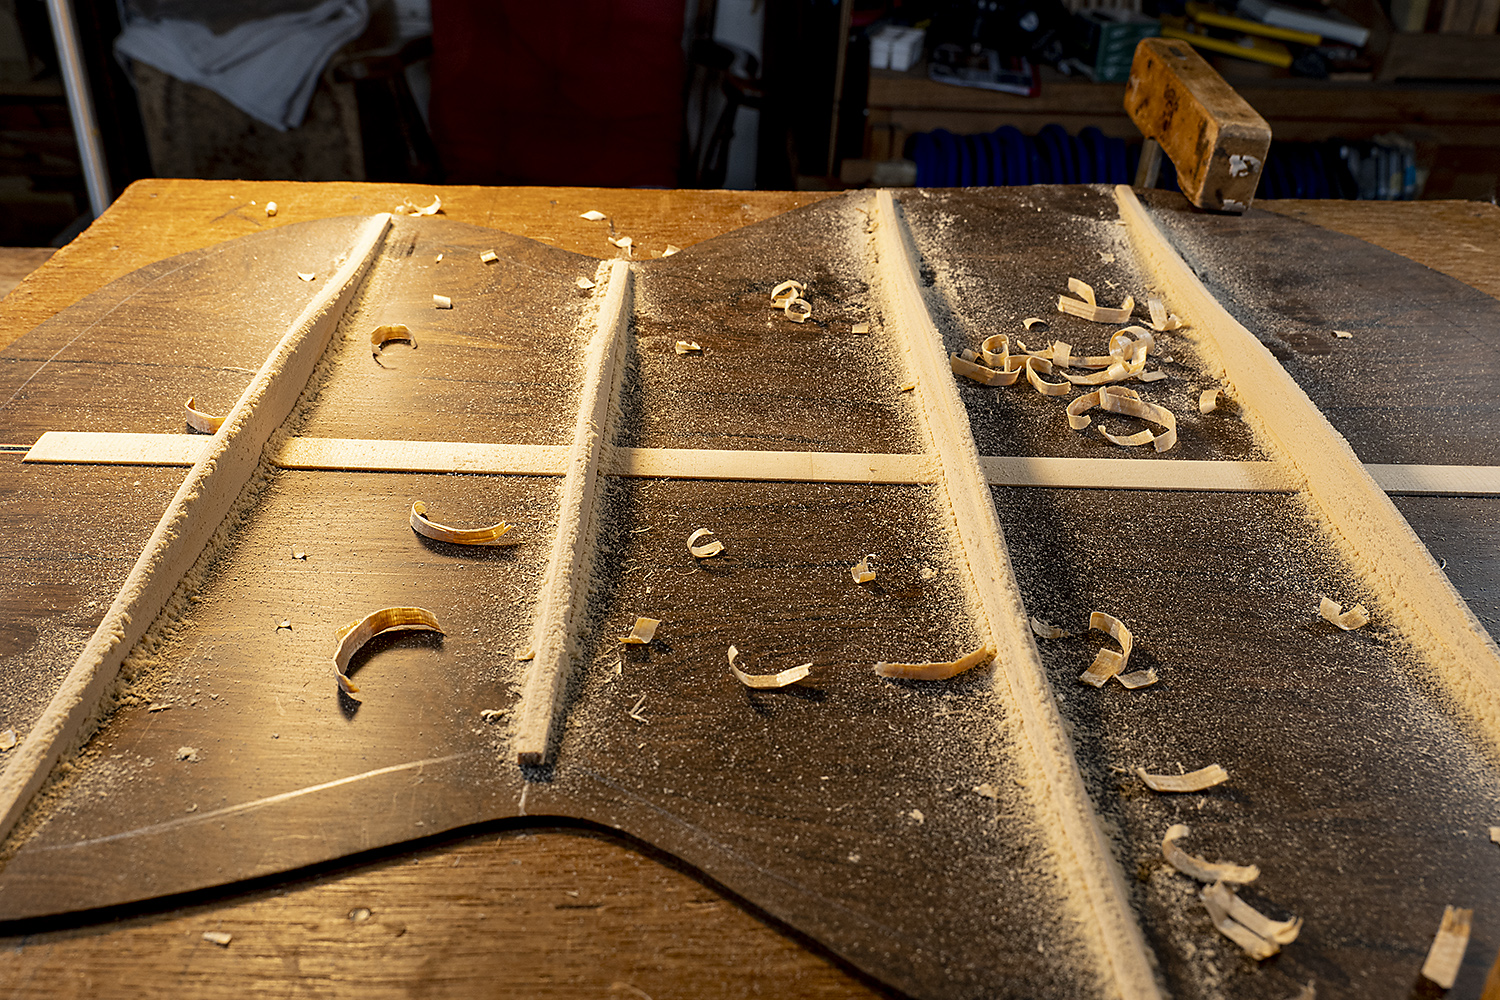 3. Back and braces out of go-bar jig being trimmed and sanded
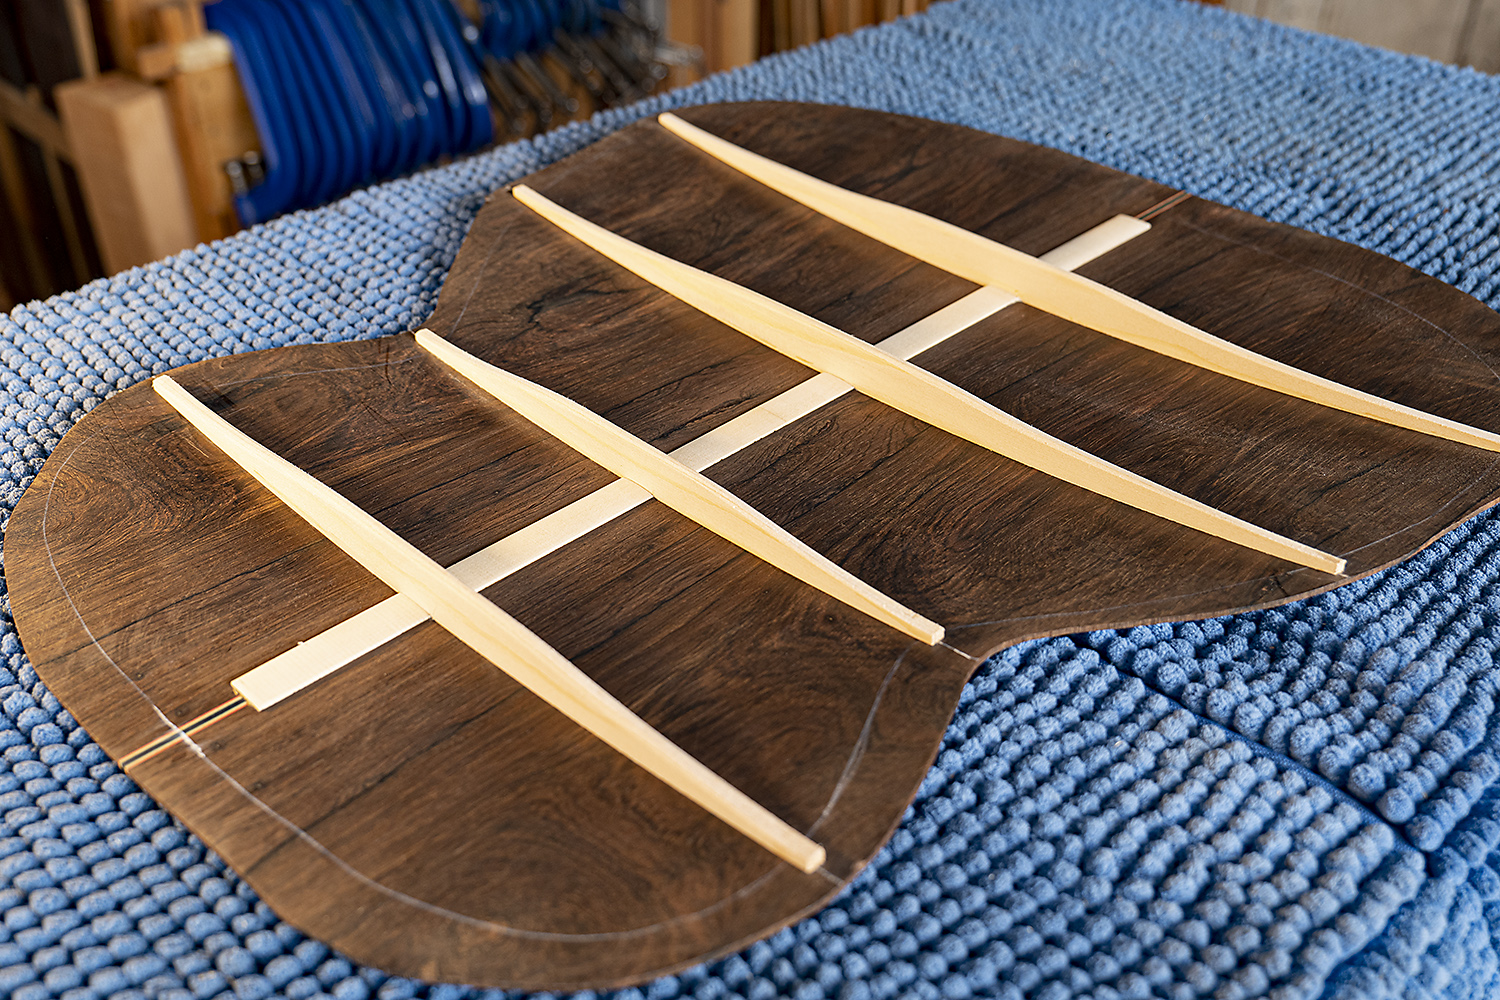
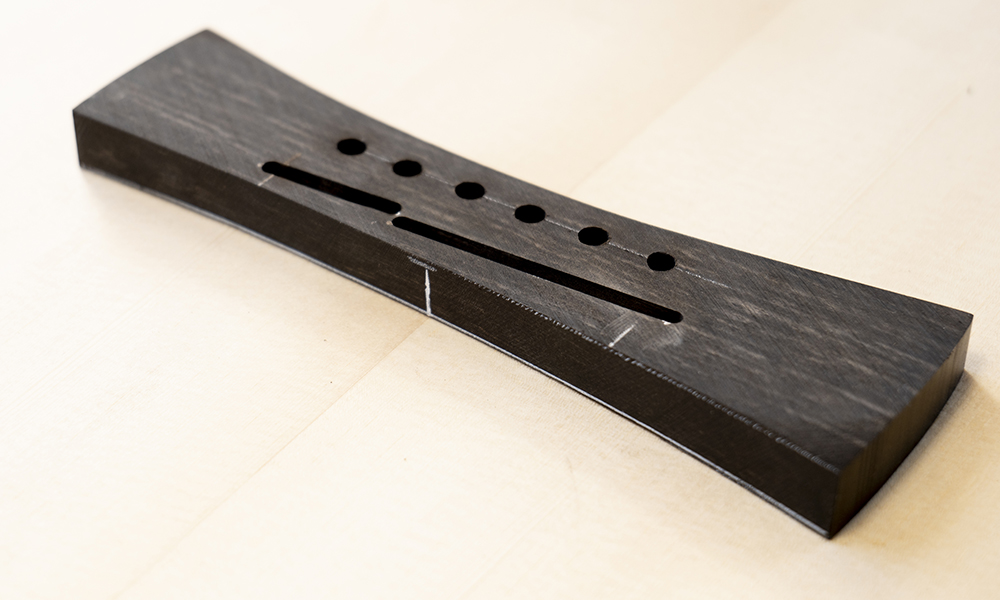 Bridge shaped to soundboard curve, drilled and slotted
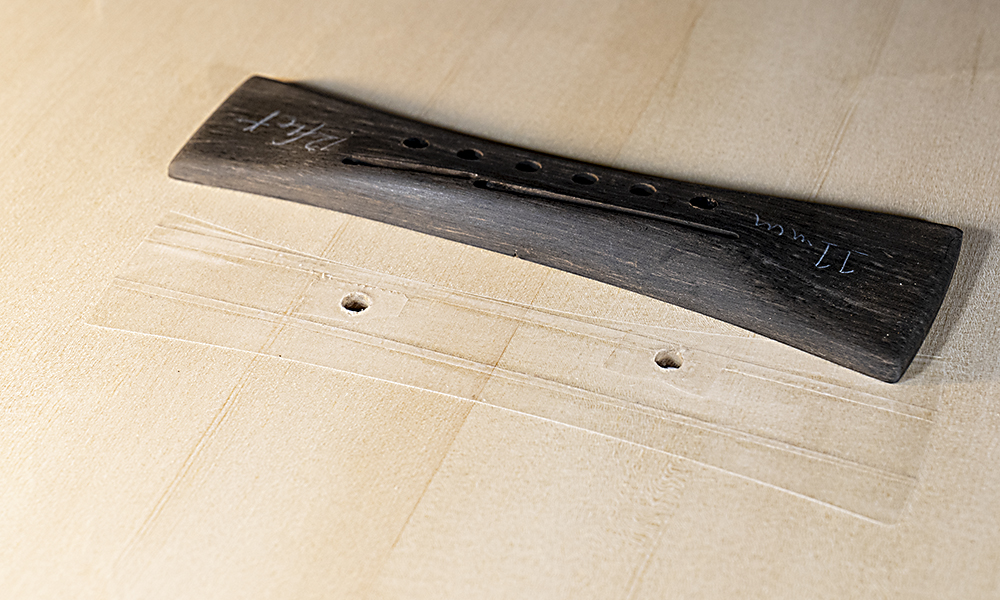
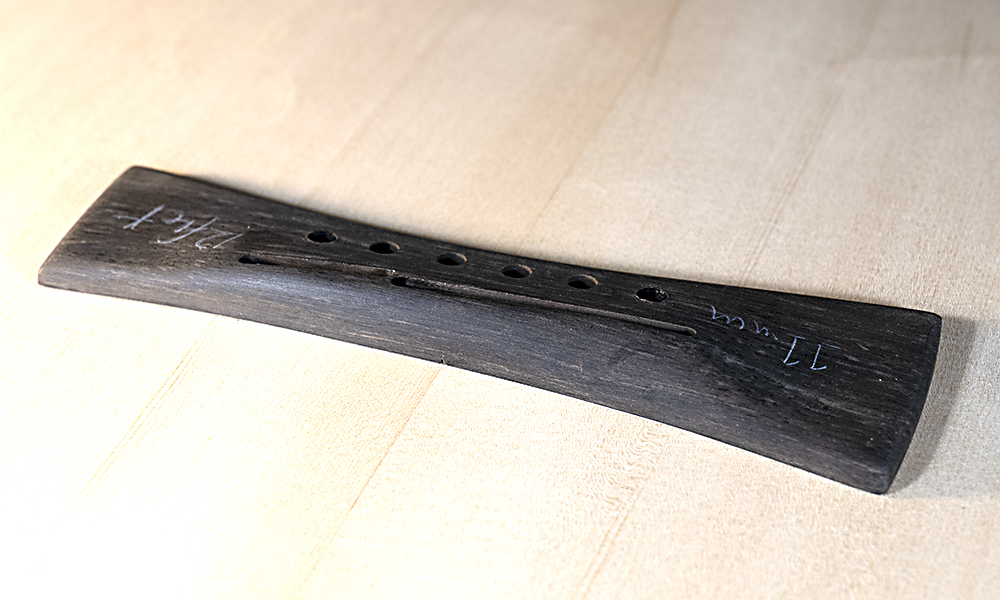 Bridge in its final shape. Writing identifies it as individually made to fit this guitar