.
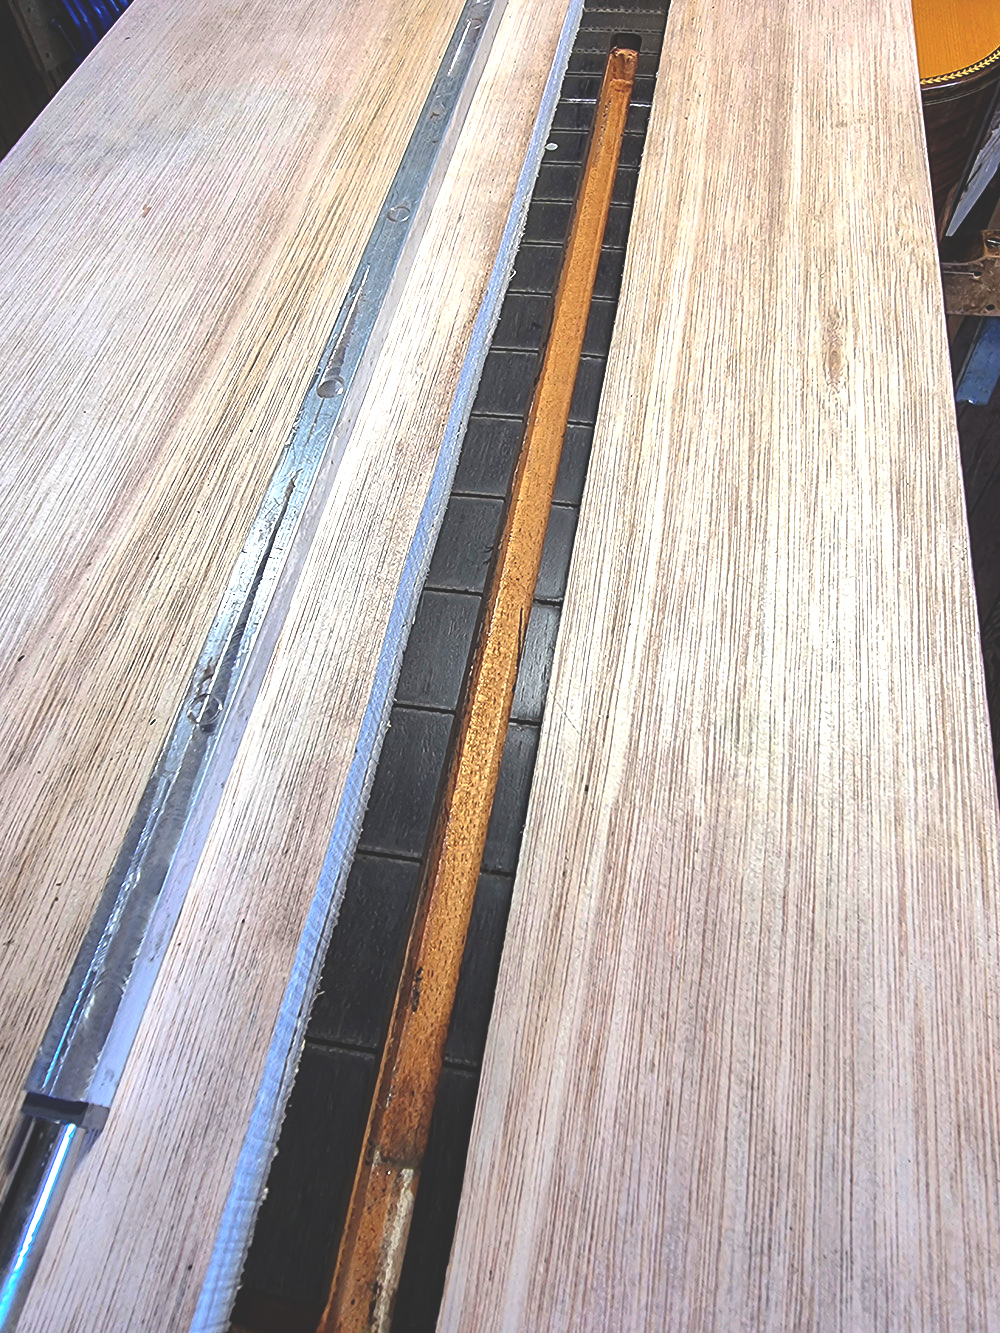
Douglas Fir is a lovely honey coloured softwood. When close grained, it makes excellent guitar soundboards. These give a strong, characterful bass and a clear treble. Being light and stiff, Douglas Fir also makes excellent brace wood. Here are rough cut bracewood pieces resting just above my warm workshop stove.
It has been suggested that when Stradivari first set up building violins he was short of well seasoned spruce (he will have used Italian spruce coming from the north), so put less seasoned wood into his chimney, letting the hot fumes ran past the face of the soundboard wood and drying it reasonably quickly. Kilned wood is dried much faster by high temperatures which changes the chemistry of the wood in a way air drying and the relatively slow drying in the passing warm fumes from a stove or fire do not.
I should add, I don’t know how reliable the Stradivari theory is.
When having a classical guitar built (in a time before I was building instruments), the sides picked were hanging in front of a radiator, so drying in a similar fashion.
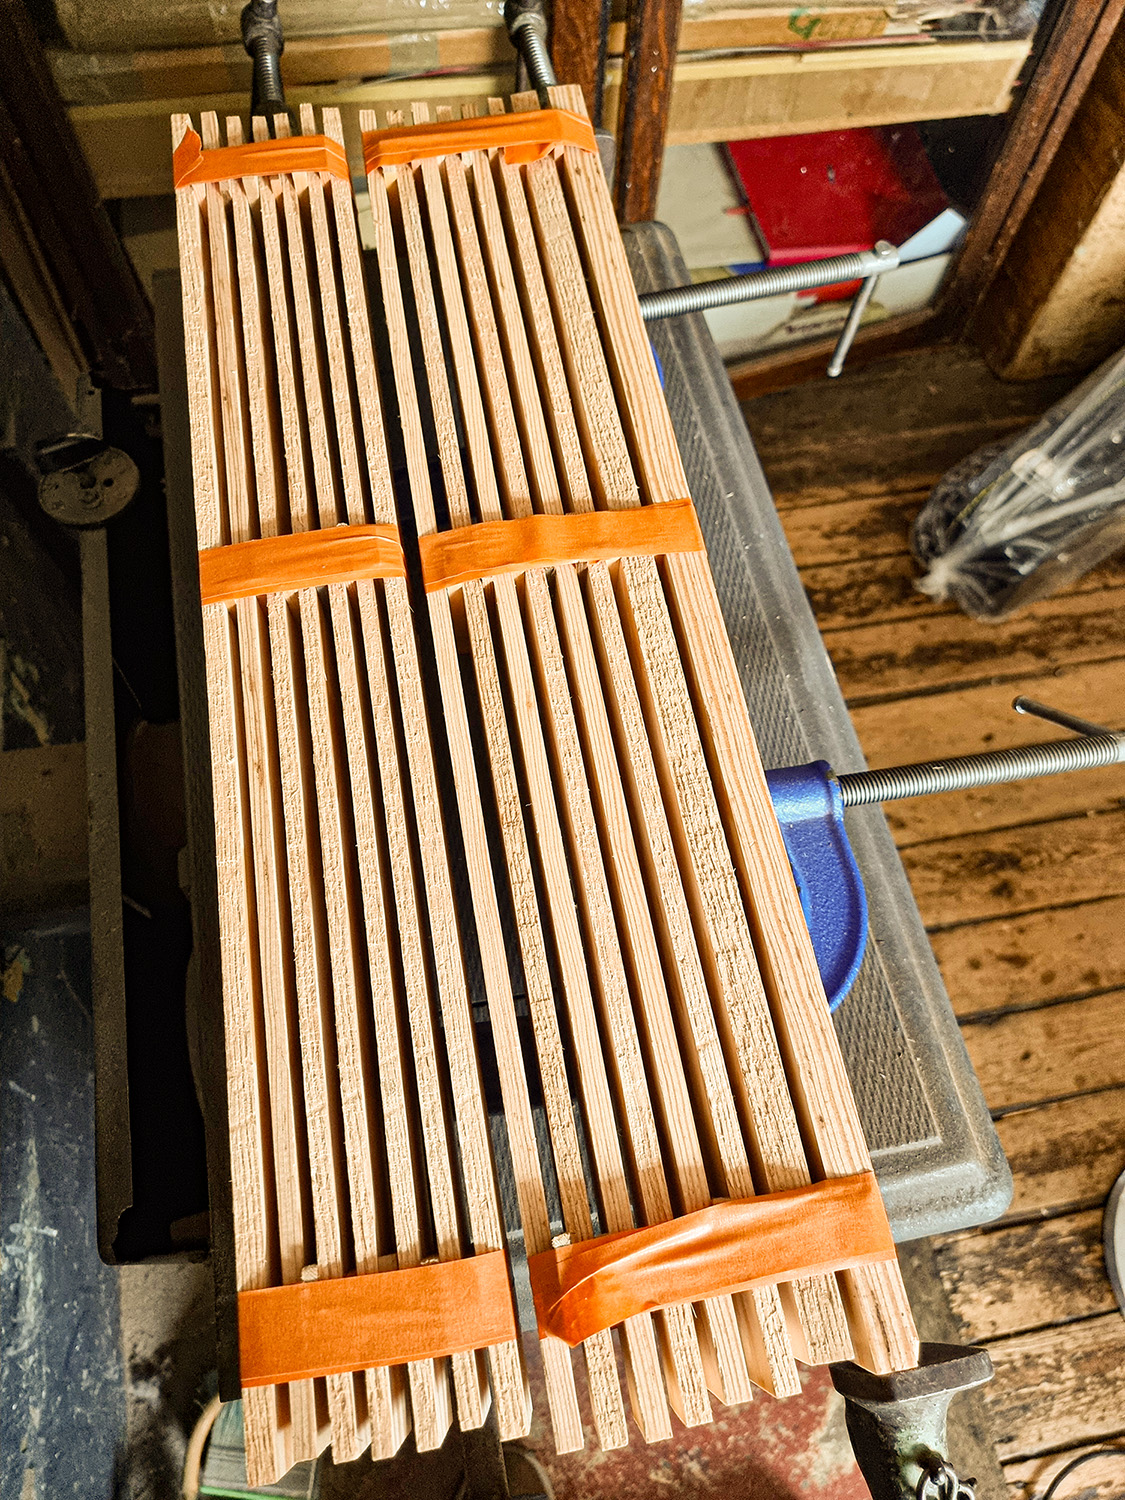
Having bought three blocks of Douglas Fir for braces, I cut the first into slightly oversize pieces, taped them together and placed them on my warm workshop stove, left on day and night. They were edge on to the heat, allowing the warm air to run past the face of each brace in much the same way as Stradivari is thought to have dried his spruce.
After a few weeks, the wood is dry and resonant, ringing beautifully when tapped.

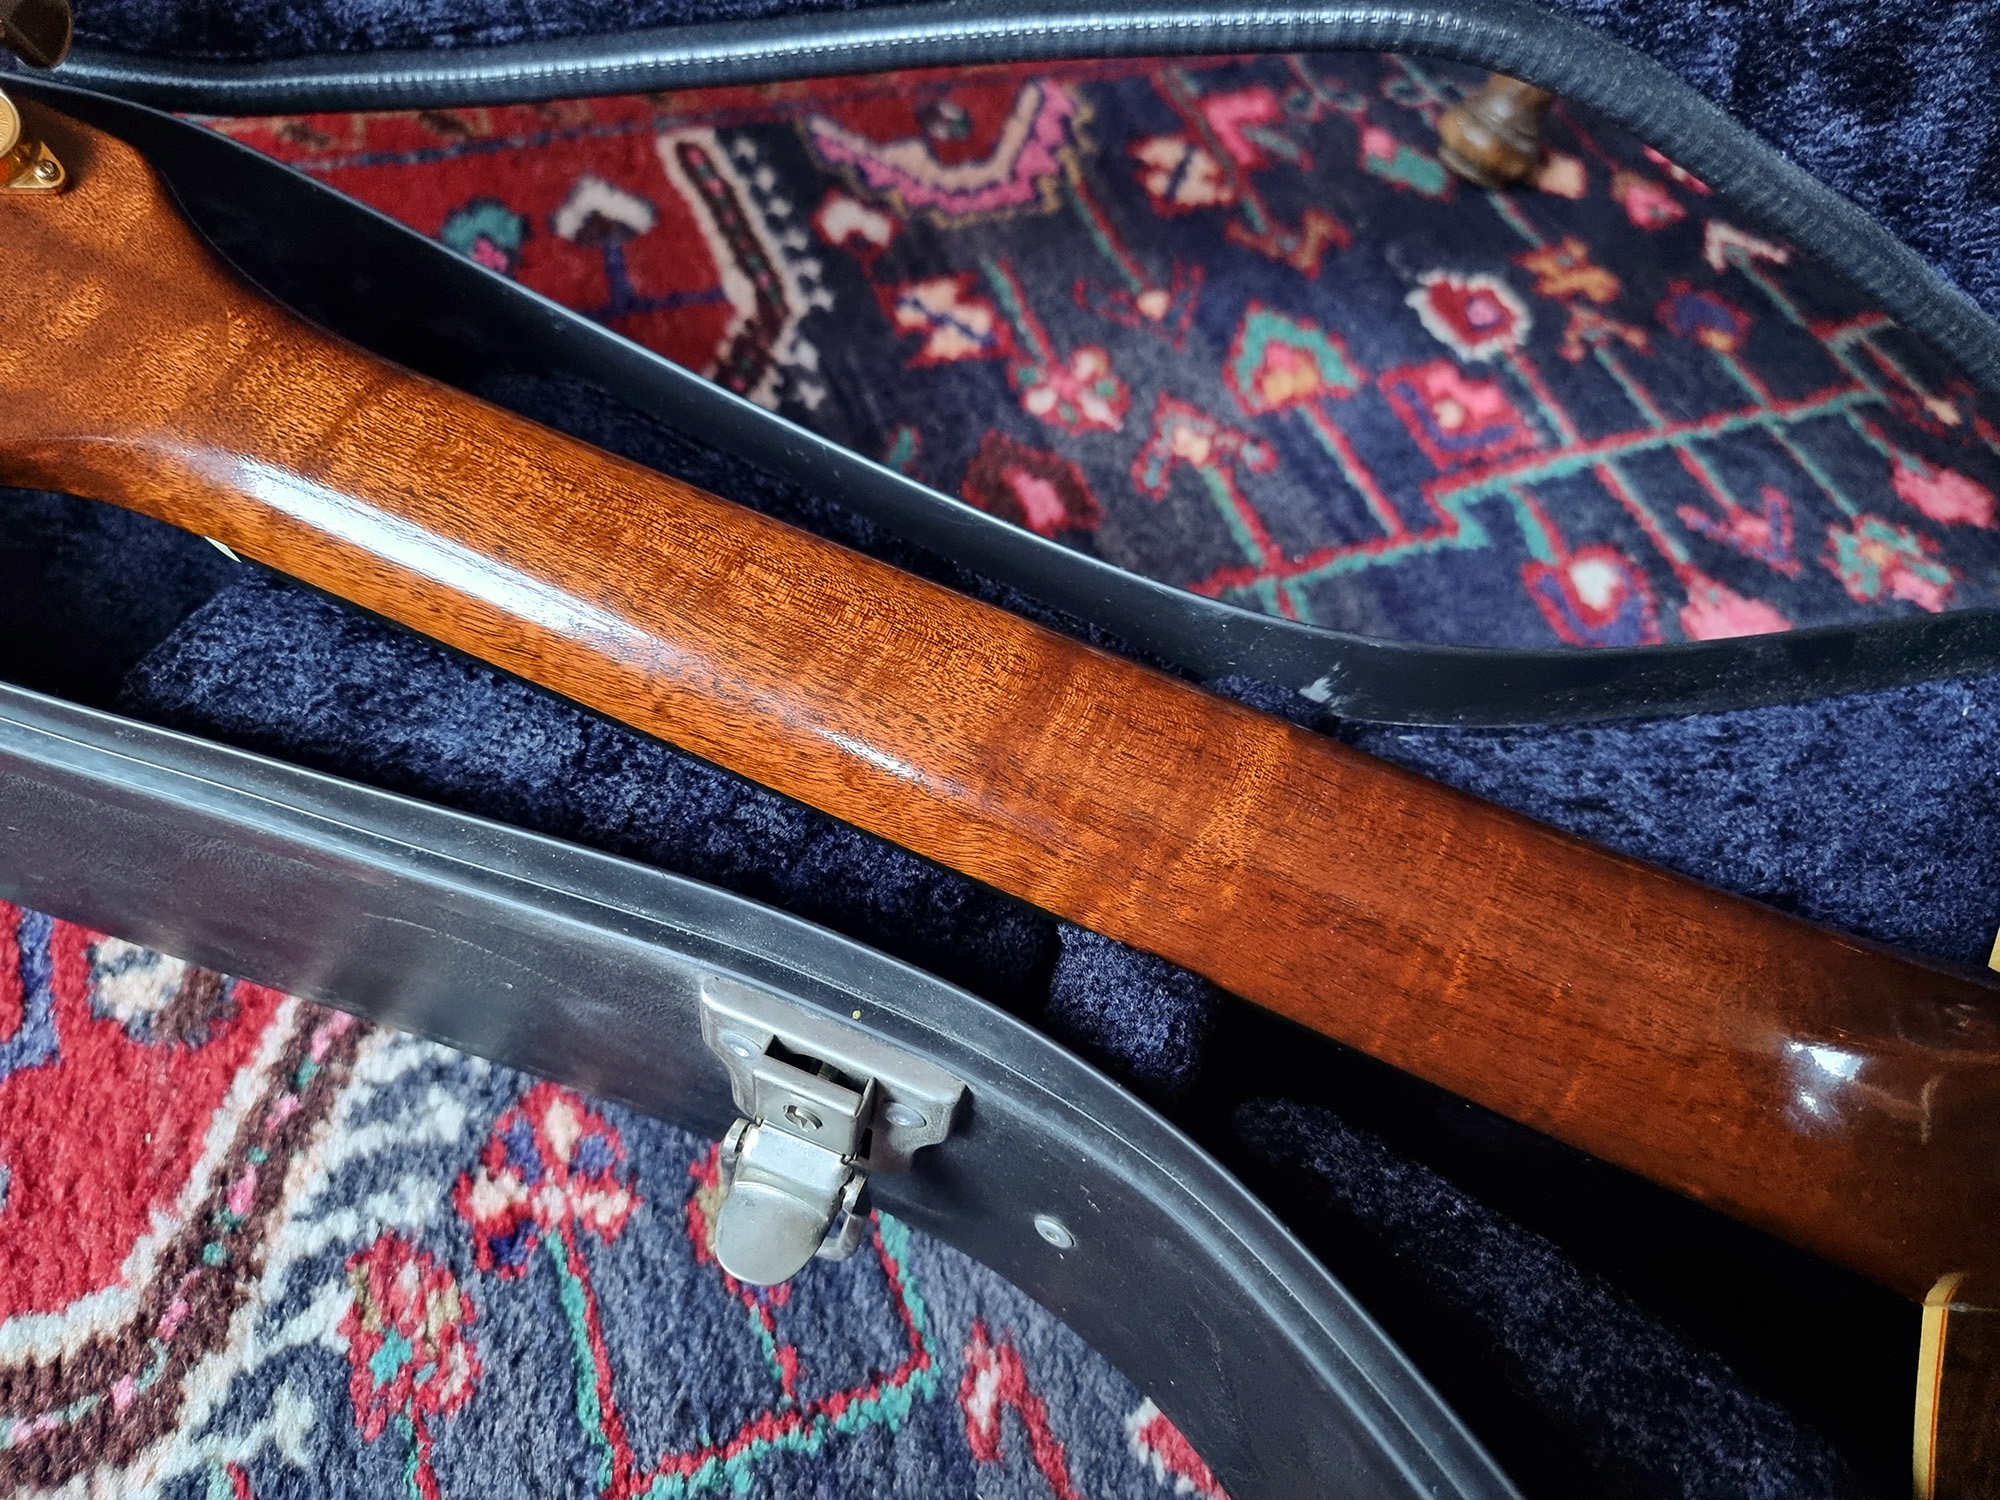 1995 neck mahogany
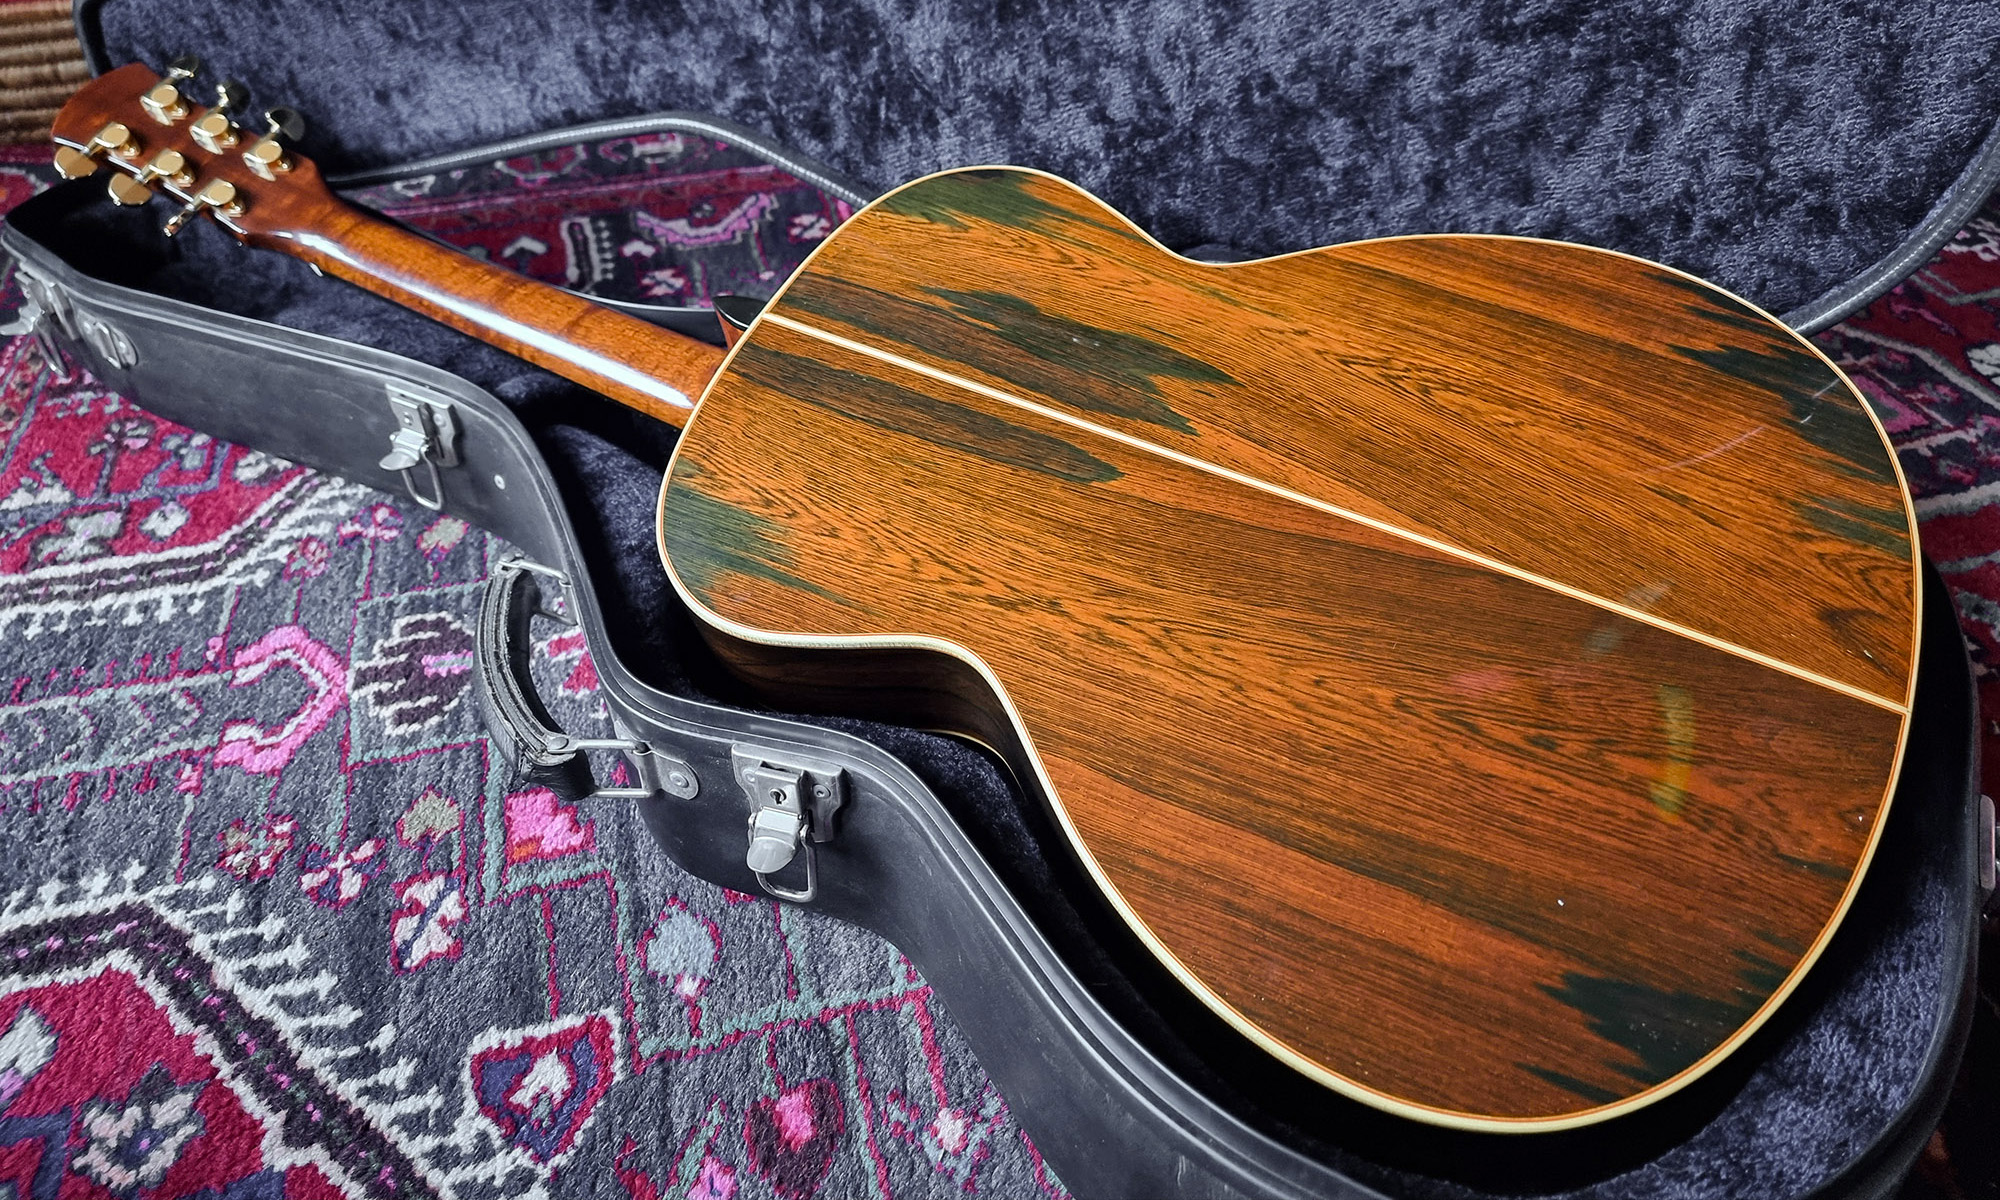 1995 Model 0 with Brazilian rosewood back
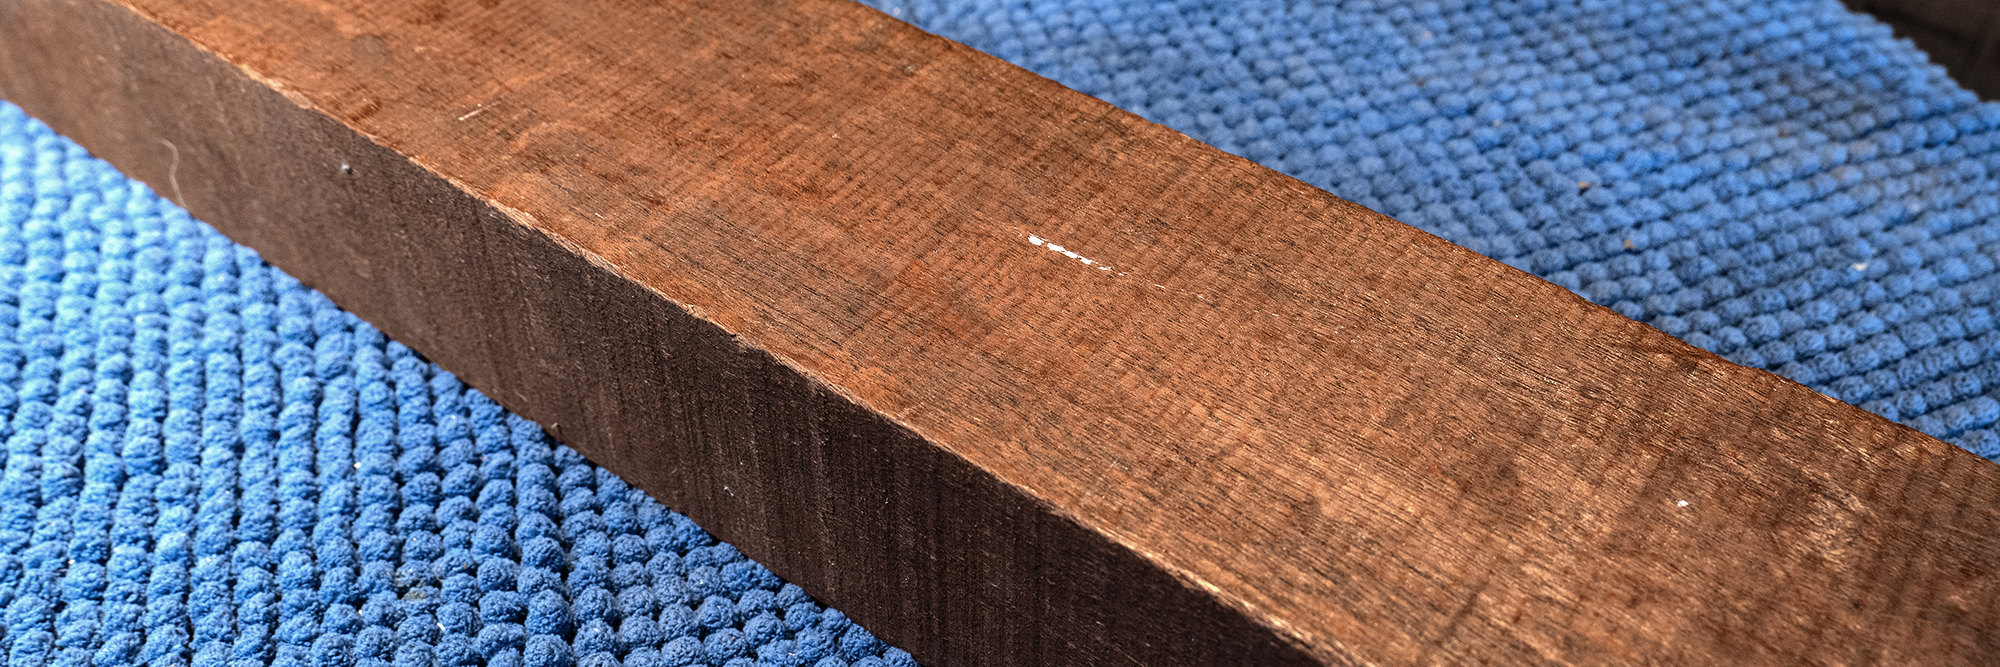 Old dark dense mahogany
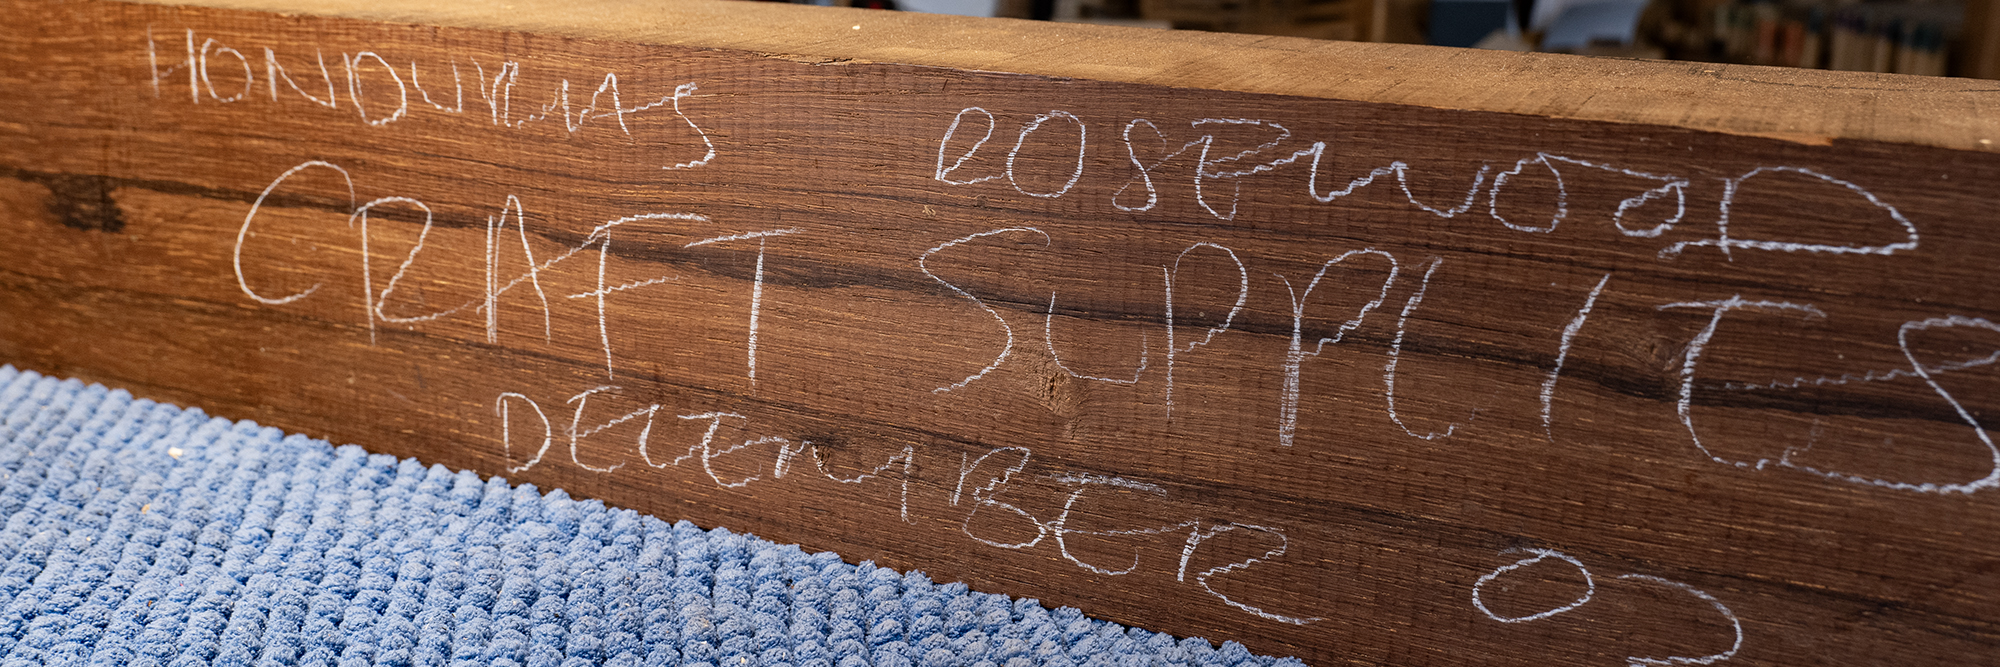 Honduras rosewood
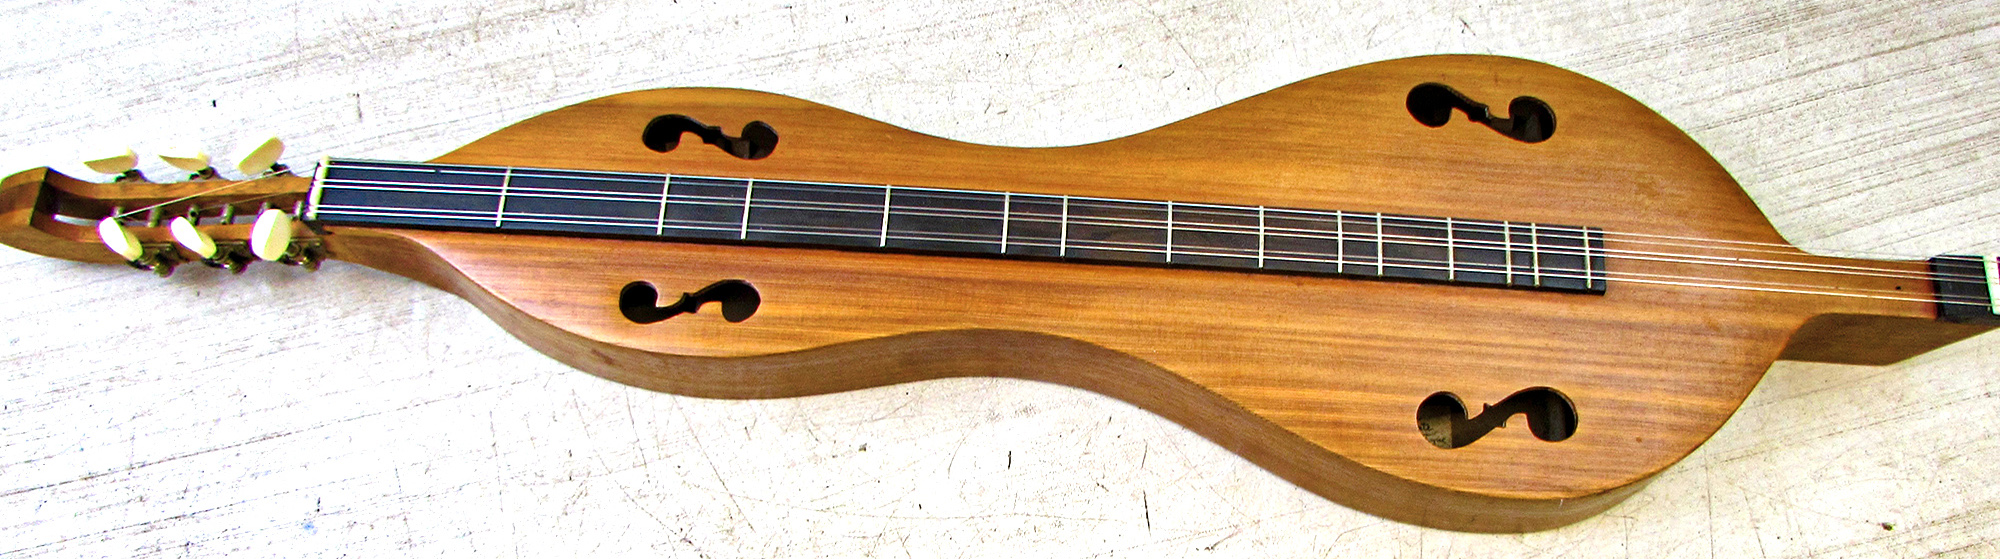


 Today’s selection